Craft Room Organization
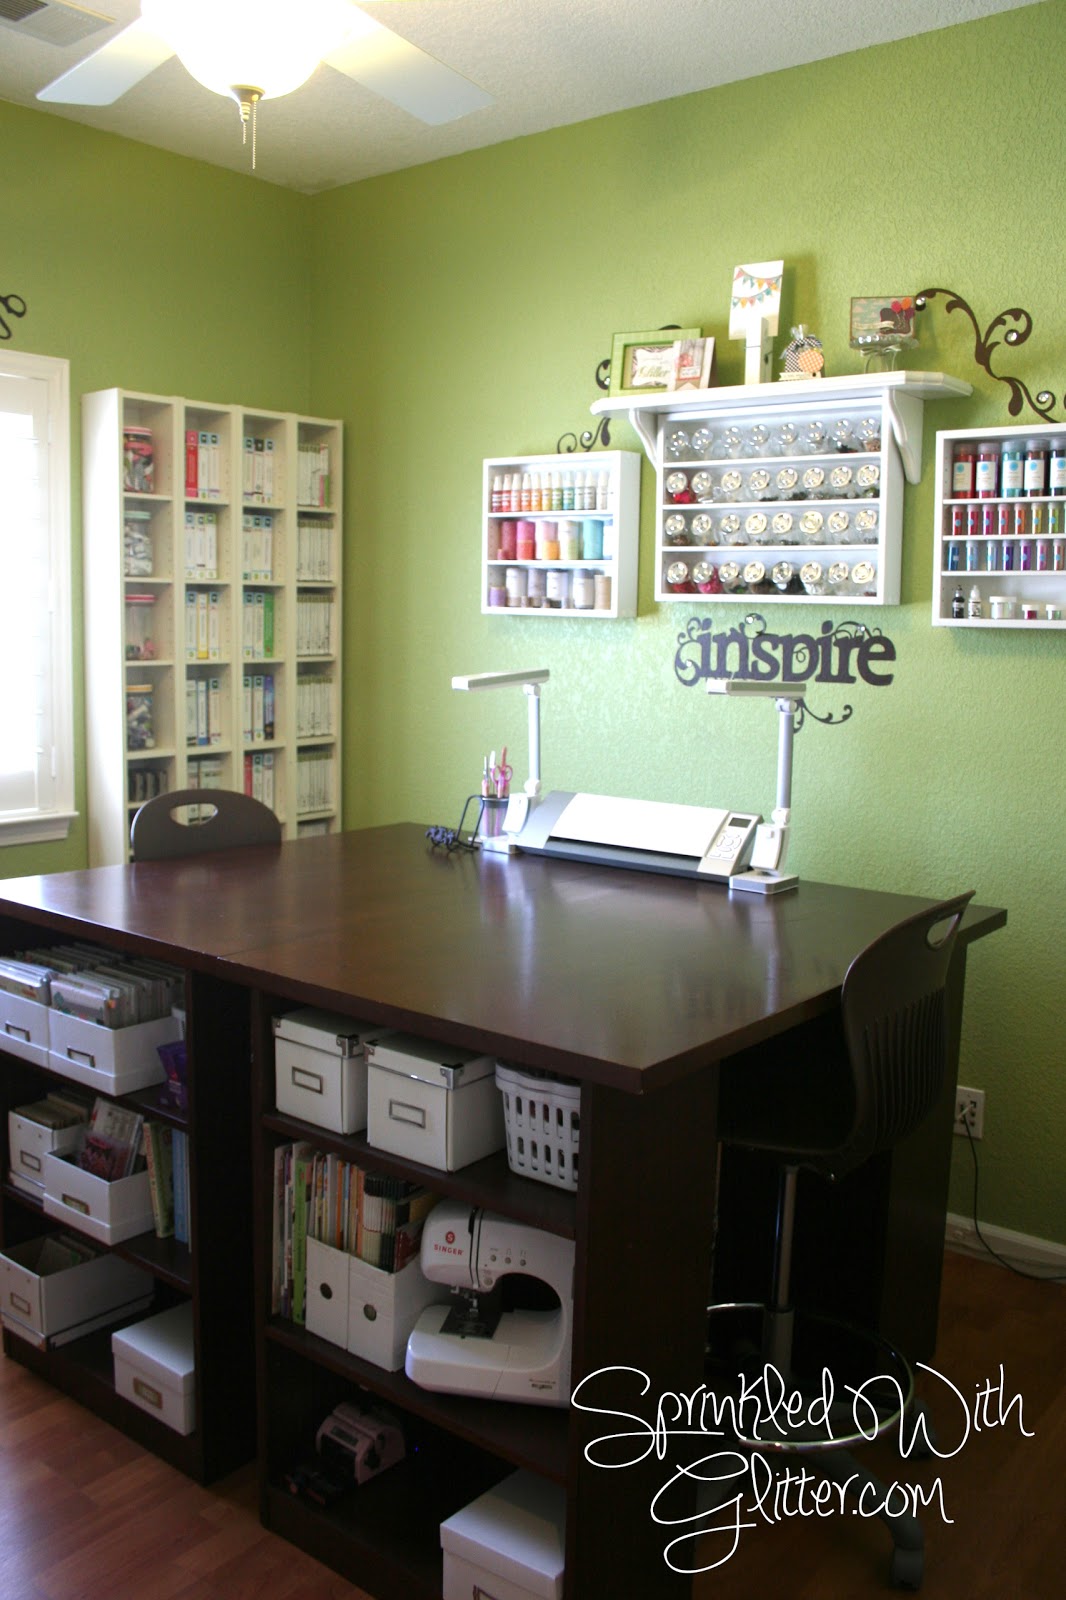
Hi everyone! I wanted to take some time and share some Craft Room Organziation tips and tricks, as well as some of my favorite organizing units from Organize More. I've owned a couple of these units for a couple of years now {and have loved them} and just recently added five more units to my room. I was in desperate need of more storage that was both accessible and stylish {and I knew just where to find it}.
I've been so pleased with my Organize More units, that I contacted the owner {Mike} and asked him if I could feature these fabulous units {designed especially for crafters} on my blog. He said yes...and even said he would allow me to offer my readers 10% off their purchase. From now until June 15, 2102, you can receive 10% off your purchase at Organize More by entering the coupon code GLITTER at checkout. They offer a variety of sizes, types and colors and all are handcrafted in the good ol' USA! {As a crafter, I appreciate good handmade products!}
So how about some of my favorite tips {in written form} for organizing my craft supplies?
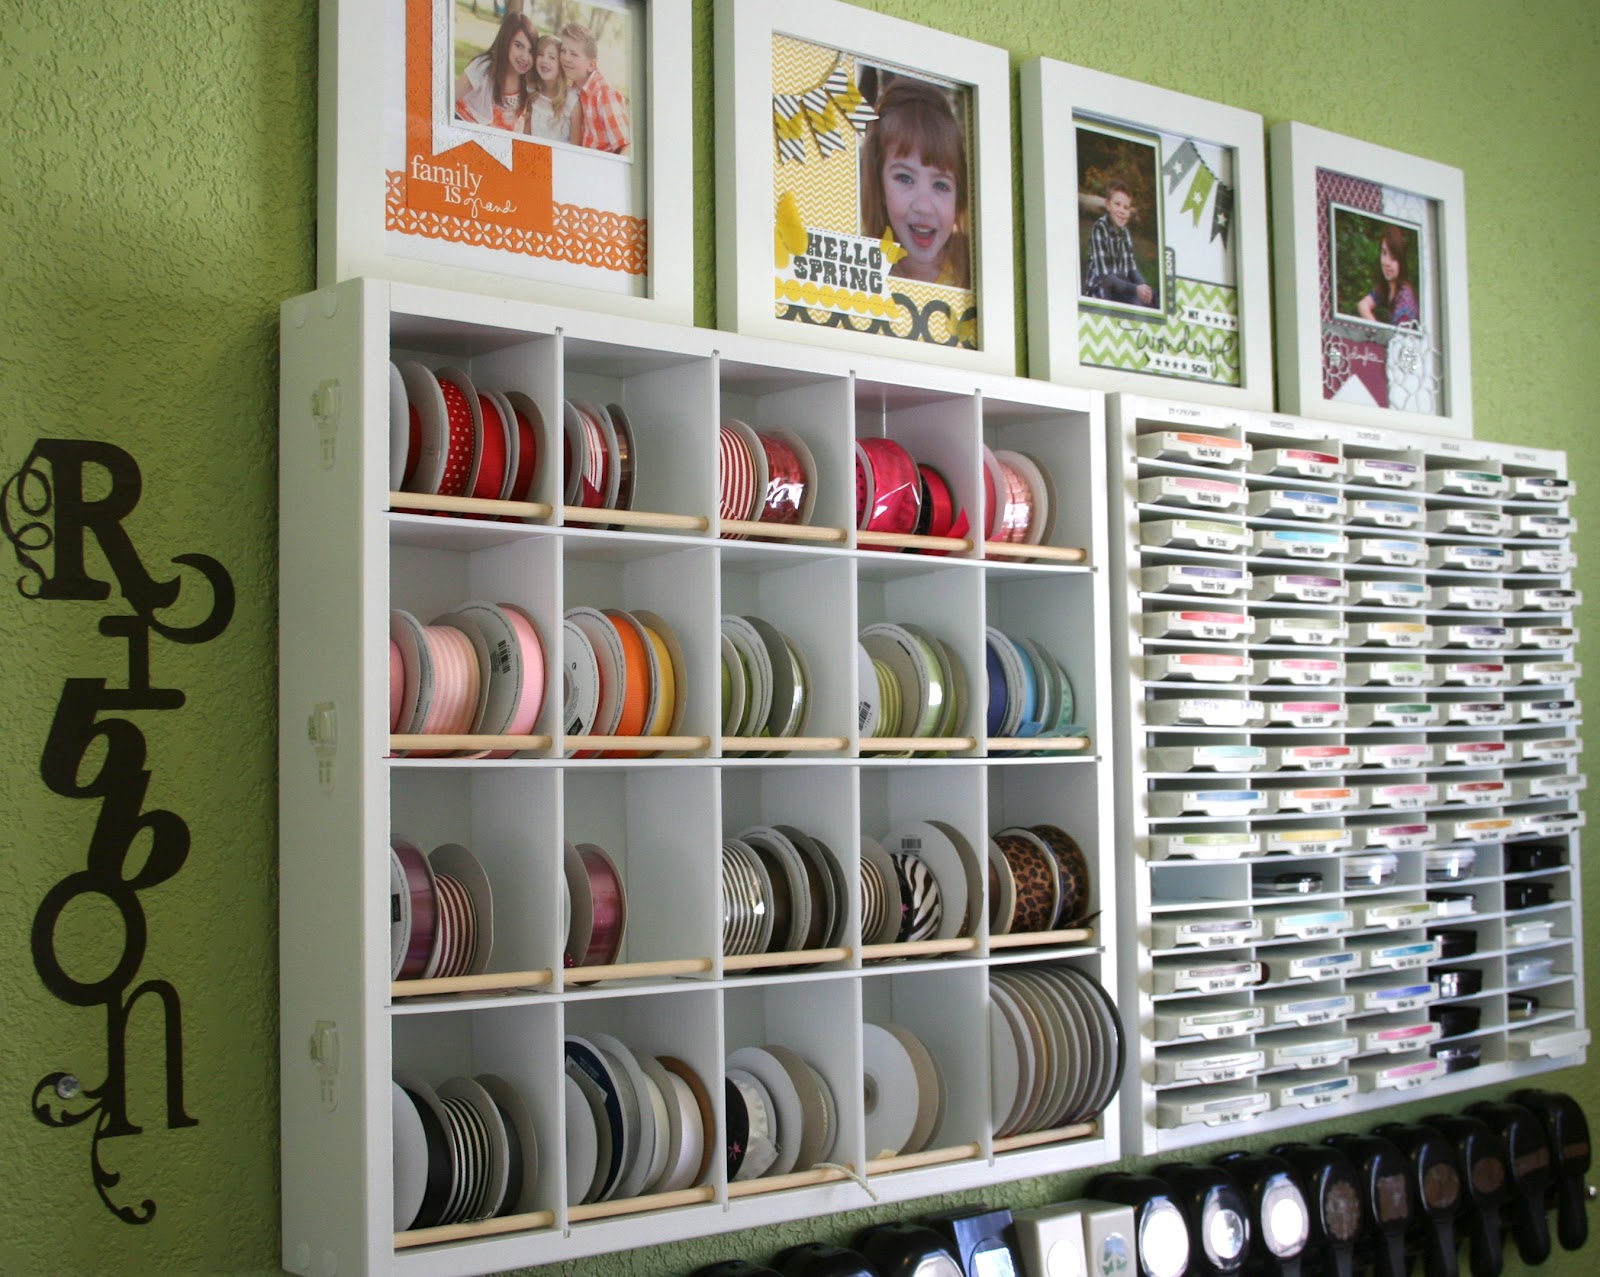
Tip #1-Wall storage units are perfect for craft supplies because they save valuable floor space, get your craft supplies where you can see them {and use them} and, when artfully arranged, also double as great "art" pieces for your wall.
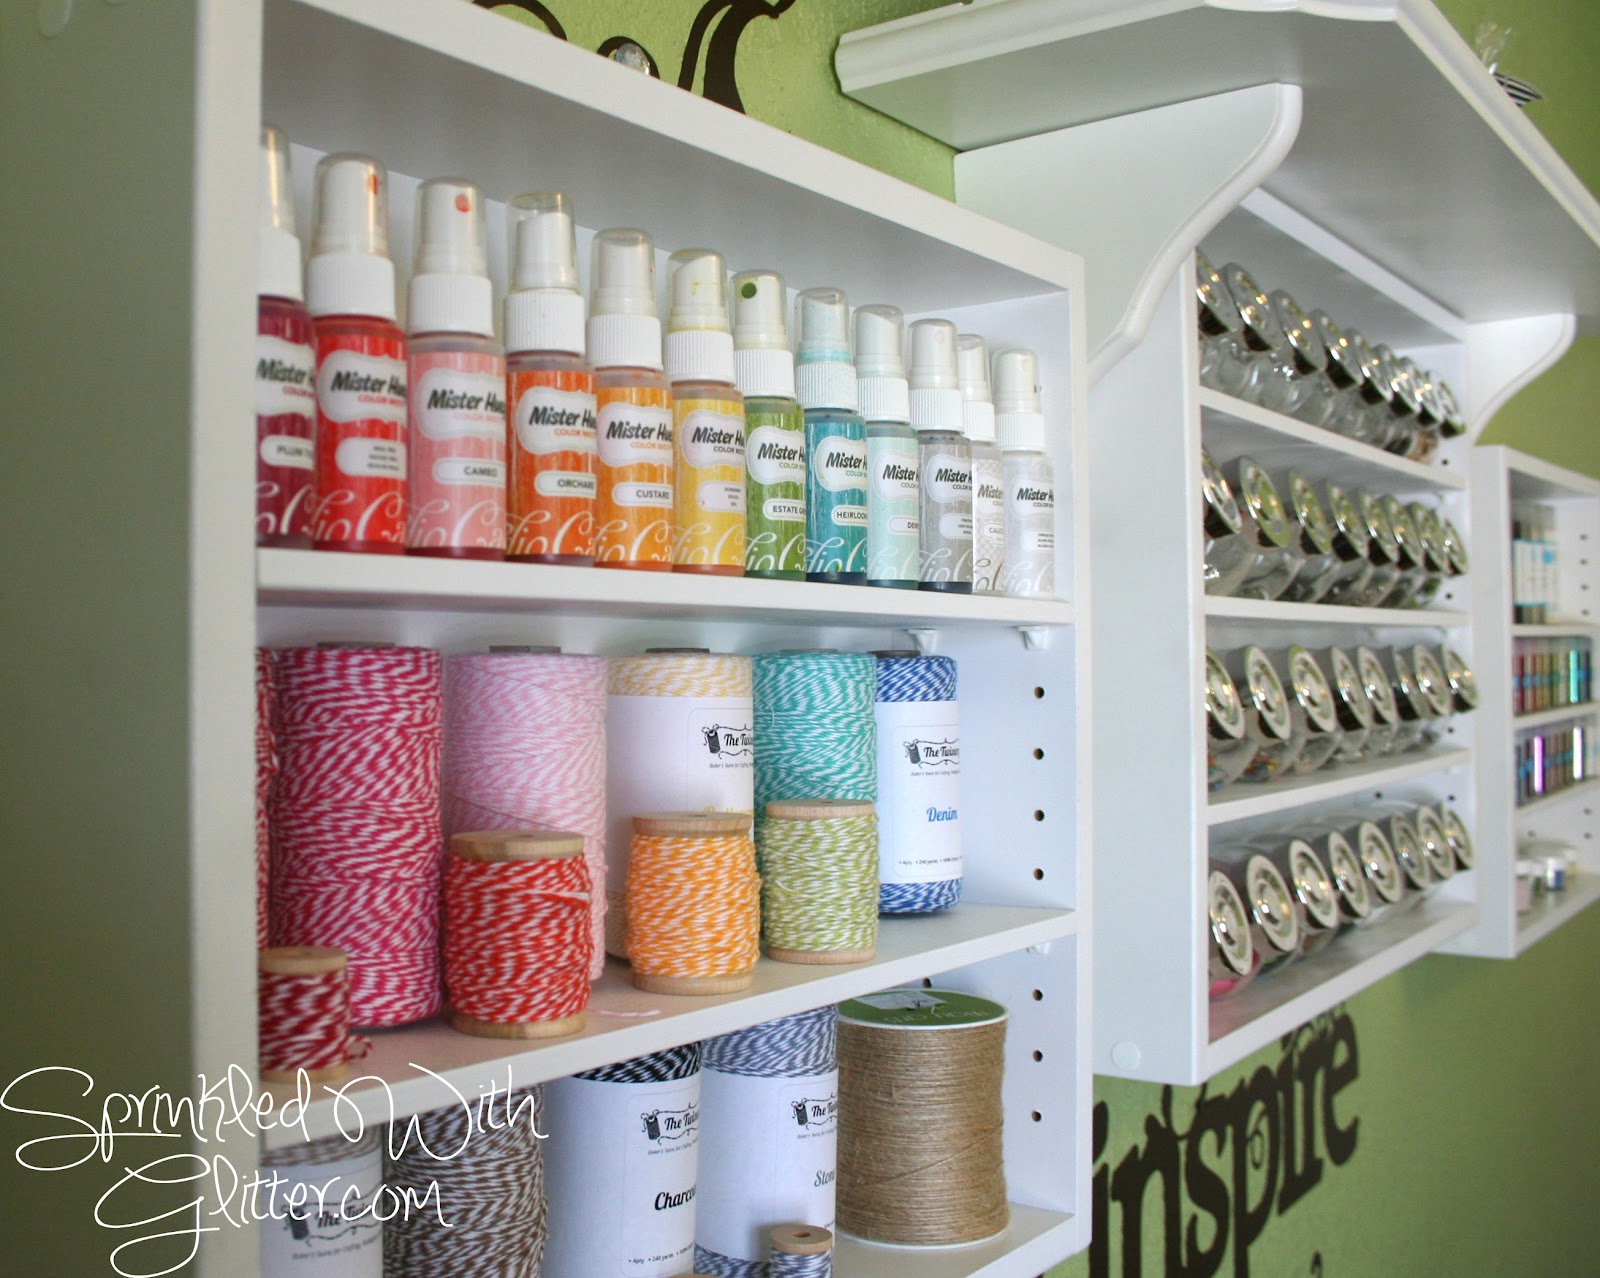
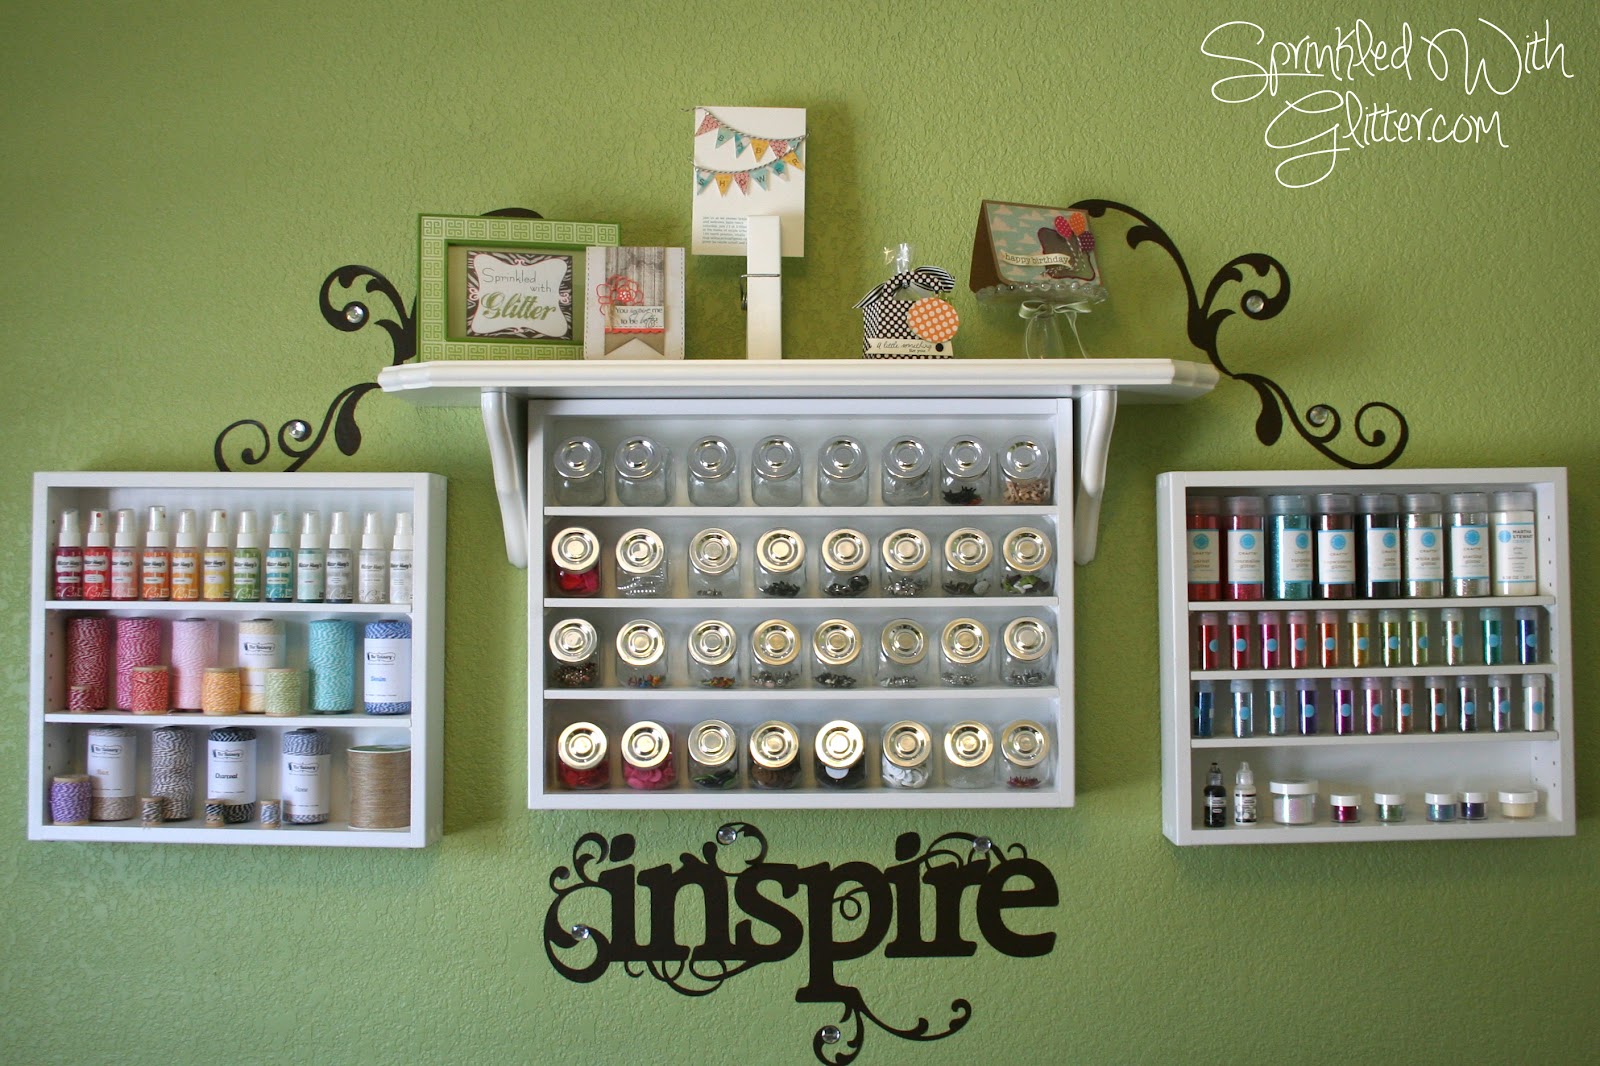
Tip #2- Store like things together. You'll notice that I have all of my embellishments sorted by type and then by color. All of the glitters, twines, buttons, brads are all in one place, so I don't have to guess where I've stashed them. I know exactly where to go to search for what I need.
Tip #3- I use jars to store my embellishments. I get them out of the original packaging and put them in cute jars. I can see through the jar and see exactly what I have. I can also combine similar embellishments from different companies in the same jar...saving space. It also makes for a nice uniform appearance on the shelves. {It kind of reminds me of my own little candy shop.}
Tip #4- Allow for room to grow. When planning your crafting space, it is important to realize that your stash will grow with time. Allow yourself some empty shelves, jars, or storage areas to accommodate future growth.
Tip #5- Clean up time. Make sure you take the time to put your craft supplies back where you got them from. You'll rarely find my room left a mess. I like to take the time to clean up after a crafting session. A clean and organized space makes for an inspiring space to create!
Tip #6- Take the time to clean sweep your creative space. I go through my stash every so often and purge...out with the old, in with the new. You can arrange a swap with your crafty friends, have a craft room clean out sale, or donate items that you aren't using to a local church or school.
I have a video below walking you around my room and sharing some tips and tricks with you. I hope you've enjoyed a peek into my creative space! Enjoy your day!
SUPPLIES
*affiliate links used*