Gold Dipped Die Cuts - Thermoweb Deco Foil Technique
Hey everyone. I have to admit, I've been lacking on inspiration lately. So in an effort to spark my creativity, I went to Pinterest and I found THIS image. I loved these gold dipped feathers and thought it would be fun to try to translate these to paper crafts. (You can find me on Pinterest by clicking here.) I immediately thought of a sketch and went to work.
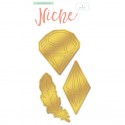
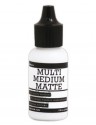
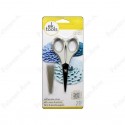
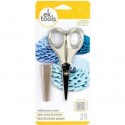
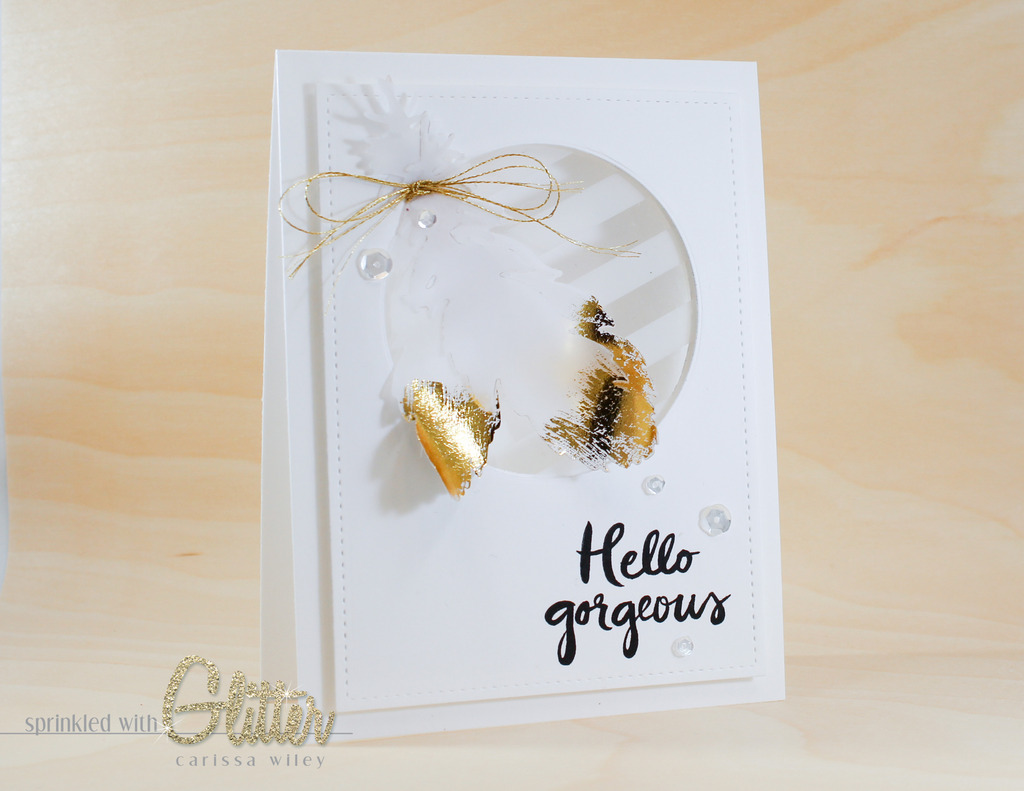
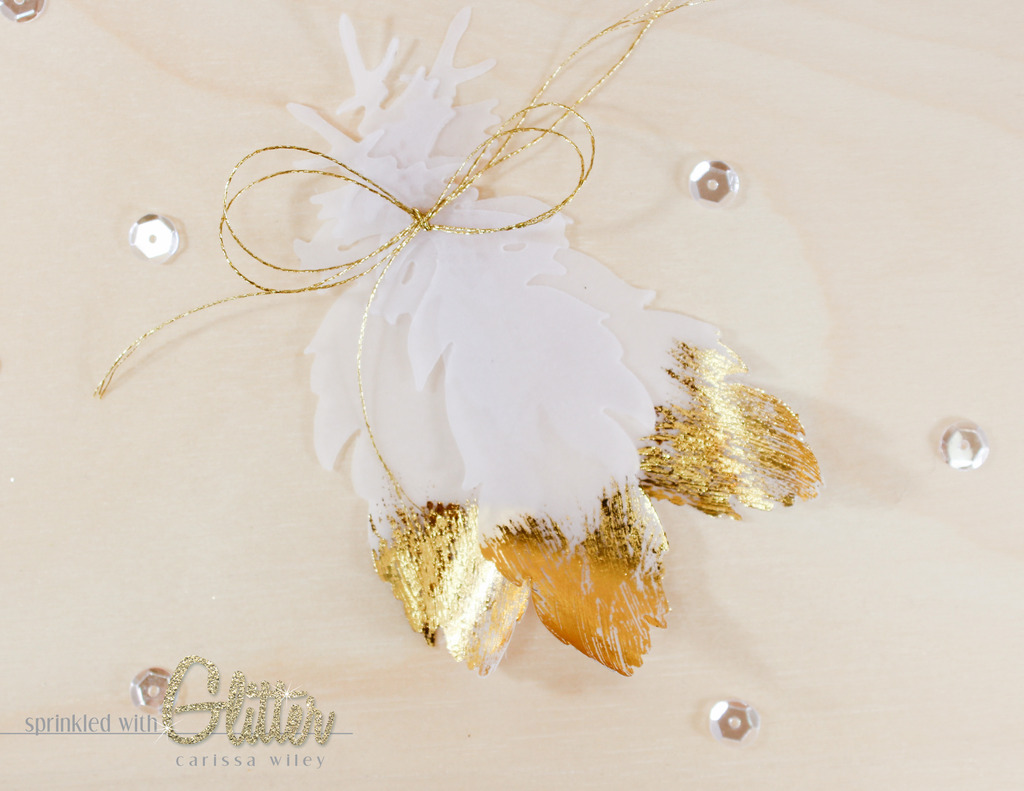
Today's card features Thermoweb's Deco Foil and the Deco Foil adhesive. There are so many ways to use Deco Foil and I thought the liquid would be the perfect way to create a gold dipped look on my die cuts. You can use any die cut for this technique, but since the feather first inspired me, I thought I would use a feather on my card. This was the perfect way to create the dipped look. And since Deco Foil comes in a bunch of colors, you could use whatever color floats your boat! But we all know that for me, it had to be gold. I created a video over on The CLASSroom blog (find it by clicking HERE) using the rose gold Deco Foil with the Deco Foil Foam Adhesive.
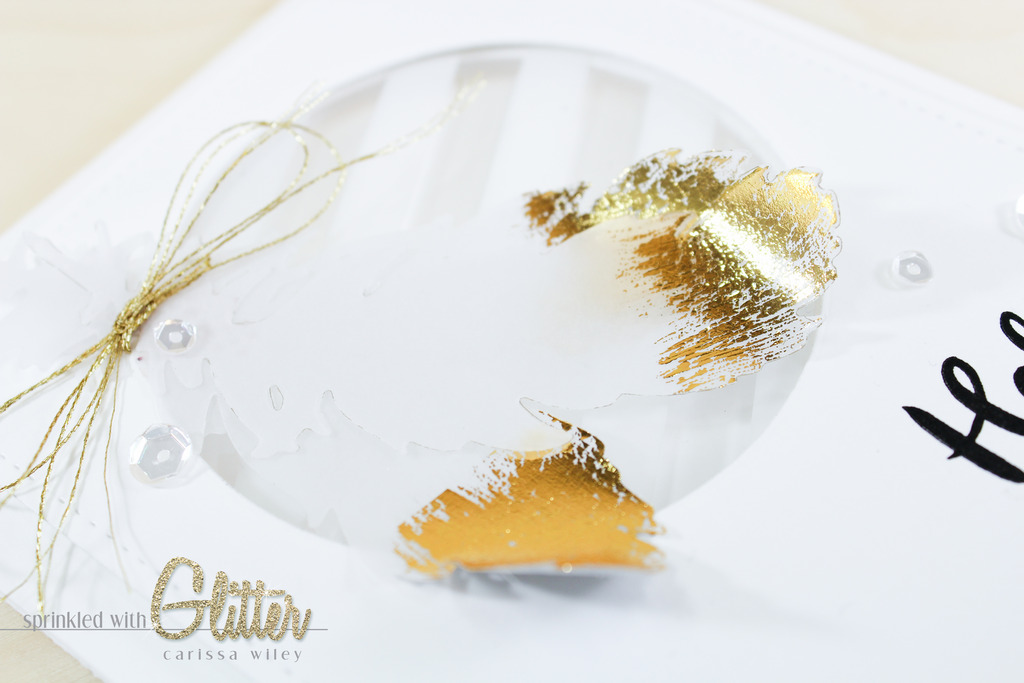
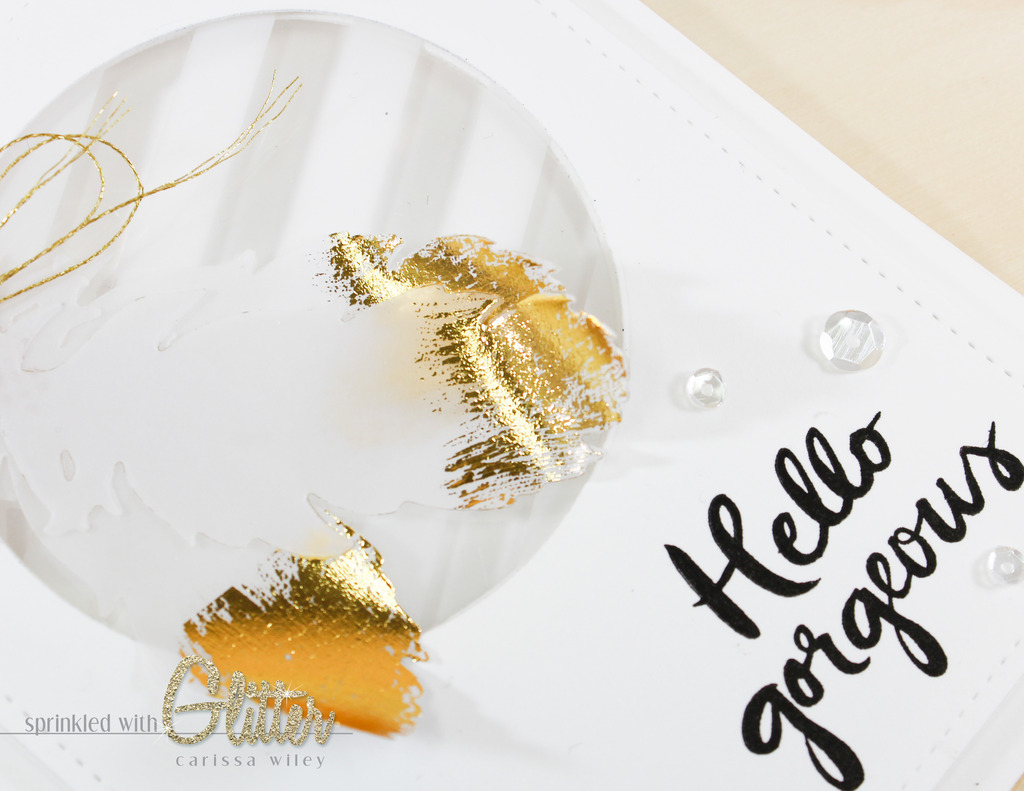
I applied a thin layer of the Thermoweb Liquid Adhesive with a paint brush and then set it aside to dry. I used a full brush to get a dry brushed look, which allowed the brush strokes to show. You need to allow the adhesive to dry prior to adding the foil. Once the adhesive is dry, simply press the foil, with the silver side down (or pretty side up) to your adhesive. Pressing with the pad of your finger firmly is enough pressure. But if you want it to take on a more texturized, gold leaf appearance, you can burnish it with a bone folder. Both ways give stunning results. The photo below shows you the foiled feathers that were burnished with a bone folder. You can really see the different texture that it adds.
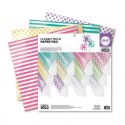
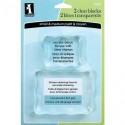
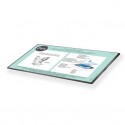
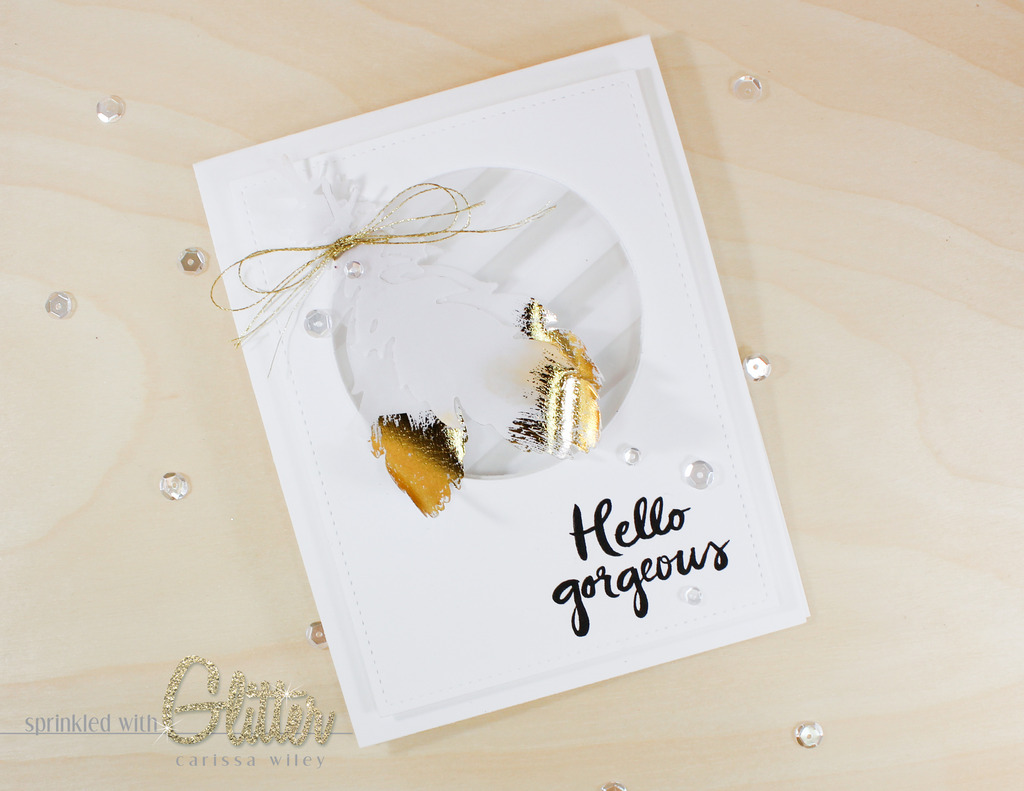
I created a window on the front of my card and sandwiched a piece of the We R Memory Keepers Clearly Bold striped acetate in between my card front and card base. I have fallen in love with this acetate. It comes in a lot of colors, but I think the white is my favorite. I love both the striped patterned and the dots! I cut the sheets of 12x12 acetate down in to 6x6 pieces and store them with my 6x6 patterned paper pads.
I've created a video below walking you through the entire creation of this card. I've also linked all the products used in this video below.
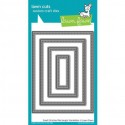
Remember, you can use this technique with any die that you have. I think it would be fun to try it out on some sentiment die cuts too!
Thanks for stopping by today. I hope you've been inspired. I hope you have a fabulous day!
Supplies
*affiliate links used*