You Are A Star - Watercoloring With Distress Markers
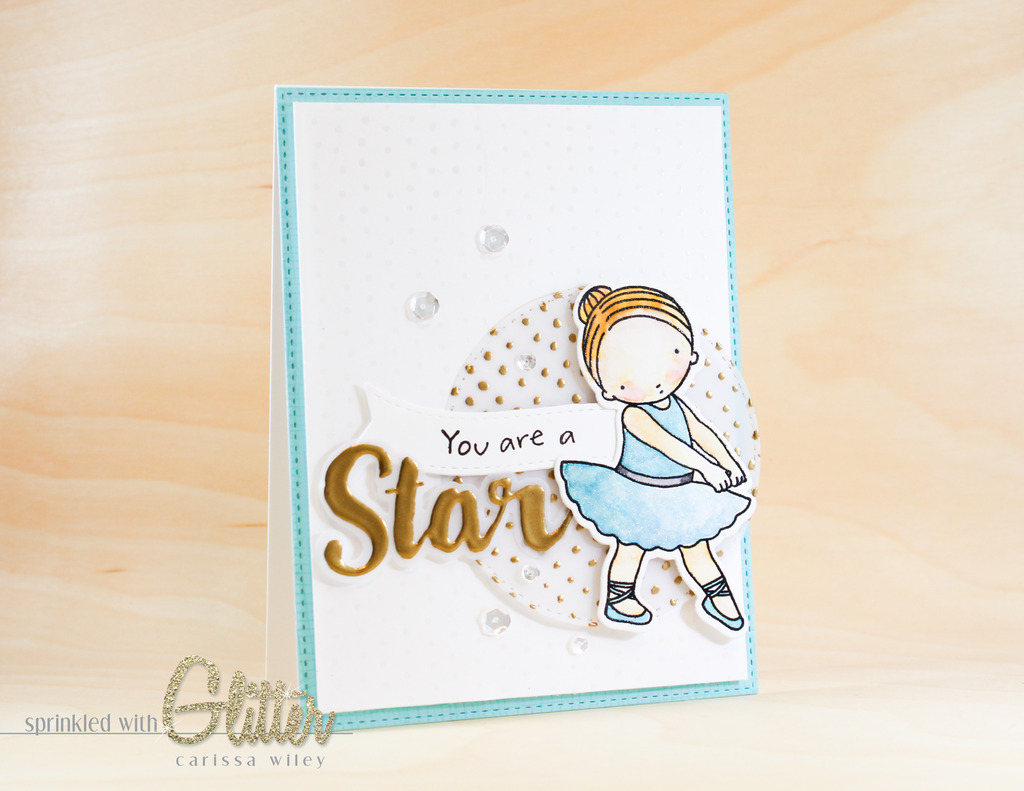
Hey everyone! I'm so glad you've stopped by today. Today I'm sharing a project I made for a guest post over at the My Favorite Things Blog. I’ve created a fun card for you featuring the adorable Tutu Cute stamp set, along with some other fun new products. And I’ve managed to create it WITHOUT gold glitter cardstock. ;)
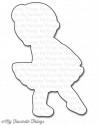
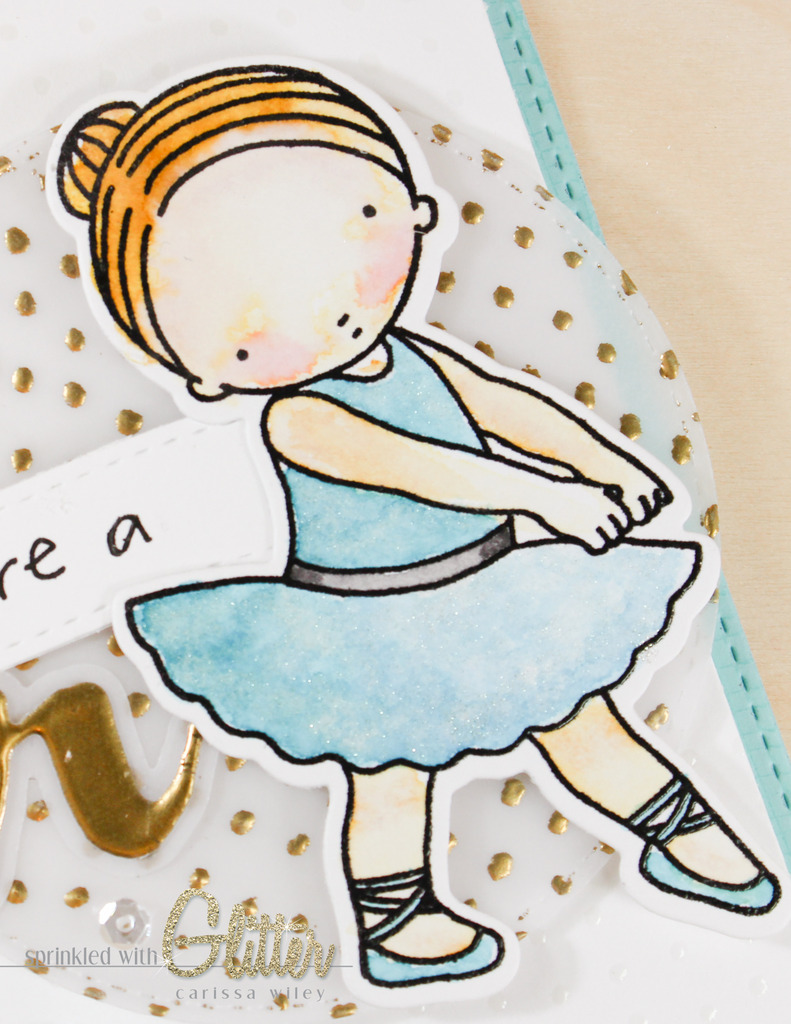
I started out by stamping this adorable ballerina from the TuTu Cute stamp set in black pigment ink. I wanted to heat emboss this image so that when I watercolor it, the watercolor would stay inside the lines. I added clear embossing powder and this gives me a nice, crisp, image. I used Distress Markers to watercolor my image, but you can use whatever coloring medium that prefer, including dye inks, to watercolor your image I love the softness that the watercolor gives the image.
Watercoloring with Distress Markers is easy. I added to color with the brush tip end of my marker. I then used my Zig Waterbrush to pull the color out and create a watercolor look. You can add less water for more intense color. Or use more water to create a very soft look. I allowed her to dry completely, and then added a coat of Wink Of Stella to add a little shimmer to her tutu and top. I used a tapping motion to keep the color from moving too much as a result of adding the Wink Of Stella.
I cut out the adorable ballerina using the coordinating TuTu Cute die set. I love the convenience of coordinating dies. Yay for no fussy cutting! They’re perfect for cutting out the stamped images or creating masks. You can also use them to create a debossed outline around your stamped images.
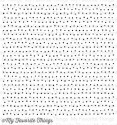
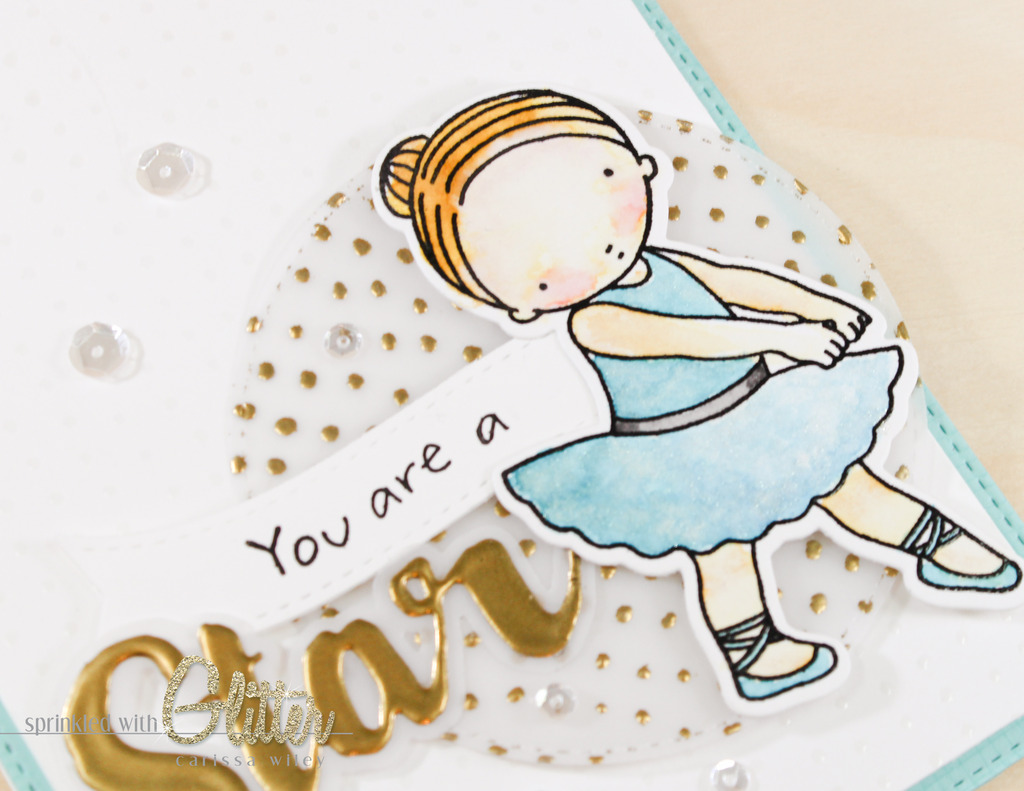
I embossed the Myriad Dots background stamp in gold embossing powder on some heavyweight vellum. I used the Stitched Circle Stax to die cut the vellum. I love the look of embossing, especially gold, on vellum. Remember to prep your surface with an antistatic tool too keep embossing powder from sticking to areas that you may not want. This gives her the perfect sparkly background to stand on. You’d pay a lot of money for a gold embossed vellum in a craft store, but this is an easy way to make your own with any stamp that you prefer. I also used this same background stamp to clear heat emboss the background of my card to create some texture.
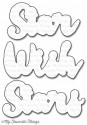
I created some coordinating gold card stock by pressing my embossing pad to some white card stock and adding gold embossing powder to it. This was the perfect cardstock to cut the star sentiment from the Stars and Wishes Die-namics set. I layered that up with some vellum, cut with the coordinating Count The Sars Die-namics set. I love to use vellum layers behind die cut sentiments. It creates a soft halo effect.
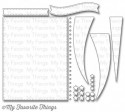
In order to create the rest of the sentiment, I had to do some creative inking and stamp surgery. I stamped it on the banner die cut from the Blueprints 25 Die-namics set. Love the versatility of the Blueprints sets! You can see exactly how I accomplished the stamp surgery and creative inking in the video tutorial below.
Thanks for stopping by today! I hope you’ve enjoyed this card project. Until next time, have a fabulous day!

Supplies
*affiliate links used*