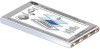
#together - Adding Dimension To Tiny Die Cuts
Hey everyone! Wedding season is upon us! I thought I would make a card that was a little off the traditional wedding card path. Flowers and all white are fun...but I was in the mood for something a little bit different today.
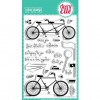
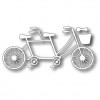
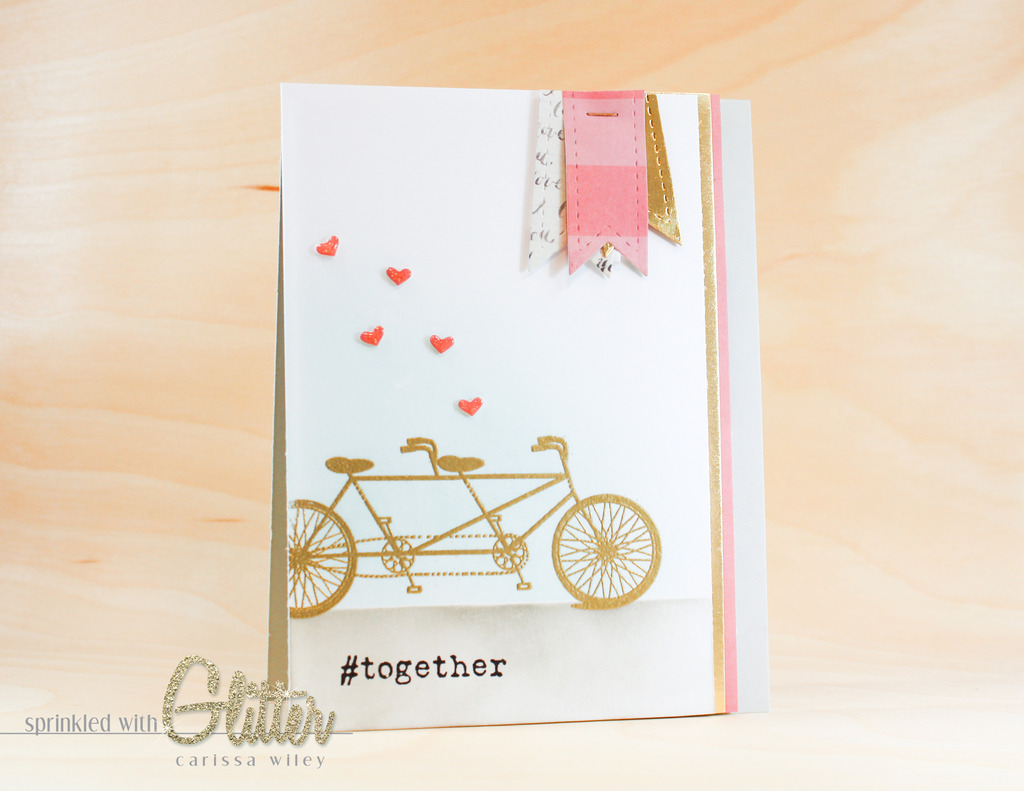
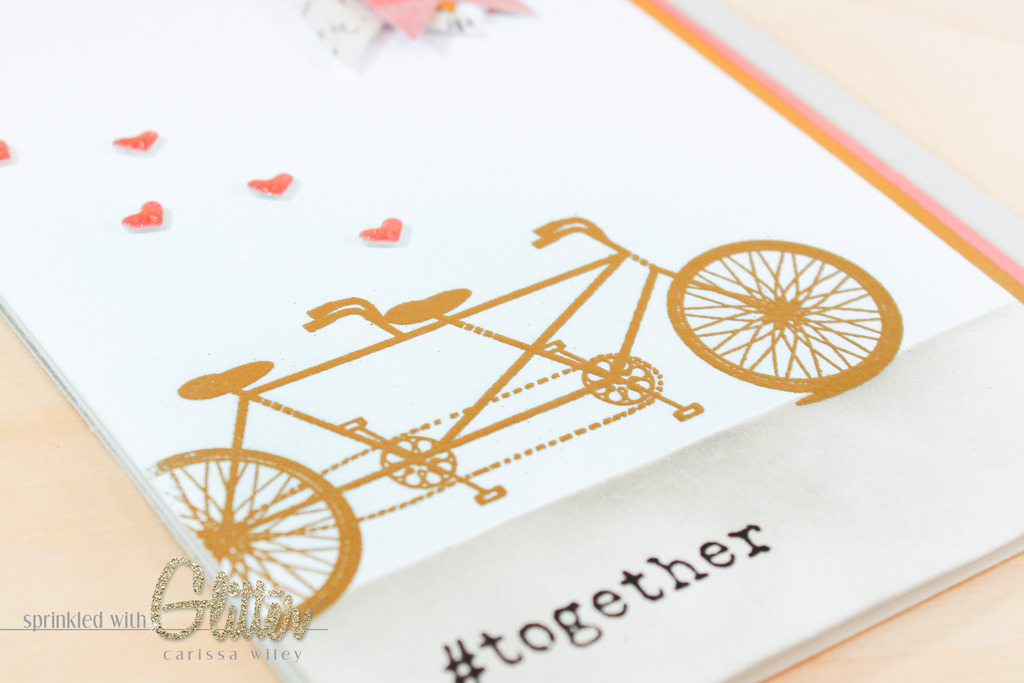
I knew I wanted to make my bicycle gold. I was inspired by an image that I saw on Pinterest of a gold bike. You can see my pin on Pinterest by clicking HERE. I loved the way the bike looked in the photo...it gave it such an elegant look. And I knew it would be perfect for my tandem bike stamp! I mean, how cute is this tandem bike? It's the perfect way to express that two people are really in for a journey together. (This stamp set seems to be hard to find, so I've linked an alternate tandem bike die by Memory Box below.)
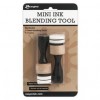
After I embossed my golden bicycle, I wanted to draw more attention to it and create more of a scene by adding some ink blending. I've seen Laura Bassen use pigment inks several times for ink blending, so I thought I would give it a go. I was pleasantly surprised at how smoothly they went on. She's right...they go on "like buttah". I did do a little practice run on a piece of scratch paper before taking the ink to my project.
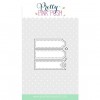
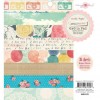
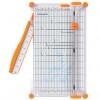
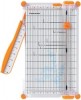
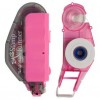
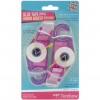
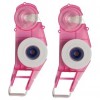
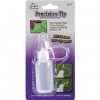
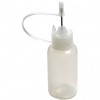
I knew I wanted to use the tiny heart die from the Pretty Pink Posh Stitched Labels 1 die set to create some accents for the front of my card, but I really wanted to add dimension with some foam. Rather than try to cut down some of my favorite foam tape, I thought I would give the Thermoweb Deco Foil Foam Adhesive a try. I applied some directly to the back of my patterned paper, and then ran it through my die cut machine to cut both the paper and the foam at the same time. It worked beautifully! I think this is, hands down, the BEST way to add foam to tiny die cuts. And I will definitely be doing this more in the future. I have to admit, cutting those tiny pieces of foam can really try my patience.
After adding the tiny die cut hearts to my project, I added some Wink of Stella Clear Glitter Brush Pen to the top of them, and then topped them off with some Glossy Accents. These little dies are just too cute. I love all the dimension, sparkled and shine that they add to the card.
I used the same die set from Pretty Pink Posh to create the stitched banners on the top of my card. I could have cut banner shapes by hand, but I love the stitched detail that these die cuts offer. It's the little details that really make a card special.
I've included a video tutorial below walking you through the entire creation of this card. I've also included links to all the products used in this project below.
I really hope you've enjoyed this fun, non-traditional wedding card. It would also be a great card to give your hubby! Thanks for stopping by. I hope you have a fabulous day!

Supplies
*affiliate links used*