Wish Big Shaker Card
Shaker cards are one of my favorite types of cards. I love the sparkly sequins inside that shake. They are so much fun to give, because they are interactive and usually really surprise people. For today's shaker card, I wanted to create a shaker card with different color zones. I've created a card with a similar design that you can see by clicking HERE.
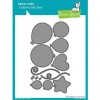
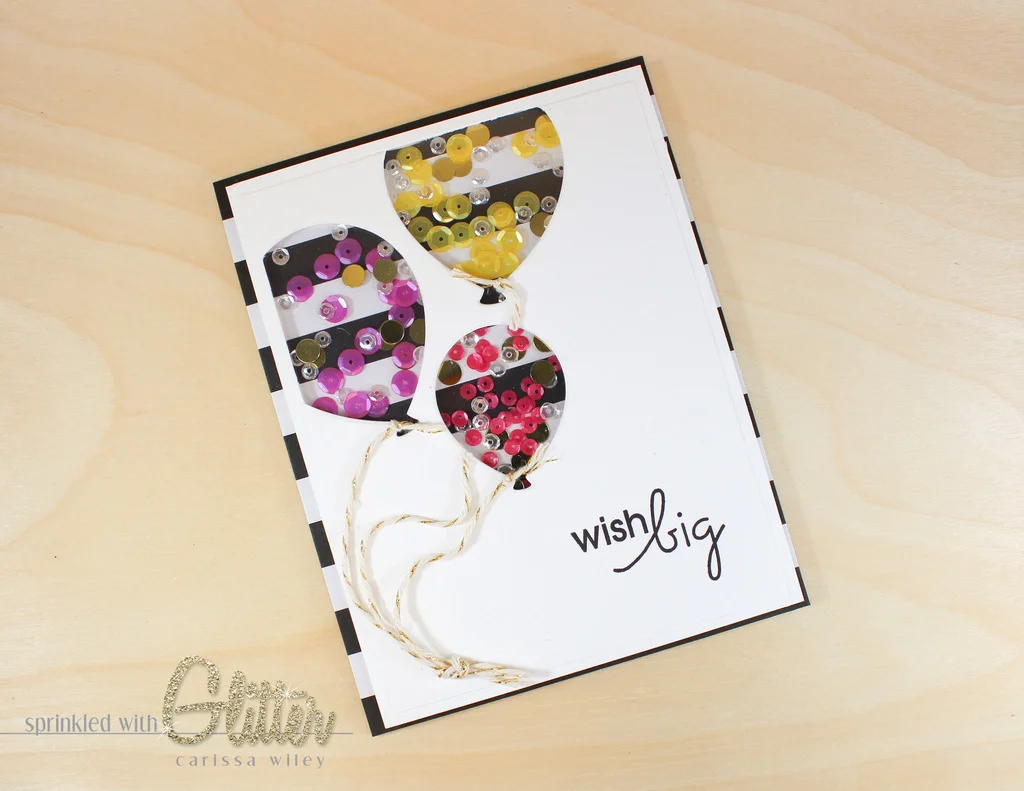
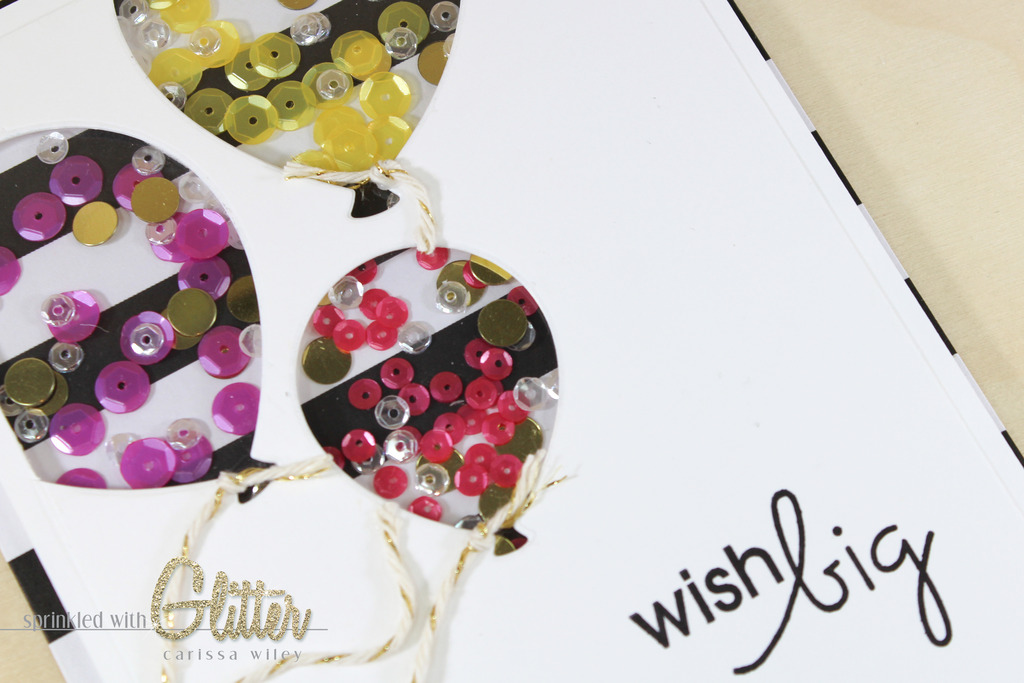
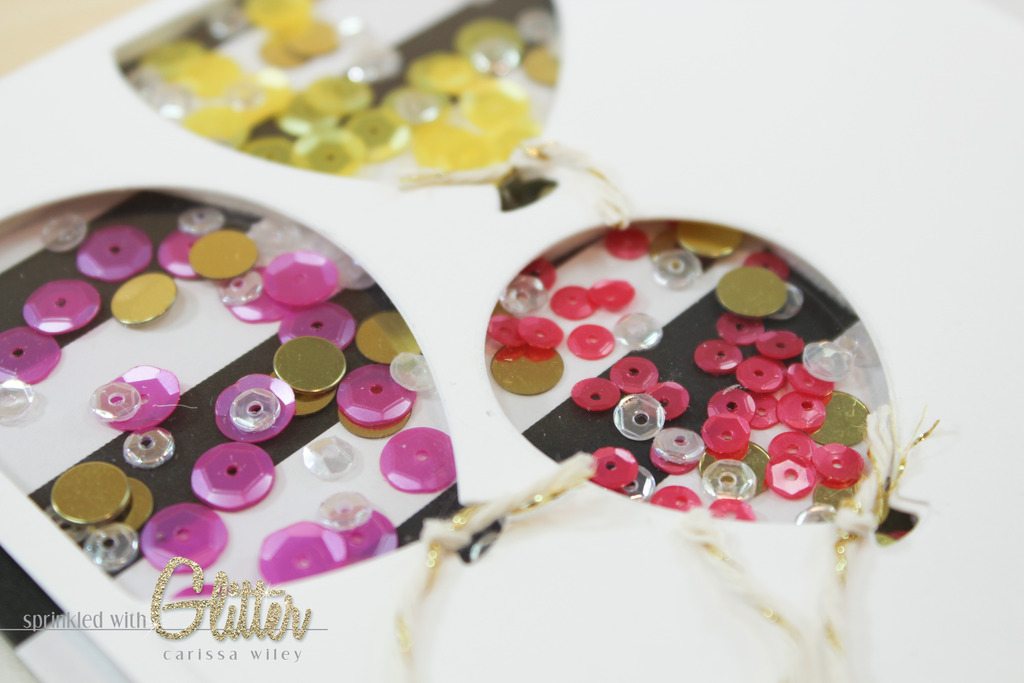
I wanted to use the Lawn Fawn Party Balloon dies for my shaker windows. I thought it would be fun to partially die cut the balloons for the shaker windows. Just like stamping an image partially off the front of a card creates interest, partial die cutting does the same thing.
I did find this card a bit challenging...but I think it was more that I was having an off day in the craft room. You'll see me mess it up...and salvage it. Honestly, I think this was the Murphy's Law of cards for me! Everything that could go wrong, pretty much did. :) We all have those days.
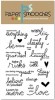
Once I finally got my card front figured out, I stamped my greeting on the front of my card. I've been totally loving the Paper Smooches Scripty Sayings stamp set lately, so I dug it out again for this card. I think the handwritten font is playful and fun.
To create various color zones, you must have multiple shaker windows. I created these with the balloons. I then added foam tape to the back of my card front, making sure that each window was separated by foam tape. It is important to make sure that the foam tape is butted right up against the adjoining piece to keep the shaker "guts" from mixing. I'll show you exactly how I did this in the video tutorial below.
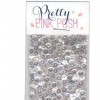
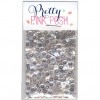
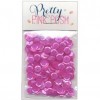
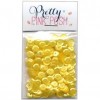
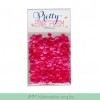
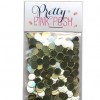
I used lots of colorful sequins in each of my shaker windows. It's fun to create your own mix. In this case, I mixed a colored sequin with some Sparkling Clear sequins and some Gold Confetti. This created an interesting mix within each shaker window. For the smallest balloon, I used the smaller 4mm sequins to make sure there was plenty of movement.
Don't forget to watch the video tutorial below, where I'll walk you through the entire creation of this card, including my many mistakes. I've also included links to all the products used in this project below.
Thanks for stopping by today! I hope you've enjoyed this project.
Supplies
*affiliate links used*