Marvy Uchida Snow Marker Whipped Cream - Stay Cool Stamps by My Favorite Things
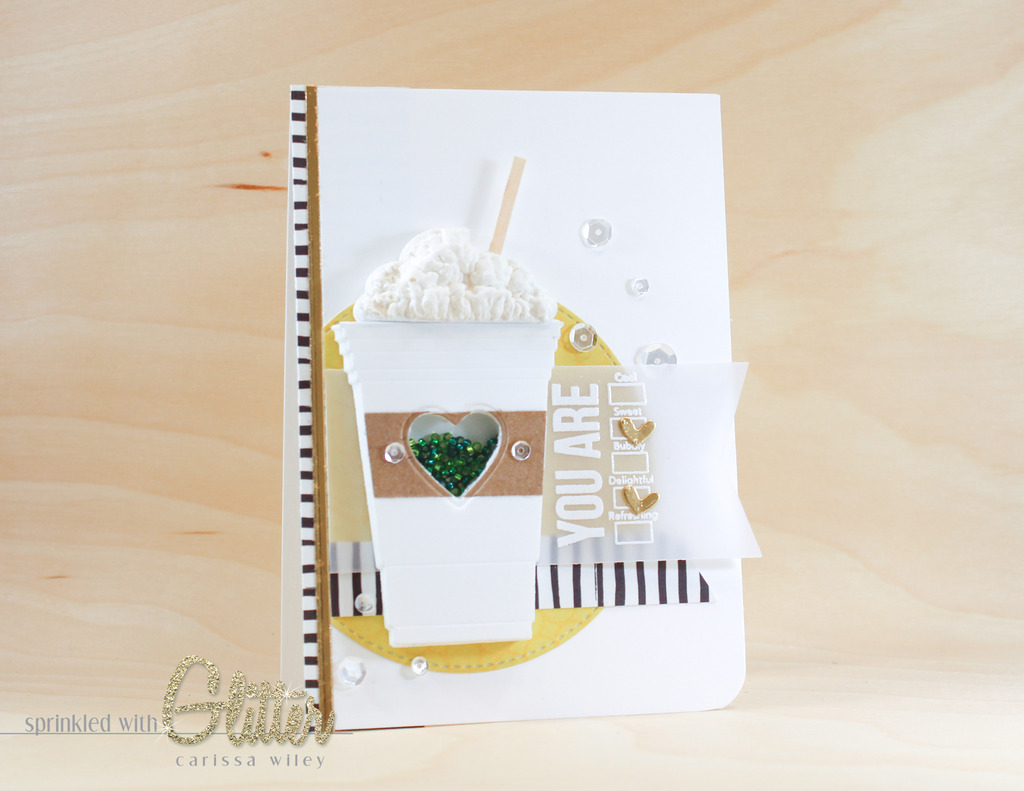
Hi everyone! I'm so excited to share this project with you because it involves two of My Favorite Things (no pun intended), coffee and card making. I went absolutely crazy over the Stay Cool stamp set and coordinating Cool Cup die set from My Favorite Things and Laina Lamb Designs. I love the versatility of the cup die and the sentiments that fit almost every occasion. I'll be using these fun stamps and dies today to create a fun card for any occasion...and show you how to make your whipped cream on top appear almost edible.
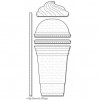
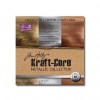
I started by cutting my the cup shape from some Neenah Solar White card stock and fun foam. I adhered these together with some Stick It adhesive. In hind sight, I probably should have skipped the part where I adhere the layers together before die cutting (I'll explain why in the video tutorial below). I also cut the cup from some Hero Arts Kraft card stock so I could create a sleeve for my cup. I just used a 3/4 inch portion of the kraft die cut. It was important to cut it with the die so that the angles on the side would match my cup.
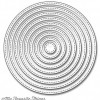
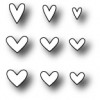
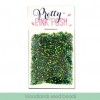
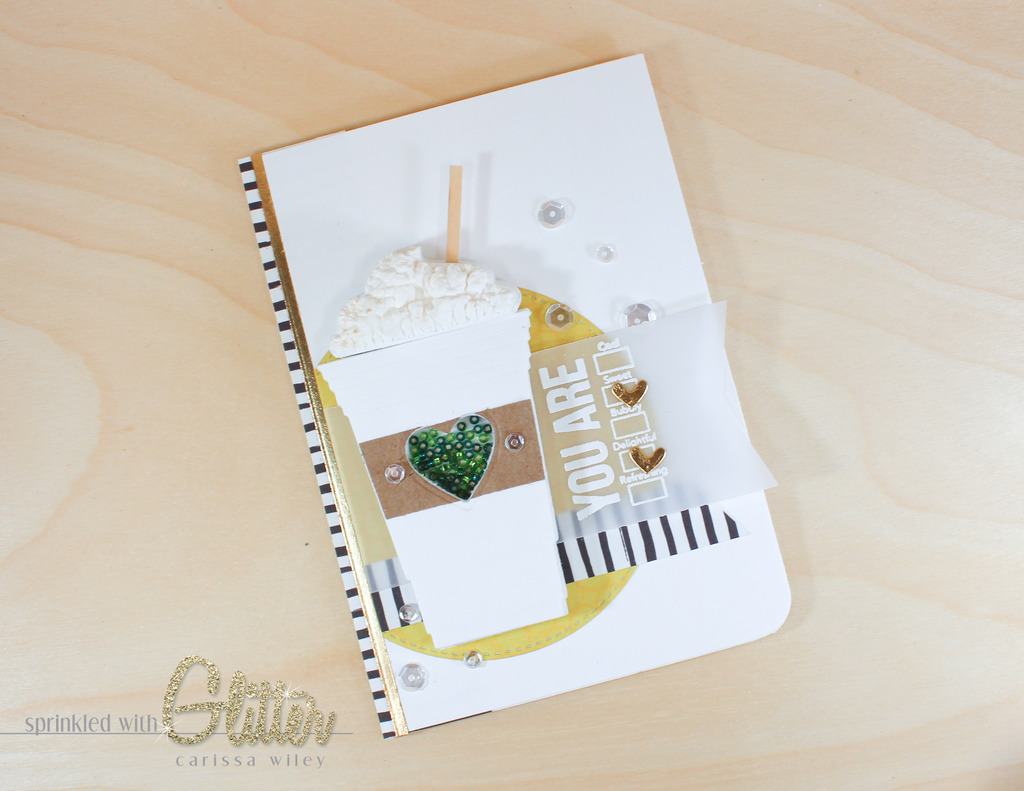
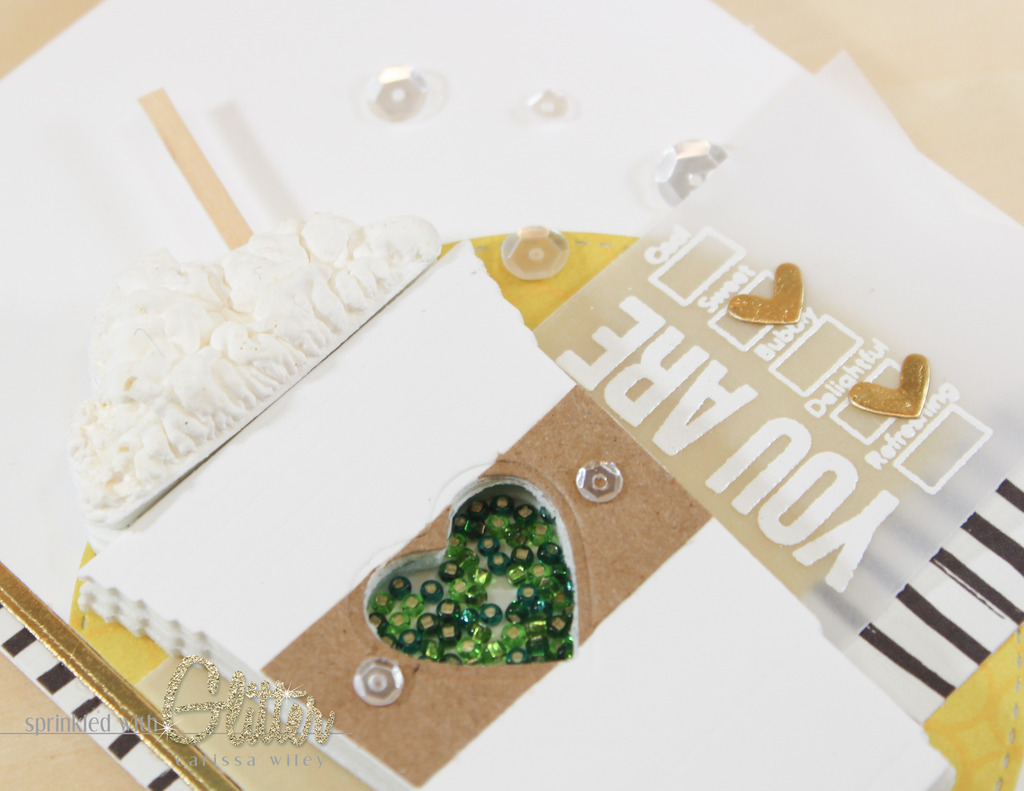
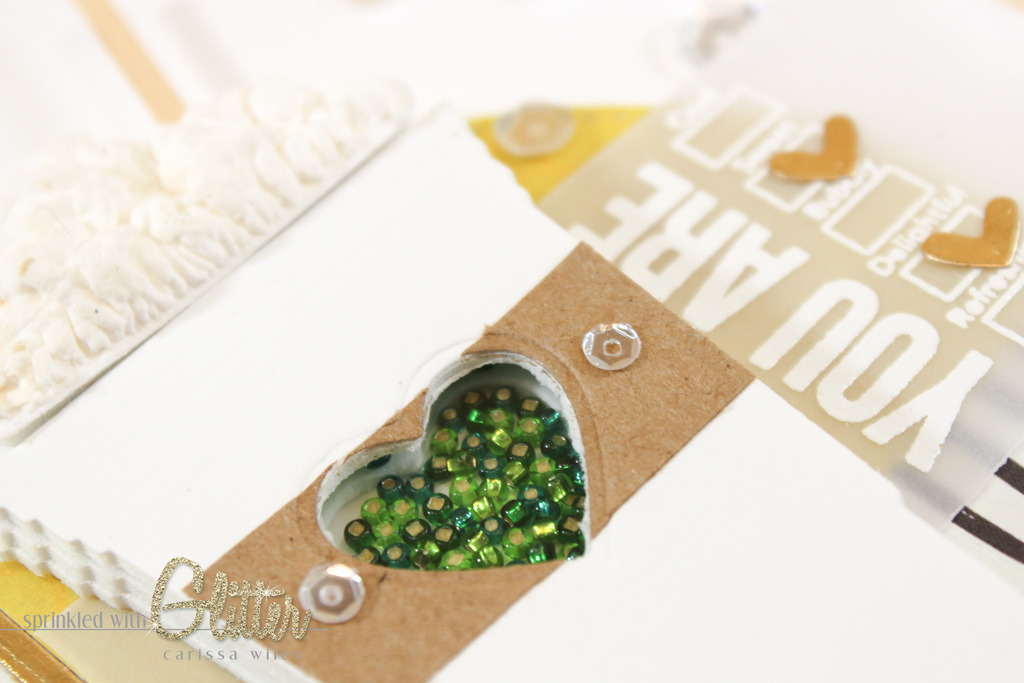
I knew I wanted to make this a shaker card and use some of the beautiful new Woodland Seed Beads from Pretty Pink Posh. Once I had adhered my coffee sleeve on to my cup, I used a nesting hearts die to cut a window from my cup. If you wanted to make this more "Starbucks" like, you could use a circle die instead. I just thought the heart was a fun touch. I also used the same die to cut a window out of another layer of fun foam that I had cut with the cup die as well. This is going to give my shaker window some dimension and allow the seed beads to move freely inside the shaker window.
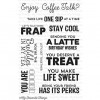
I used the You Are sentiment from the Stay Cool stamp set. There are so many fun sentiments in this set that I had a hard time choosing. But I couldn't resist this sentiment with the way it mimics the customizations on the side of a Starbucks cup. I heat embossed this using some super fine detail white embossing powder on some Essentials By Ellen 43 pound vellum. Since there are some really fine details on this sentiment, it's important that you use a detail embossing powder. This will keep the tiny words from appearing distorted or turning in to blobs. I was pleasantly surprised with how well they embossed.
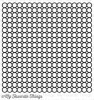
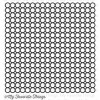
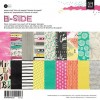
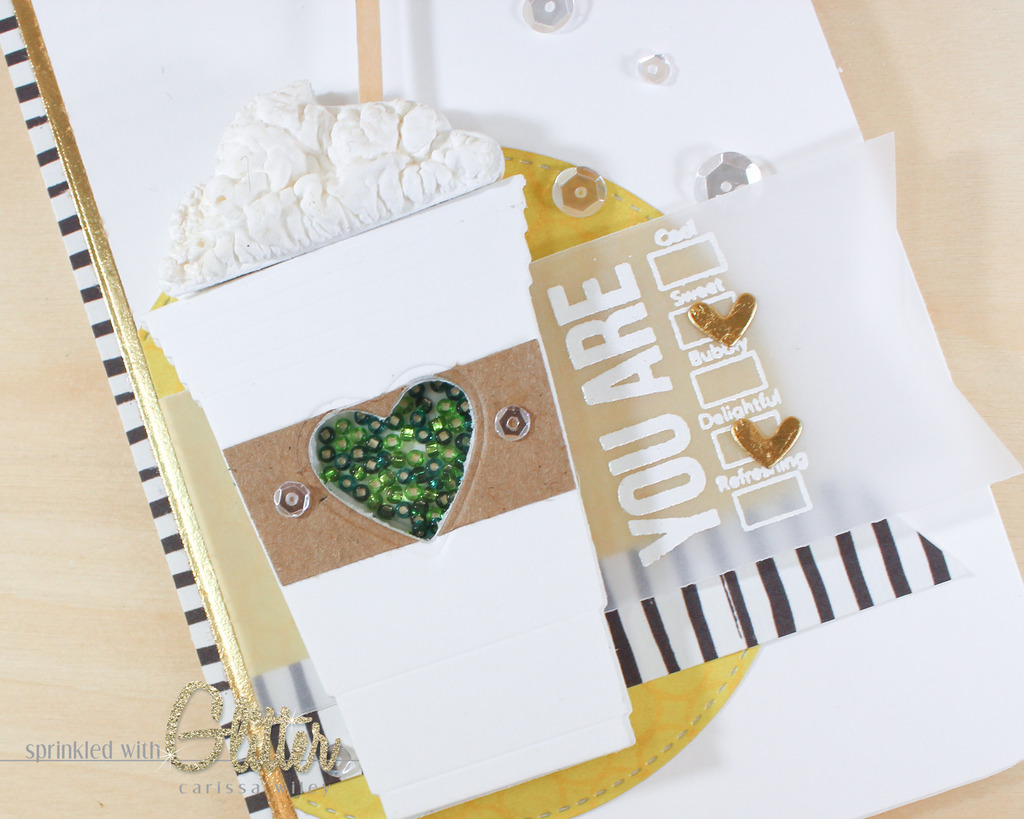
The cup is the main focal point of my card, but I knew it would need a grounding point and to keep the card from being too white, I chose some yellow patterned paper from the Basic Gray B Side 6x6 paper pad. Since this patterned paper had virtually no pattern, I decided to give it some texture by stamping it with the Simply Circles background stamp from My Favorite Things. I chose an ink that would give a tone on tone effect to keep the pattern from stealing the show.
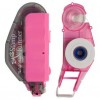
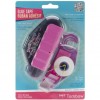
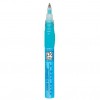
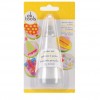
I had a really great time creating the whipped cream for the top of my coffee. I actually drink my coffee with real whipped cream every day...so this was right up my alley. I used the whipped cream die cut shape from the Cool Cup die set to cut my whipped cream shape. Then I coated it with a thick coat of the Marvy Uchida Snow Marker. It doesn't look like much at first, but when you heat it with your embossing gun, this stuff puffs like no other! The directions say you should allow it to dry prior to heating it, but through experimentation, I found I actually prefer to heat it while it's still wet. I also found out that you can scorch and burn this stuff. It would be perfect for a toasted marshmallow, but that's not the look I was going for. ;) I'll show you that in the video below as well.
To complete my shaker portion, I added a small piece of card stock to the back of my shaker window. This will hold all the seed beads in. I also added a small piece of acetate to the front window. I ended up cutting another cup out of the fun foam so that there were two layers between the window and the bottom of the shaker window. This is why it would have behooved me to NOT adhere the fun foam and card stock together to begin with. I ended up with three layers of foam cups...so this card has tons of dimension (and more than I meant for it to have).
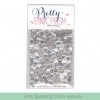
I finished the card off with some additional patterned paper and some sequins from Pretty Pink Posh. I repeated the black and white stripes under the sentiment as well as along the side of the card. I also added some touches of metallic gold card stock along the side and to mark the "customizations" as well. You had to know I'd find a way to add just a touch of gold. And finally to add some sparkle, I added some Sparkling Clear sequins from Pretty Pink Posh.
I've created a video tutorial below walking you through the entire creation of this card. I've also included a complete supply list below.
I'm loving this card. The Woodland seed beads from Pretty Pink Posh are the perfect "Starbucks" green for the shaker window. And the whipped cream looks good enough to eat! And anytime I can combine two of My Favorite Things....coffee and card making...it's a win win situation! I can't wait to use this same stamp set and die set to create a pocket on the front of my card to hold some Via packs or other fun goodies.
Thanks for stopping by today! I hope you've enjoyed this project as much as I enjoyed making it! Don't forget to watch the video tutorial below. And until next time, I hope you have a fabulous day!
Supplies
*affiliate links used*