Owl Always Love You - Adding Details To Copic Coloring
Hi everyone! Thanks for stopping by today. I'm here today with a project featuring a bit of Copic coloring. You know me...I like to keep my Copic coloring simple. Today, I'm still going to keep the coloring simple, but I'm going to show you how to add just a few little details to really bring your image to life. I'm also going to show you an easy way to add some dimension to those teeny tiny die cuts. It's a tip I've shown you before, but it's a good one, so I thought I'd revisit it. Let's get started.
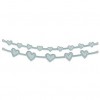
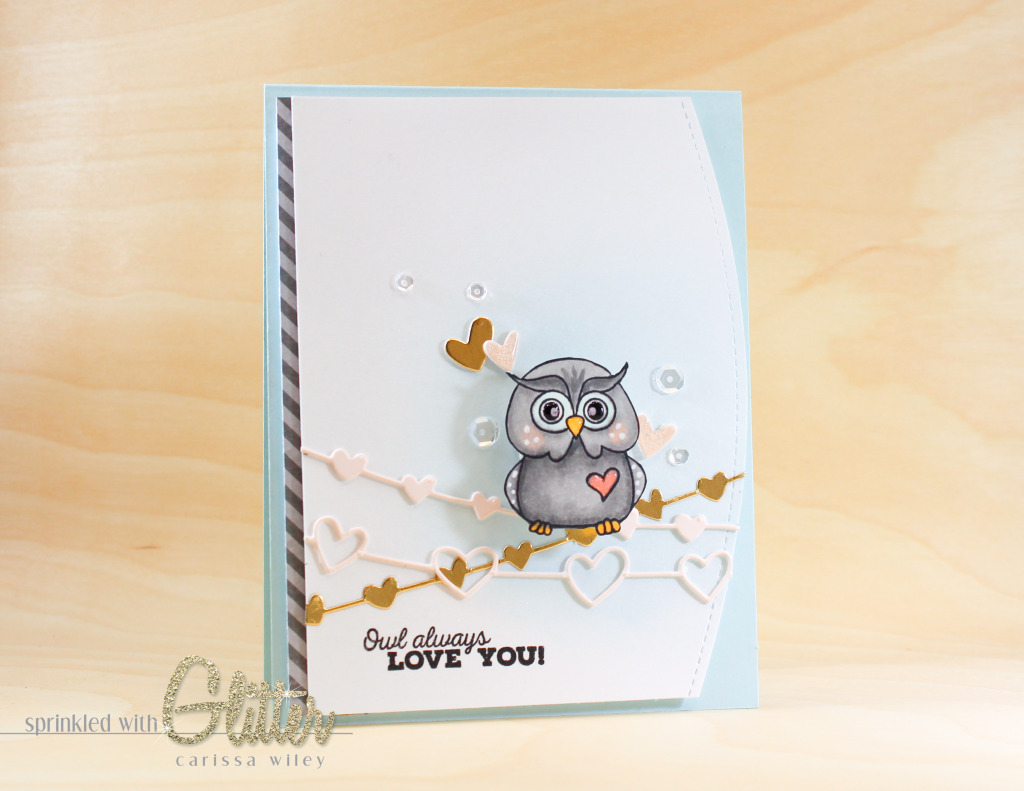
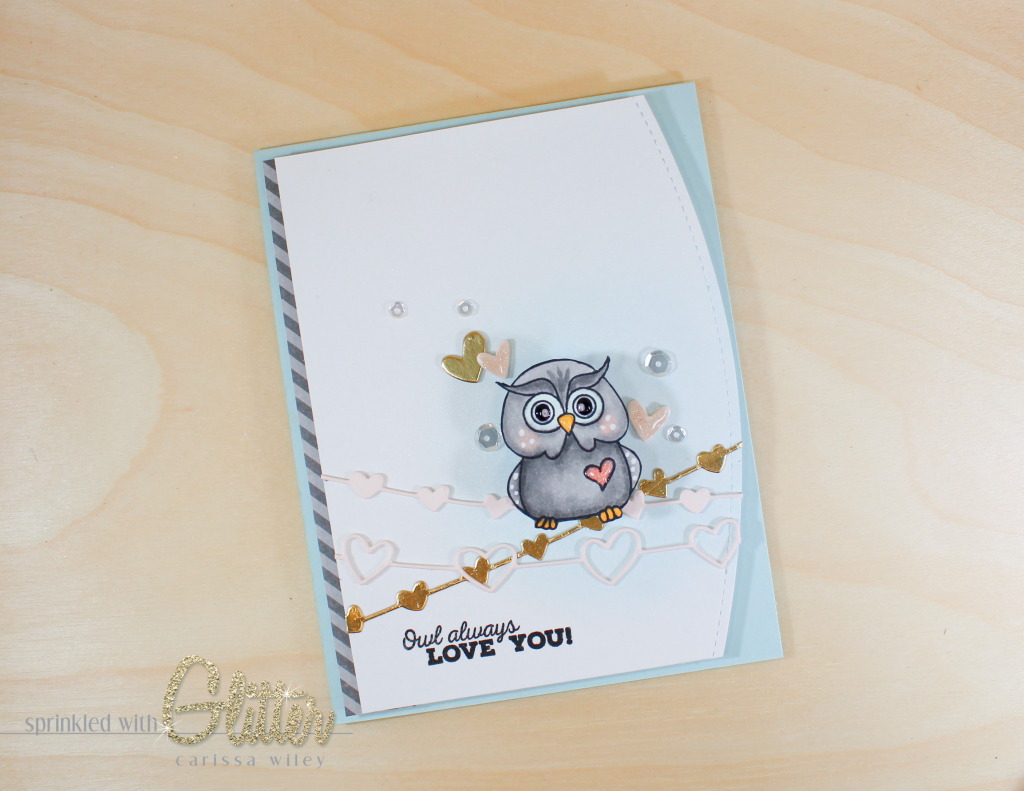
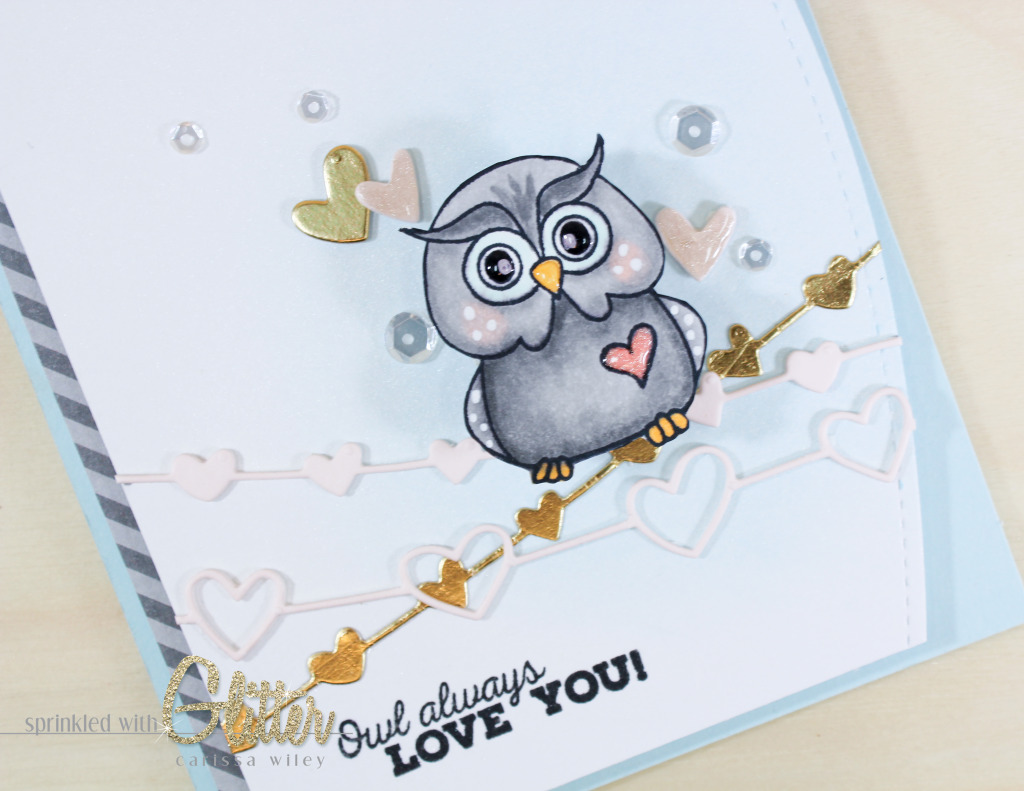
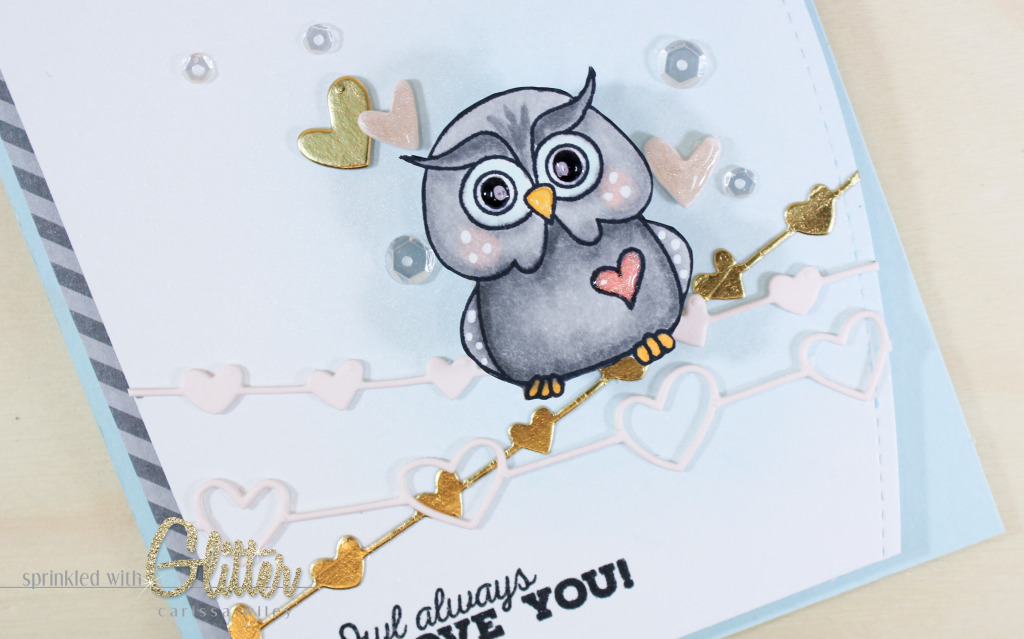
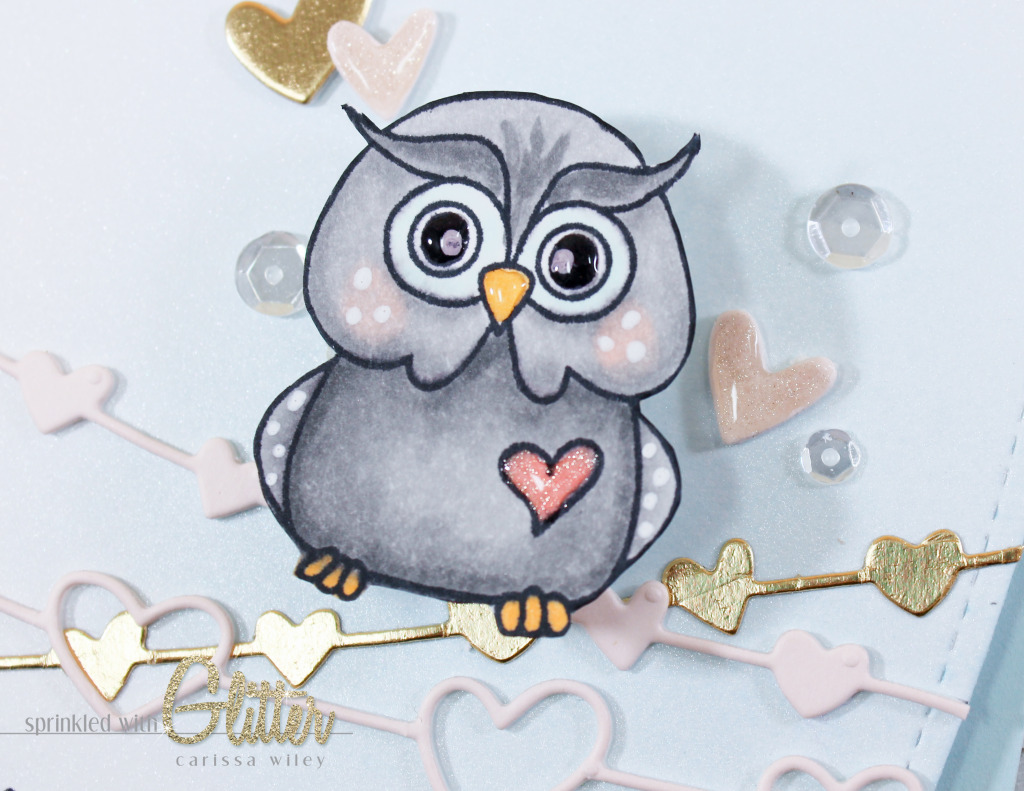
I'll be using some brand new stamps and dies from Technique Tuesday. I knew when I saw this little owl stamp set that I needed to have him. Isn't he adorable? I'll be pairing the adorable owl with the Heart Strings die. I thought the heart string would make the perfect wire for my owl to sit on. These stamps may seem a bit "valentine" themed, however, I really see the potential to use these products year round. Just think of all the sentiments you could pair with Mr. Owl.
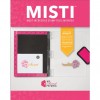
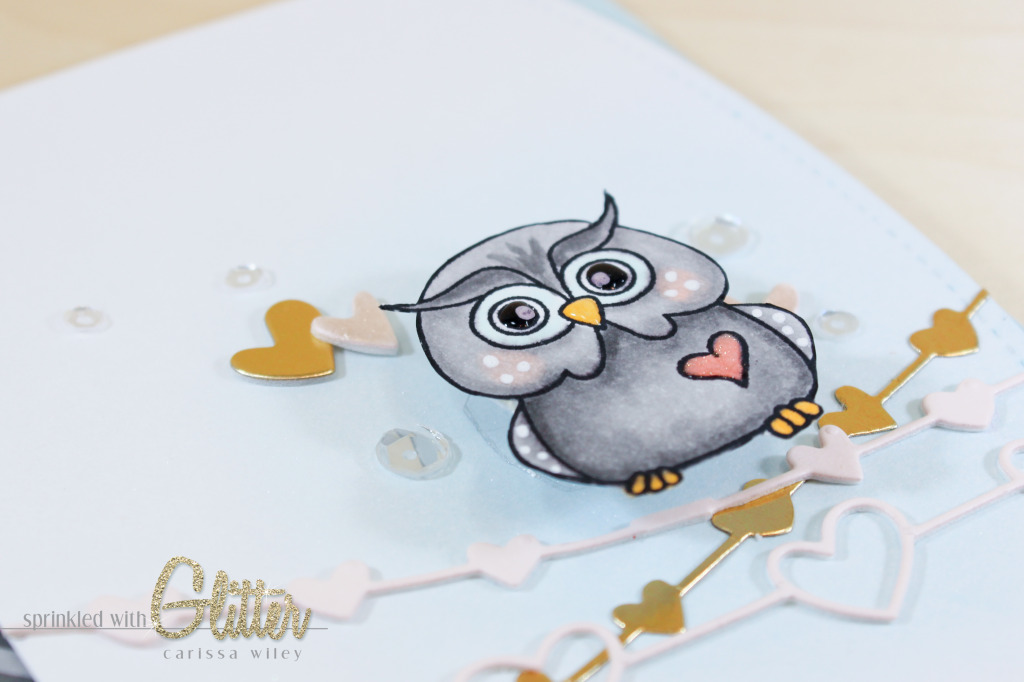
I'll be using my Copic markers to color my owl. I stamped my owl in some Memento Tuxedo Black Ink. I used my MISTI so that I could double stamp my owl and get a super intense black outline. This is a little tip I picked up from Debby Hughes. She's fabulous in case you didn't know.
Once I colored my owl with my Copic markers, I wanted to add some accents to really bring him to life. I used my white gel pen to add some white dots to his cheeks, as well as his wings. I also added some white dots to his eyes to add a little sparkle to his black eyes. Once I get the card assembled, I add further details with some Wink Of Stella and Glossy Accents. These are all really quick and easy additions, and take the owl image up a notch.
I wanted to add some dimension to the Heart Strings die cuts. These dies are really intricate, so I used some Therm O Web double sided foam adhesive to achieve the dimension. It would be really tedious to add foam adhesive pieces to the back of the heart string. By adding the Therm O Web double sided foam to my card stock prior to die cutting, I save myself the headache of trimming down foam adhesive to fit the backs of the intricate die cut. To get a nice clean and complete cut, I used my Precision Base Plate in my Sizzix. If you don't have the Precision Base Plate, try using a shim to add more pressure to your cutting sandwich. You'll need a little extra oomph to get through the foam adhesive, card stock and backer all at once.
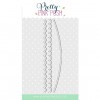
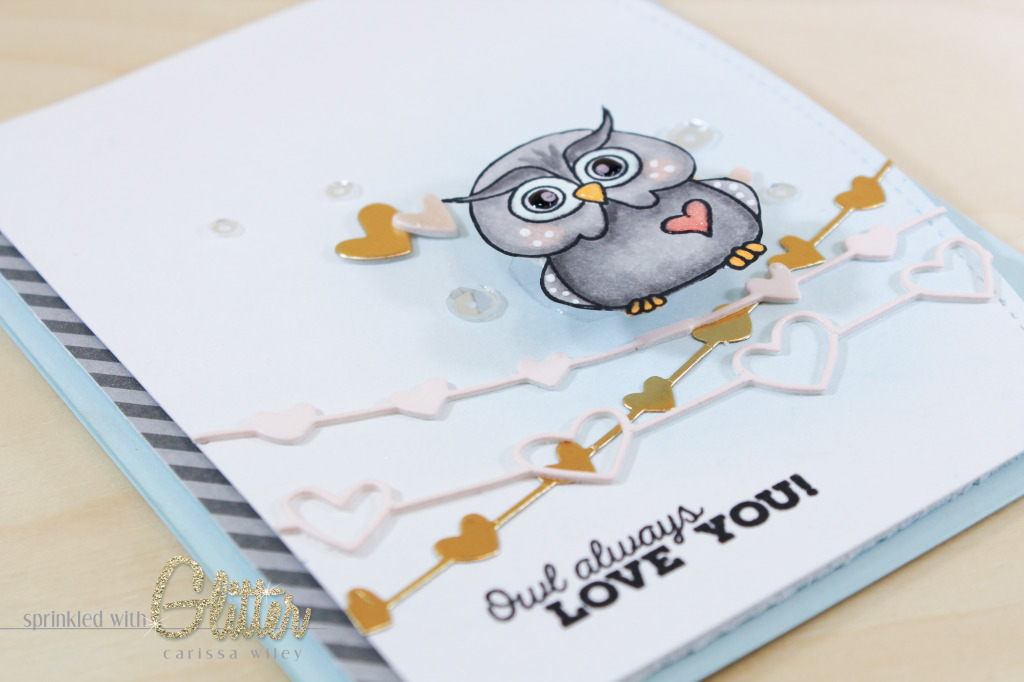
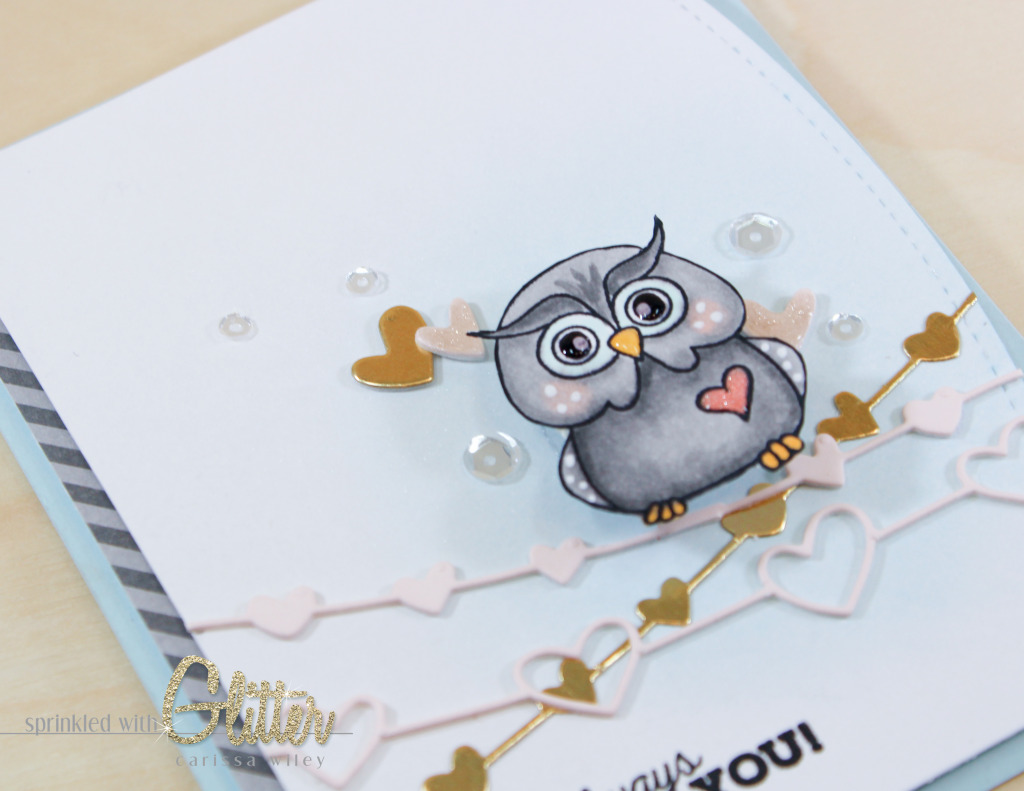
I added a curved edge to my card front using a stitched border die from Pretty Pink Posh. This is just a fun addition to the card and adds a little interest. And I always love a die that adds a stitched detail. It's just a nice finishing touch.
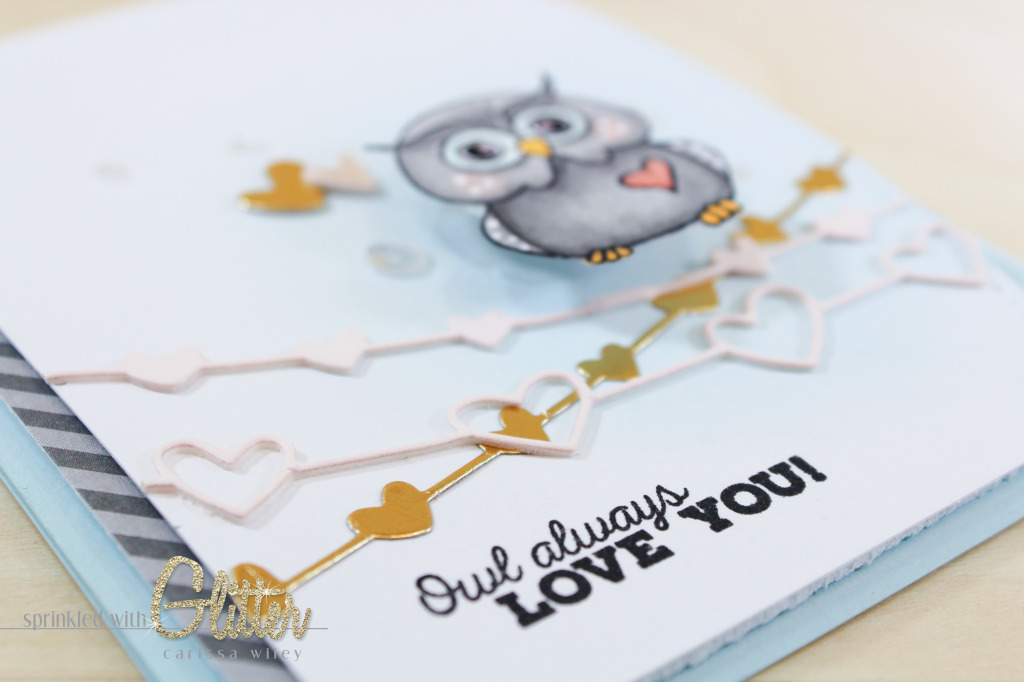
I assembled my strings on the front of the card. I saved the inner portions of the larger heart string to add as accents to the front of my card. These little hearts already had the foam on the back, so they made for a nice dimensional accent sprinkled on the card front.
I added my owl with an Action Wobble Spring. I love to pull these out every now and then. They're a fun way to add dimension and movement to focal images. I had to cut the spring down to fit behind my owl...but I've never had a problem cutting them down.
I finished the card by adding Glossy Accents to the heart on the owl's chest, his eyes and some of the hearts sprinkled on the front. This should be your last step...that way you don't mess up the Glossy Accents while you're working. I usually add the Glossy Accents and then move it as far away from me as I can. I'm known to put my hand in it if it's anywhere even close to me. I've learned to take extra precautions.
There you have it! An adorable little card for someone you'll OWLways love! I've included a video tutorial below walking you through the entire creation of this card. I've also linked all the products used in this project below.
I hope you enjoyed this card project. Thanks for stopping my today! Keep checking in...I've got a couple more video tutorials on deck for you. If you want to keep up with what I'm doing, be sure to follow me on Instagram and don't forget to subscribe at YouTube. Until next time, I hope you have a fabulous day!
Supplies
*affiliate links used*