7 Ways To Step Up Colored Images - Pretty Pink Posh July Product Release Blog Hop
Hi everyone! Thanks for stopping by today. I'm here with a few projects featuring the new Pretty Pink Posh July products. There are some adorable stamps and dies in this release.
This post is a part of the Pretty Pink Posh July Release Blog Hop. Be sure you read to the end of this post to find information on the hop and giveaways!
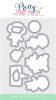
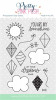
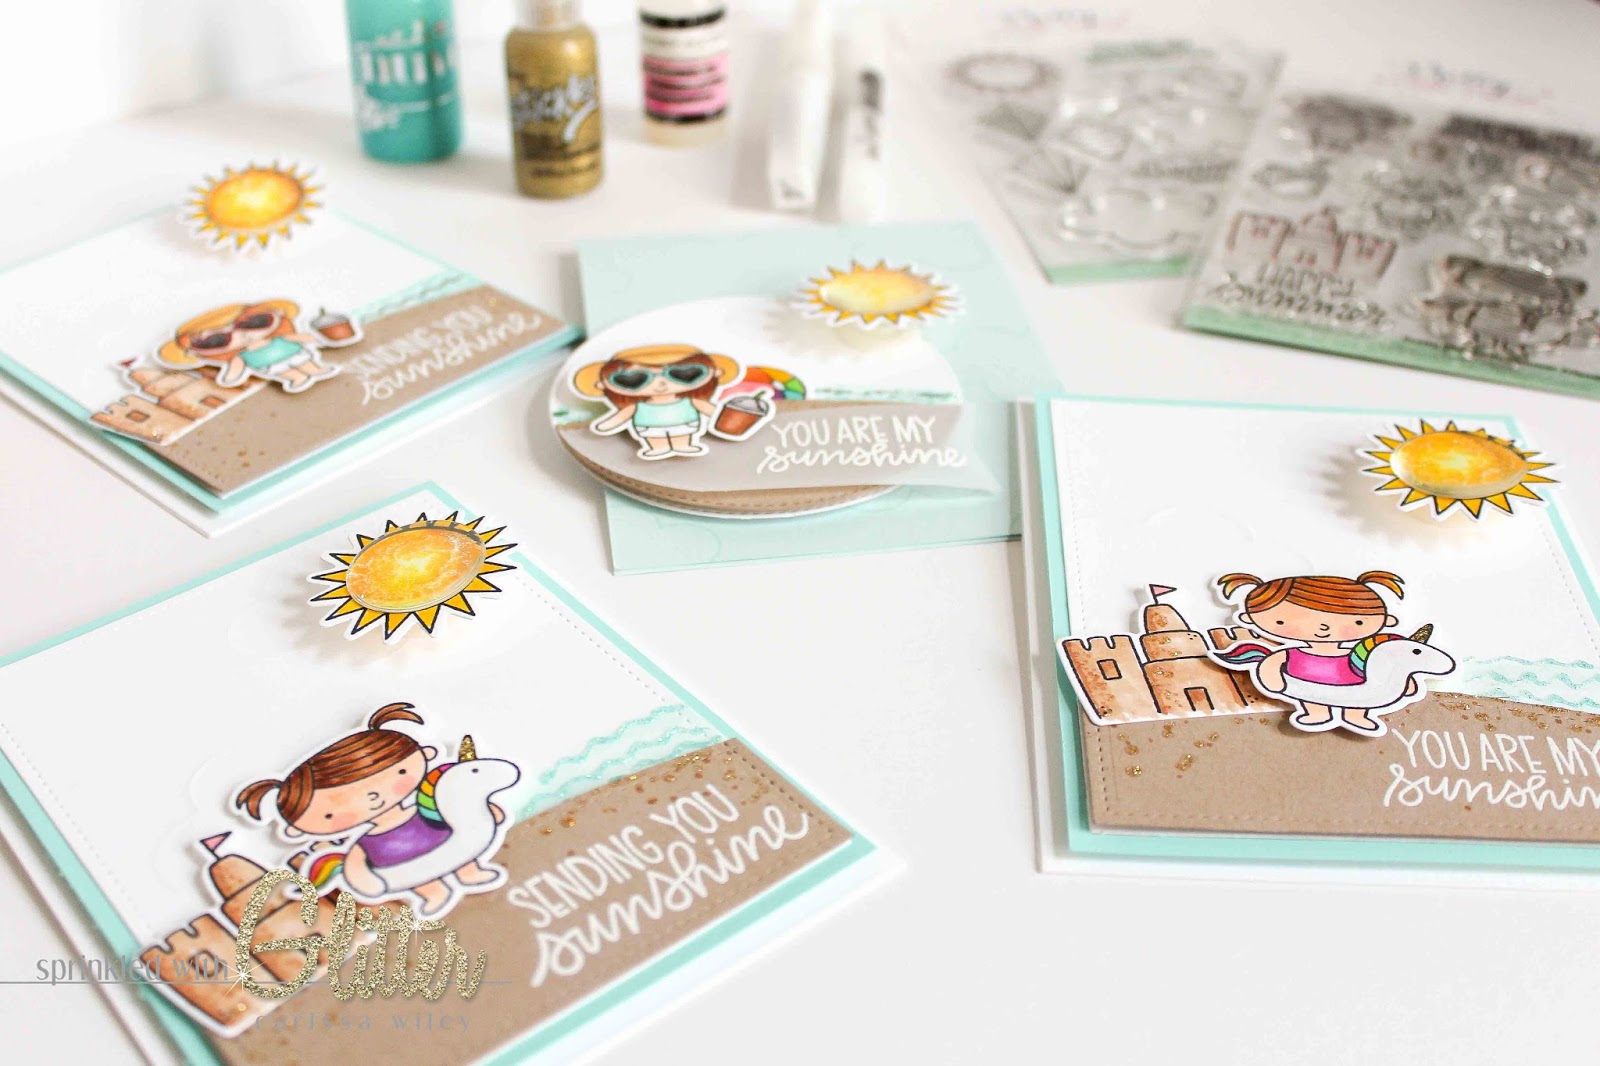
When I saw the Summer Friends stamp set, I just knew I had to use it in my projects. But I love how all of these products coordinate and pair really well together. The Fly A Kit stamp and die set are the perfect compliment to the Summer Friends set. There are so many possibilities for combining these two sets. There are some other great sets in the release as well. Be sure to check them out in the Pretty Pink Posh shop by clicking HERE.
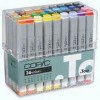
Since the images in this release are pretty heavy on the coloring, I thought I would share 7 ways to step up colored images. All of these images were colored using Copic markers. I love to color images and then add little details to make them feel really special. So let's get to it....
7 Ways To Step Up Colored Images
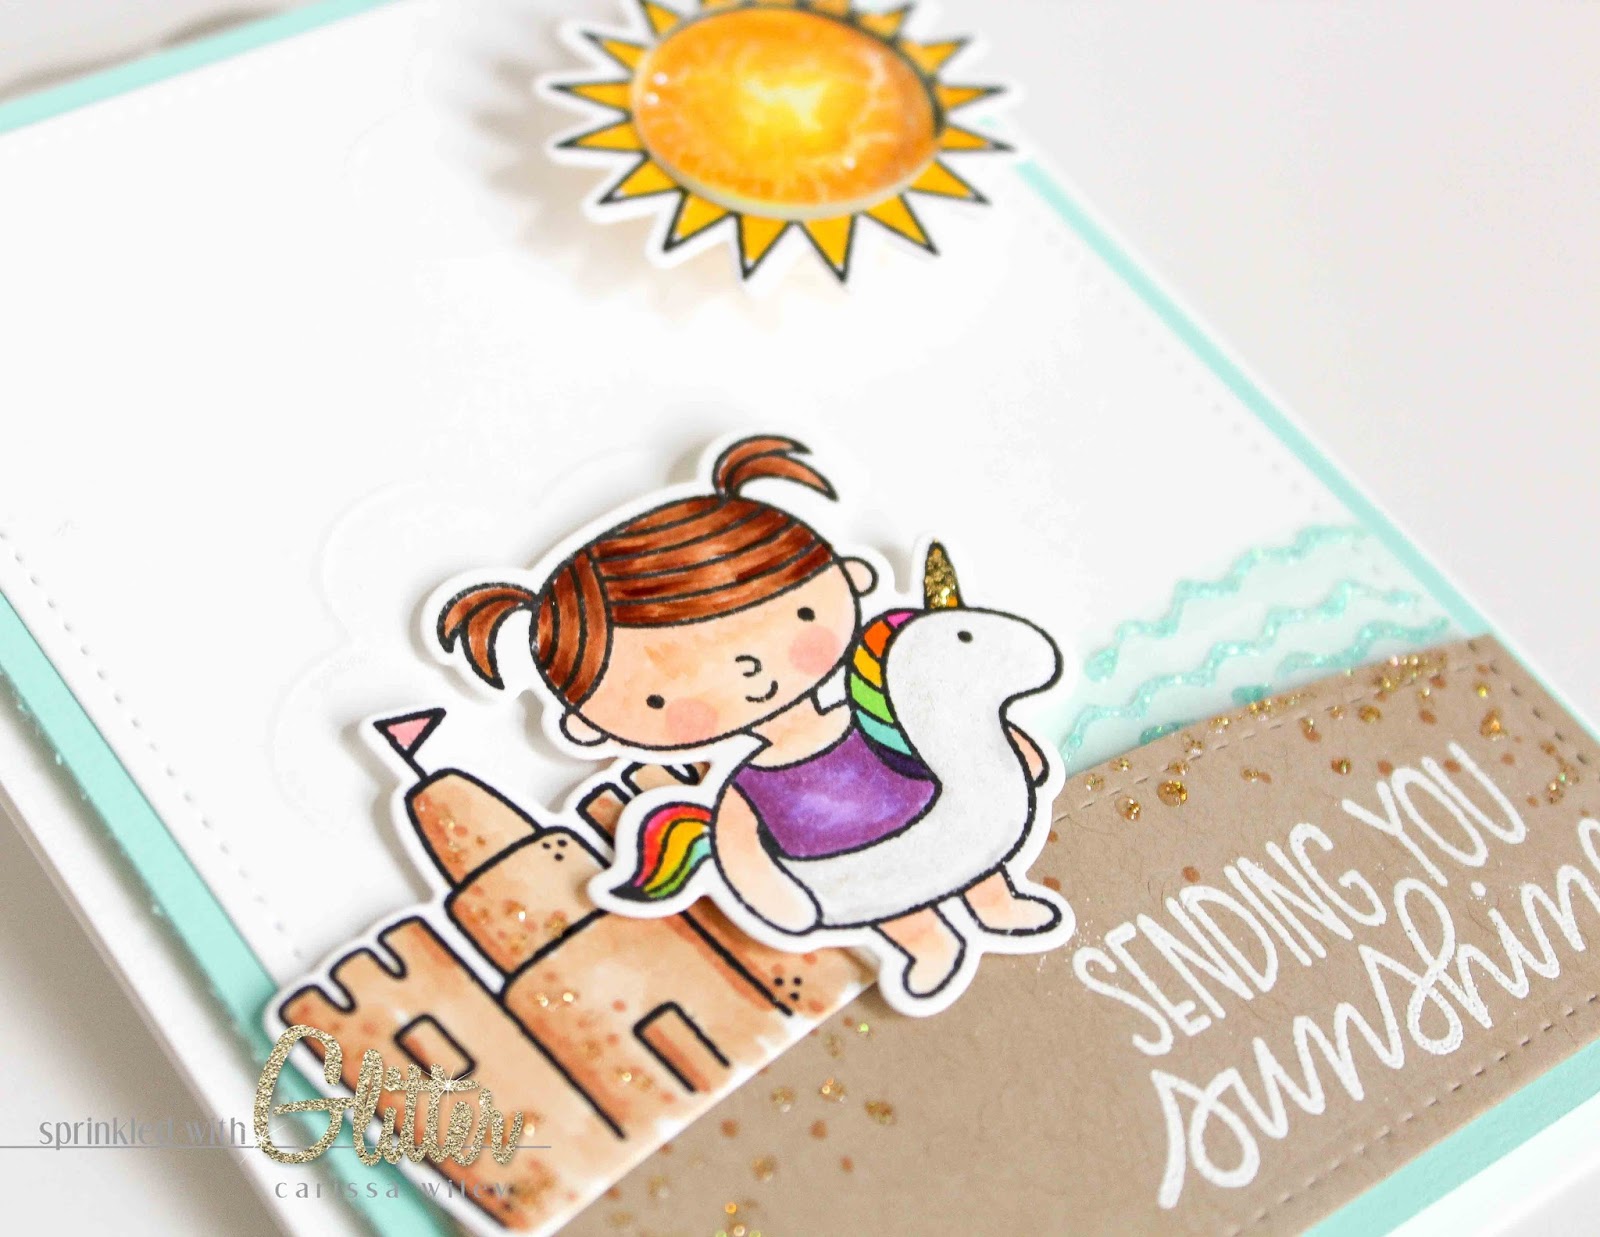
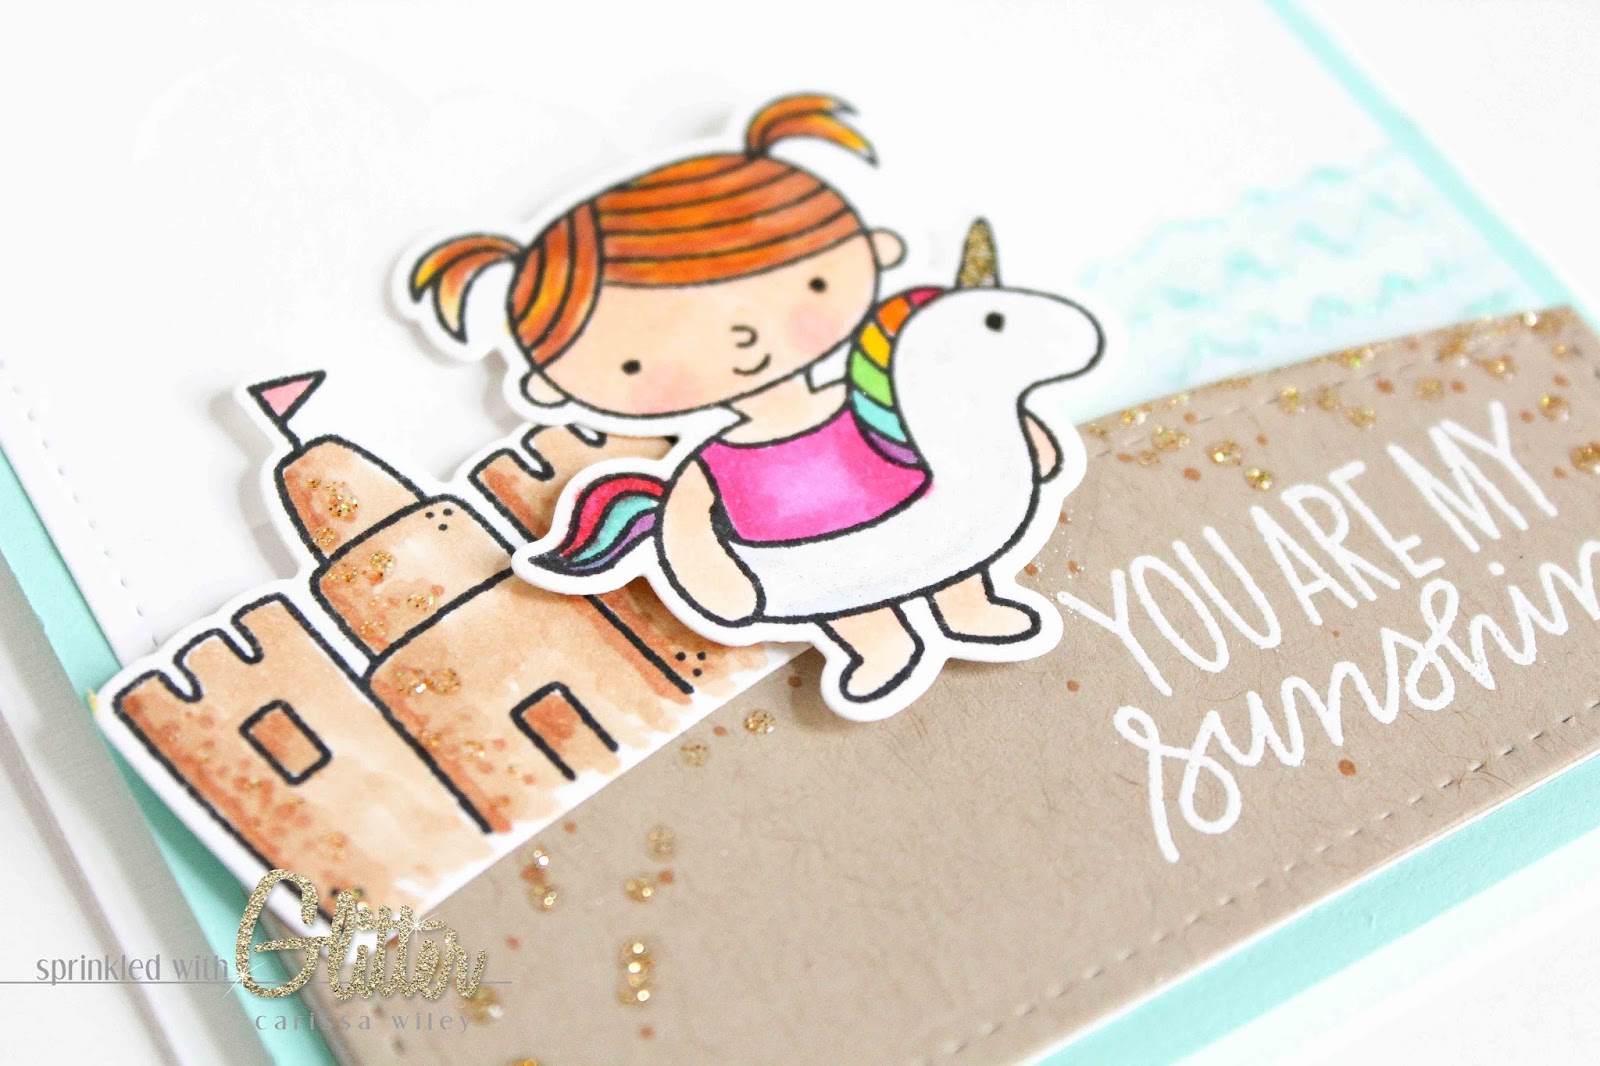
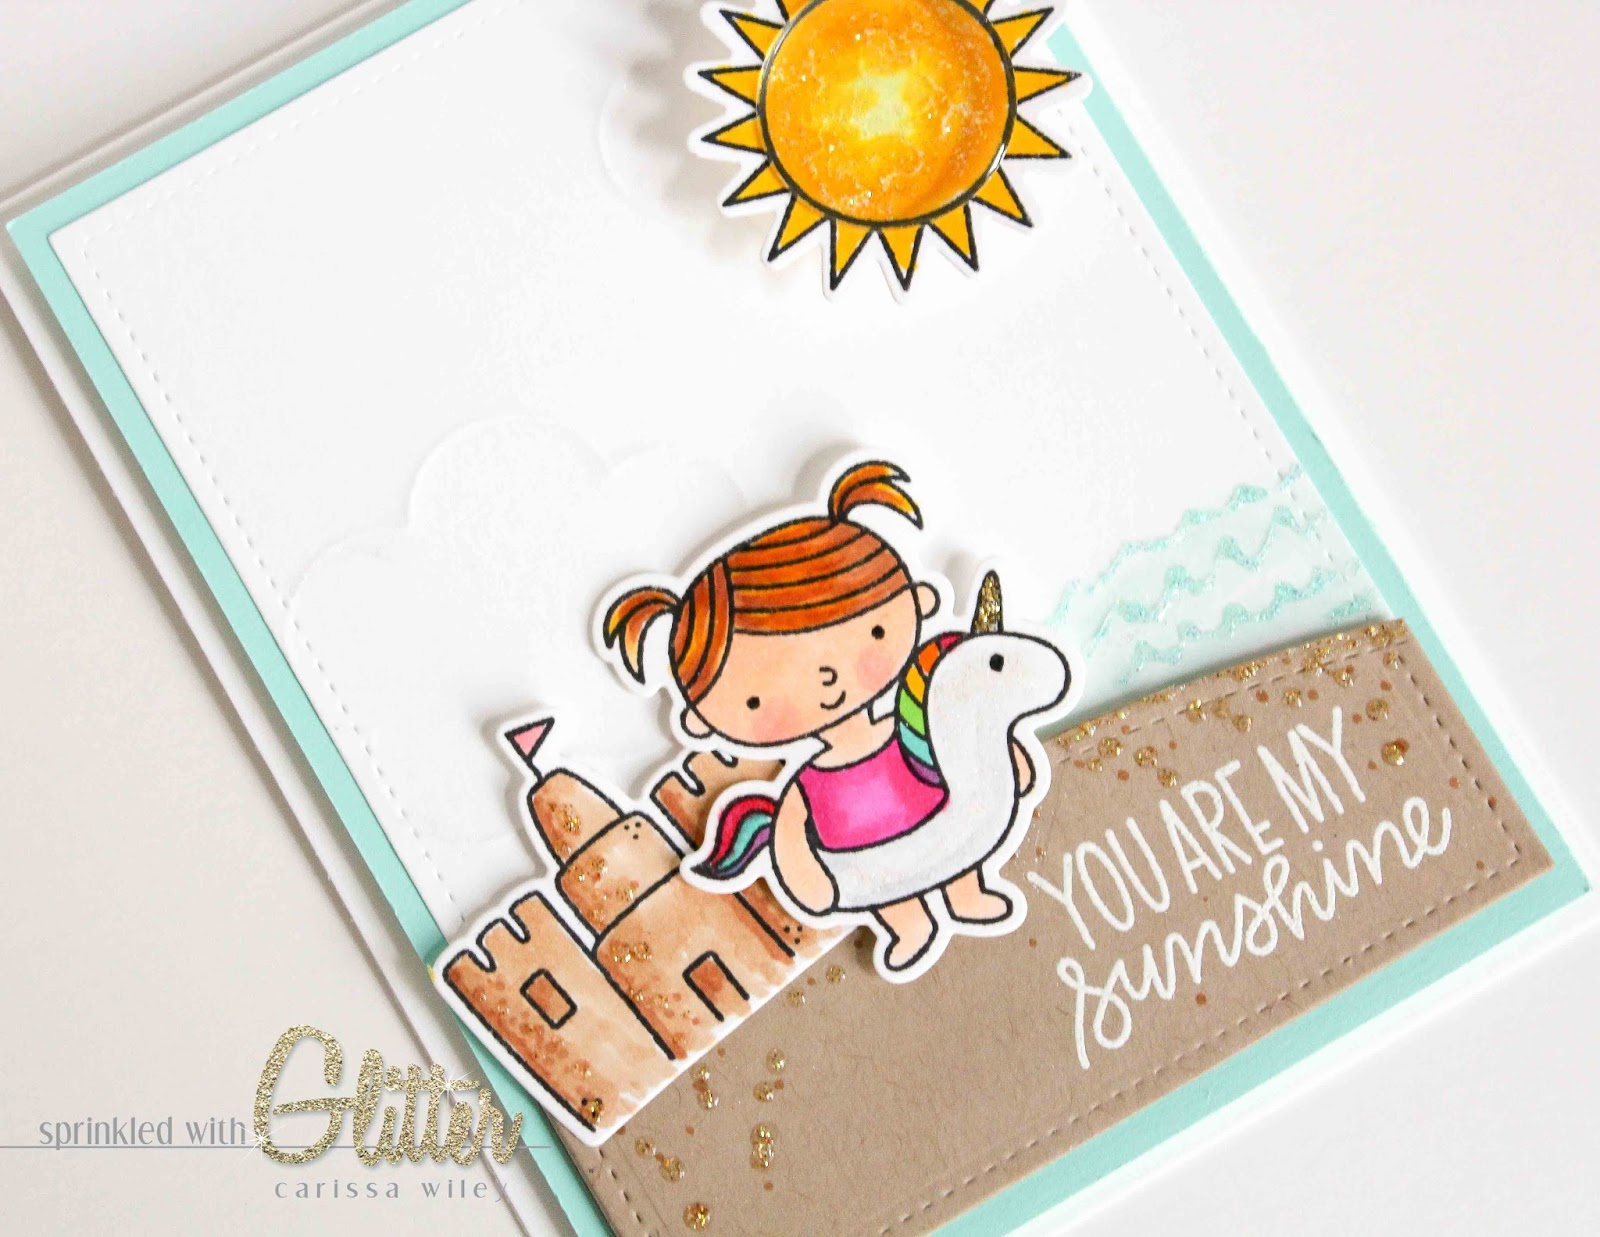
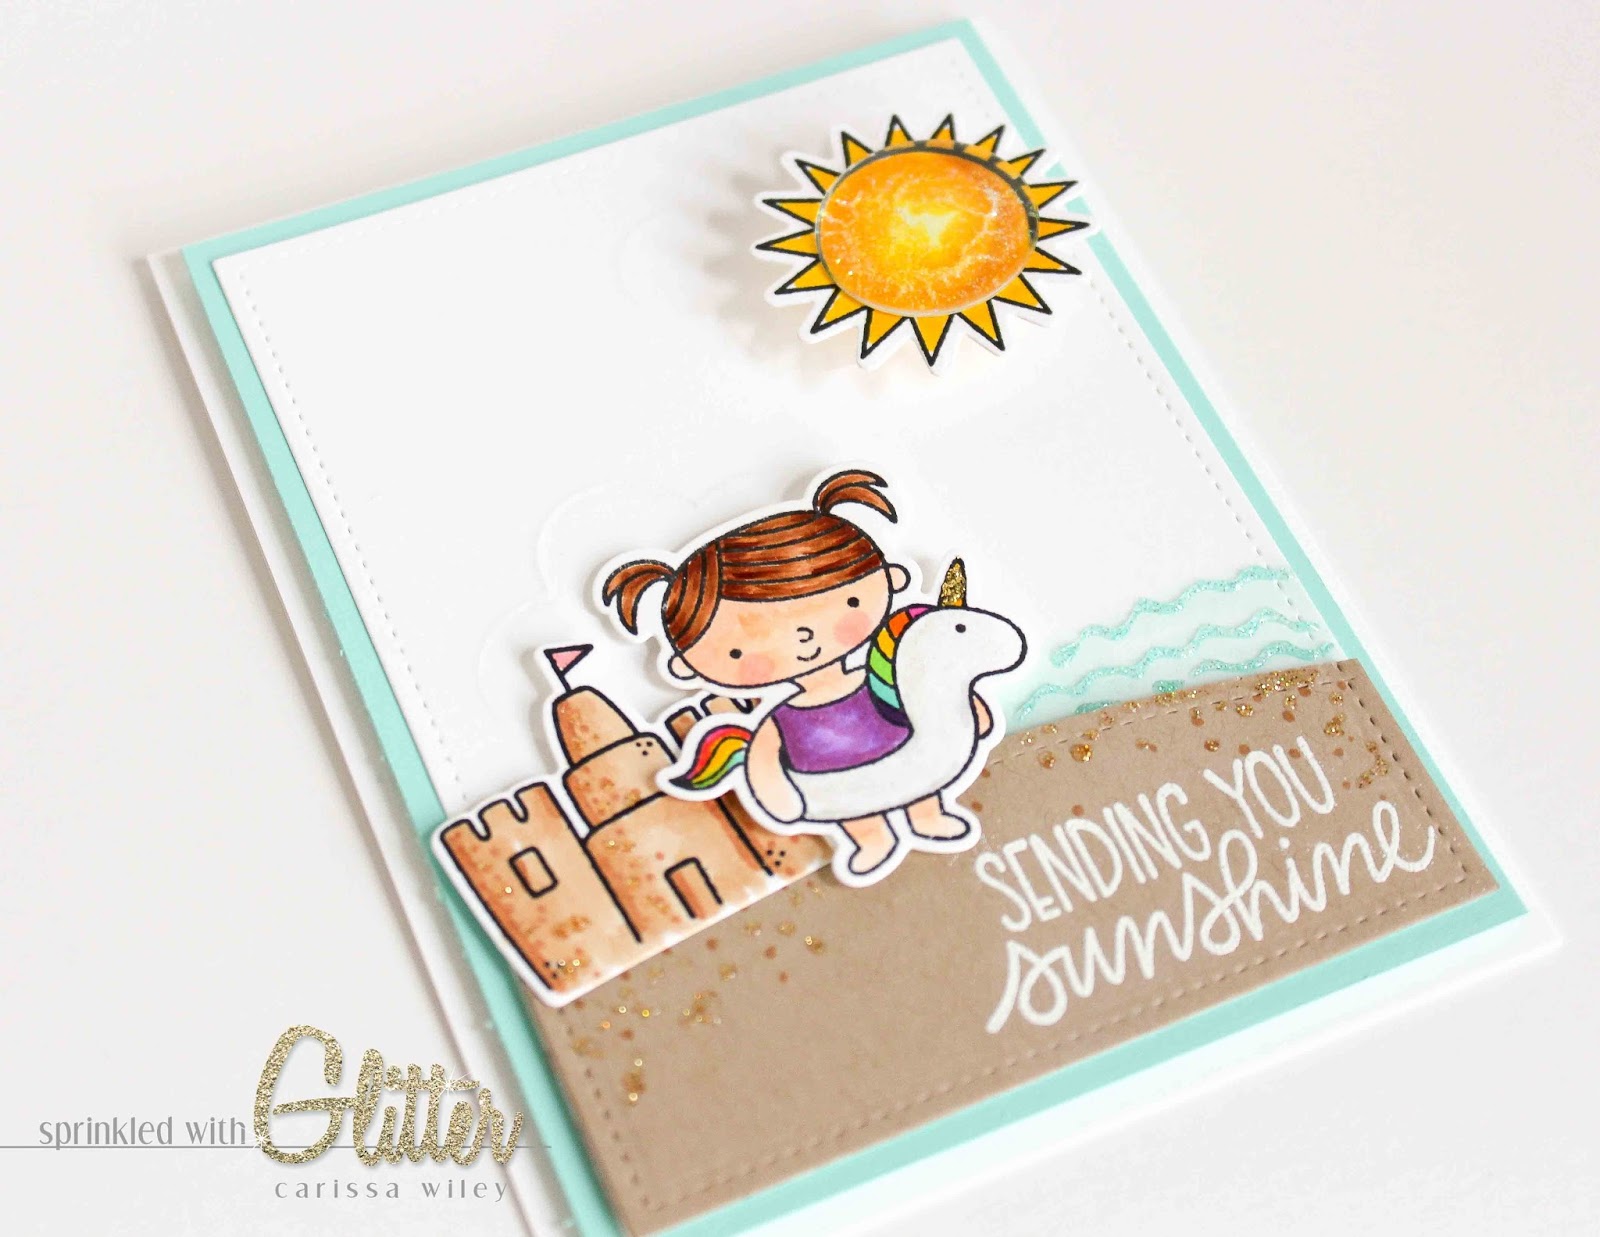
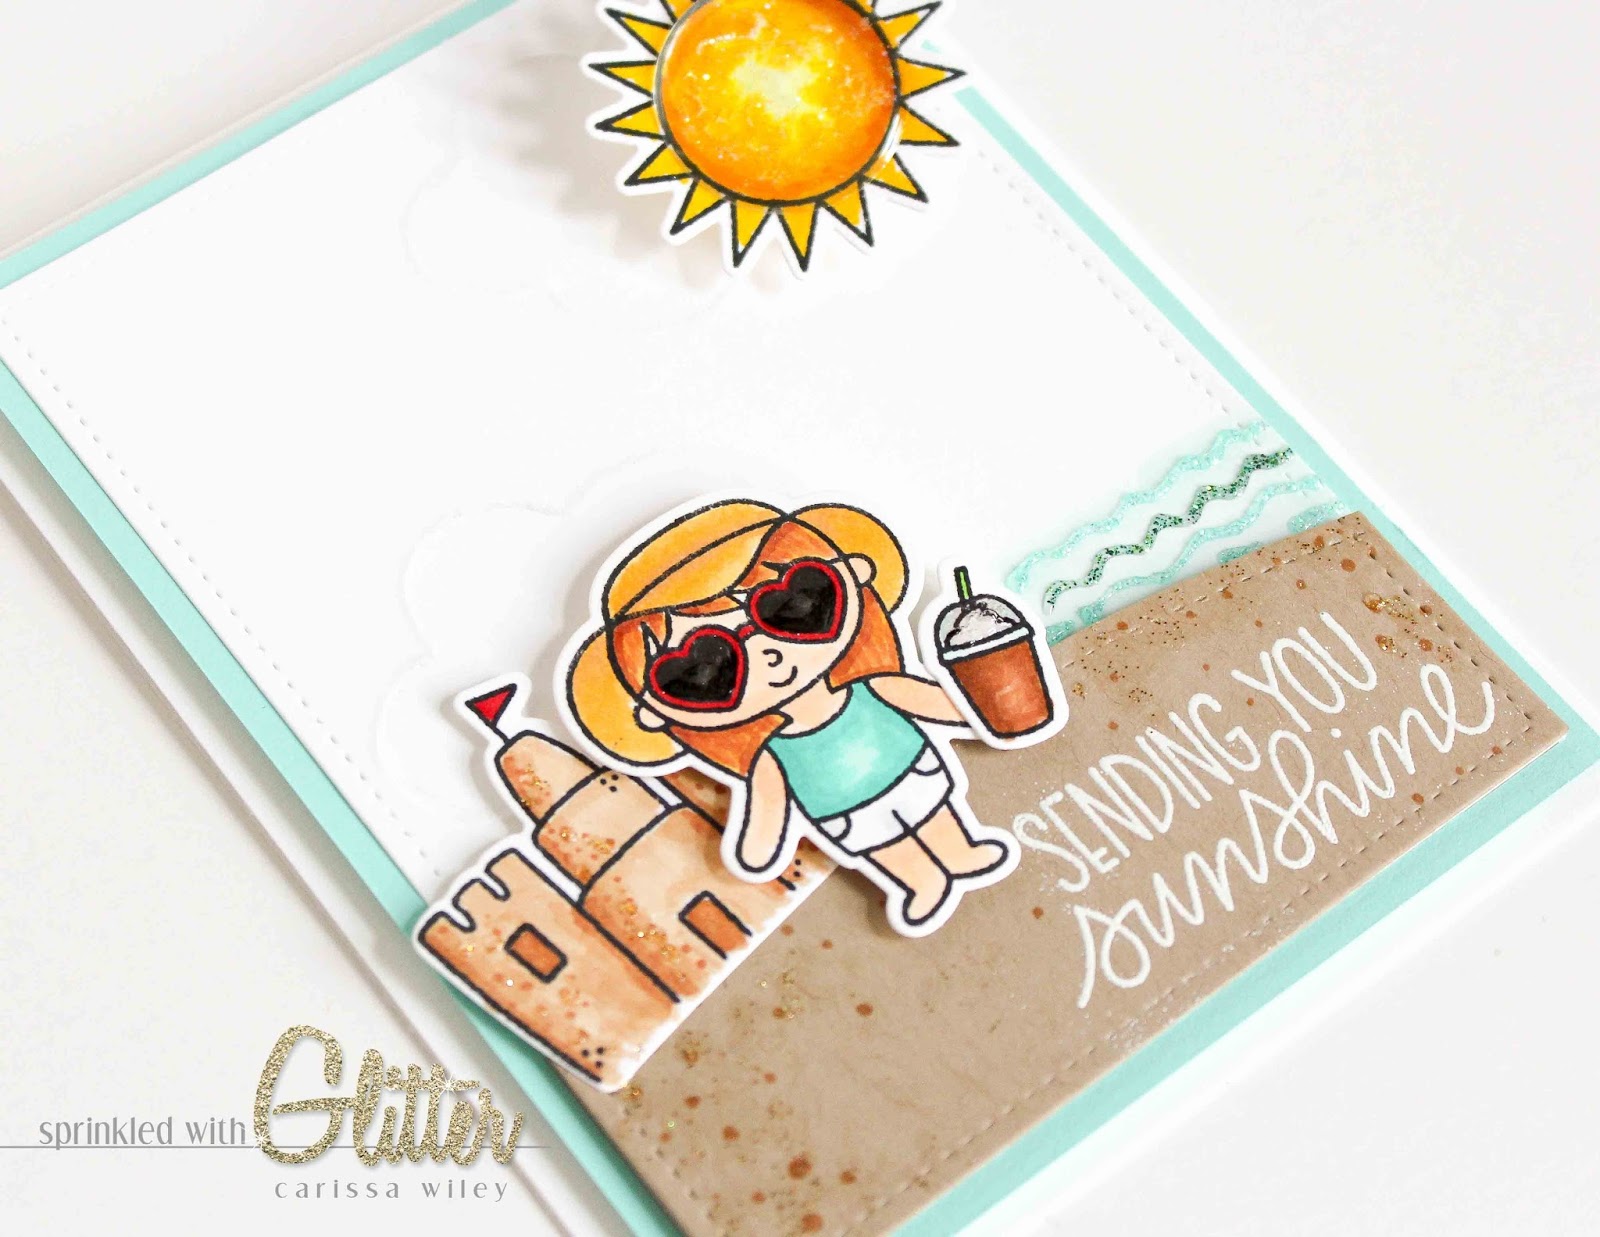
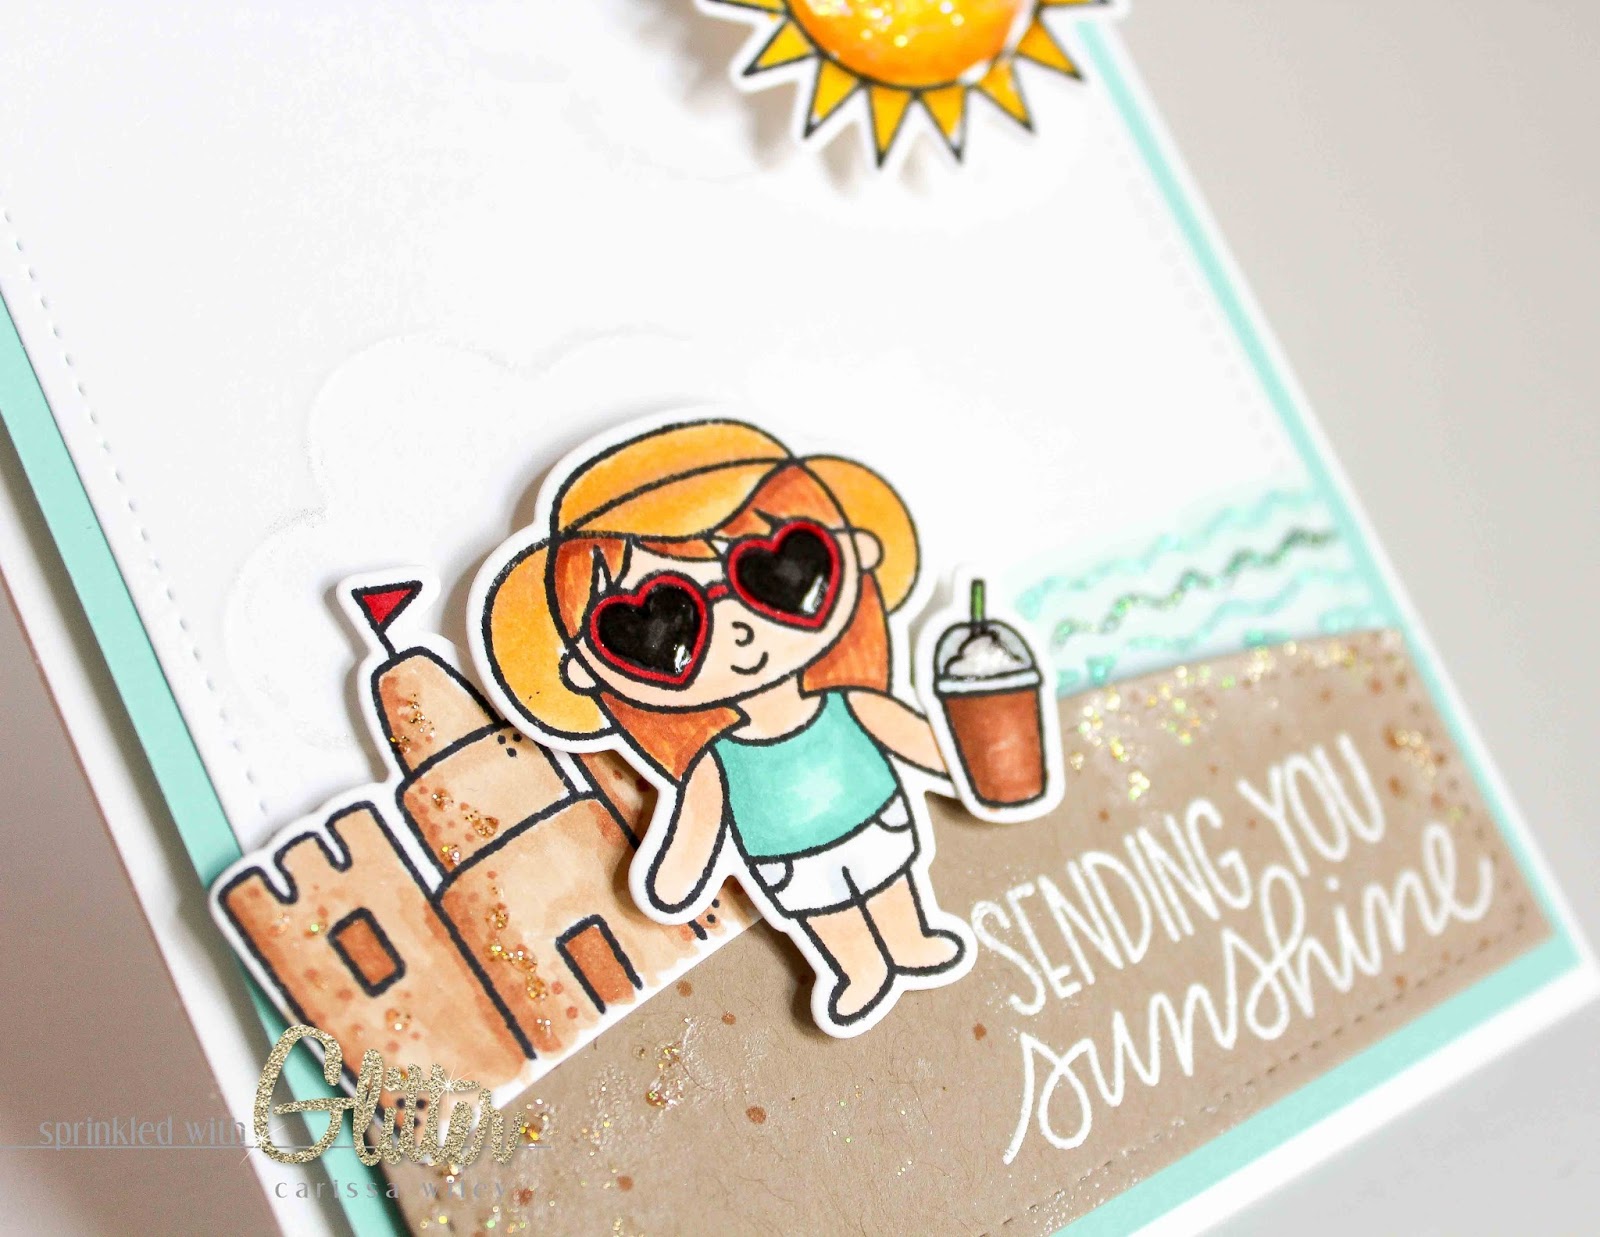
- Foam adhesive - foam adhesive is a quick and easy way to add dimension to colored images. Use various heights when adhering your images and creating your scene to add interest and depth.
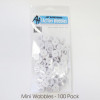
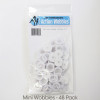
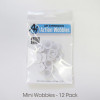
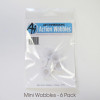
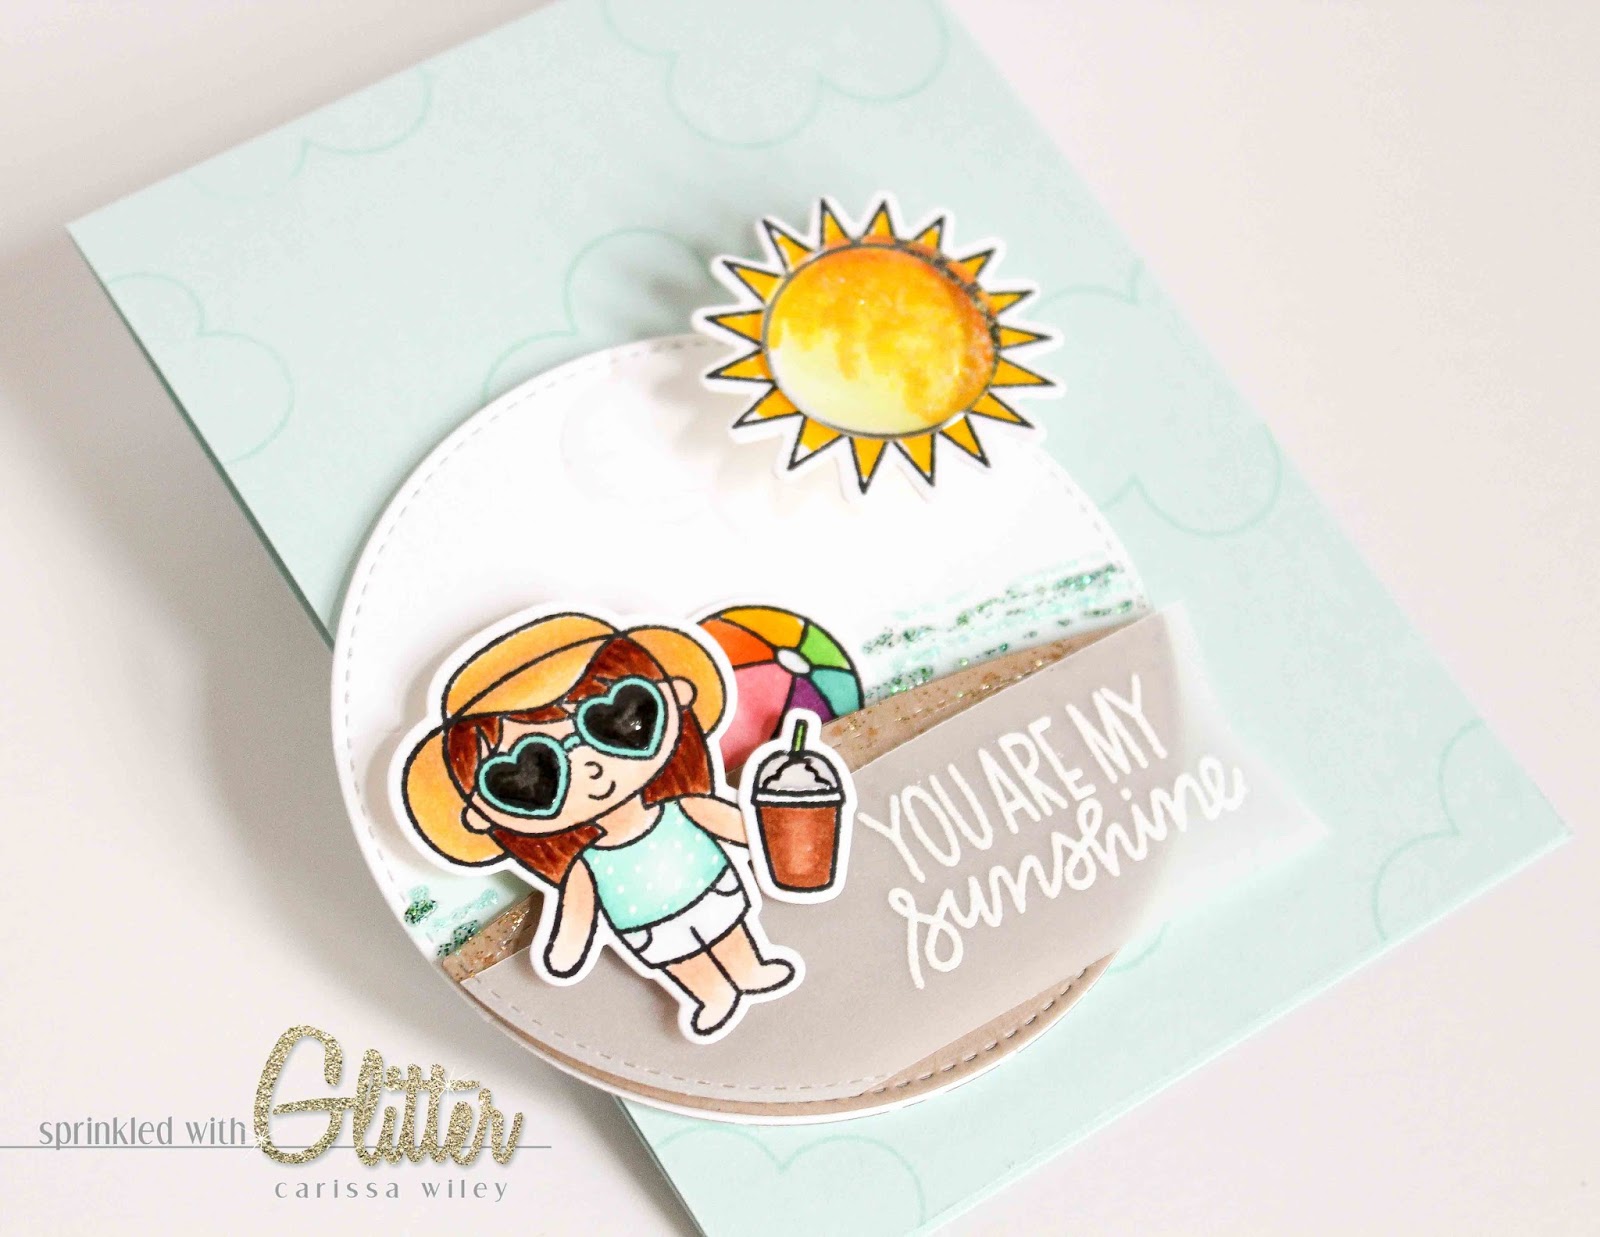
- Action Wobbles - I love these things! They add dimension and a fun interactive element to your card in one easy step. I added a Mini Action Wobble to the back of my sun to make it shimmy and shake.
- White paint pen/gel pen details - Some quick polka dots, stripes or stitching adding to your images with a white paint or gel pen is a quick way to add a bit of pattern to your colored images. P.S. It's also great for correcting little mistakes. ;)
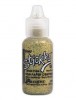
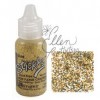
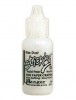
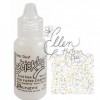
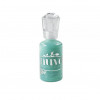
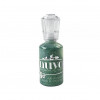
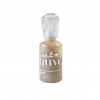
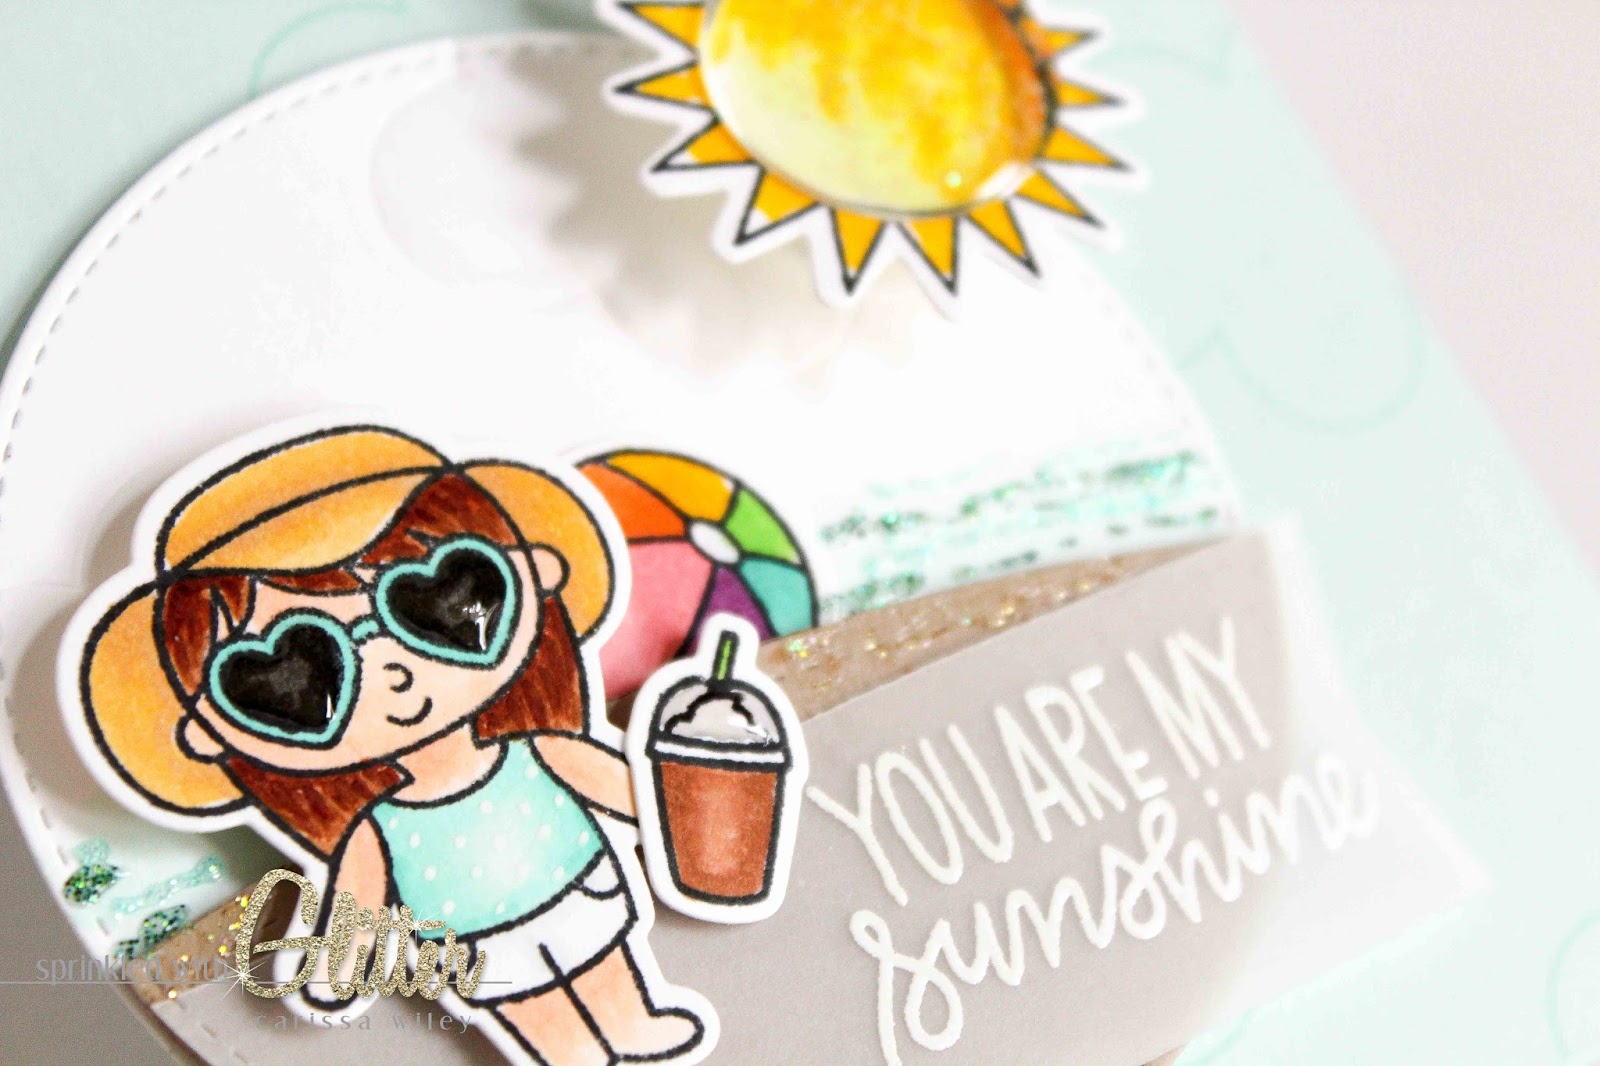
- Glitter glues and drops - Add glitter glues or drops like Stickles or Nuvo Glitter Drops to quickly add a bit of sparkle. I've added a bit of sparkle to my sand, sun and water for some fun sparkle that's quick and mess free.
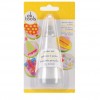
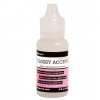
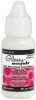
- Glossy Accents - Glossy Accents is a great way to add shine and dimension to colored images. I've added Glossy Accents to the lenses of my sunglasses and to the coffee cup lid to add shine and dimension. It's quick and easy. I like to use a precision tip to get in to small spaces on my colored images. Once you add your Glossy Accents make sure you allow plenty of time for it to dry.
- Epoxy or Enamel dots - Want shine and dimension without the dry time? I like to use Epoxy dots and skip the dry time. These 1 inch dots are the perfect size for the sun.
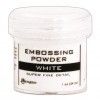
- Shimmer pens - Shimmer pens like the Wink of Stella or Spectrum Noir Clear Glitter overlay are a great way to add subtle shimmer to areas on your card. I used my Wink of Stella to trace around my embossed clouds to make them sparkle when they catch the light.
I'll walk you through these cards in the video tutorial below. Be sure to check it out!
Copic Colors Used
- Blue Shirt BG10, BG11, BG13
- Sunglass Lenses T1, T5, T8
- Pink Shirt RV02, RV04, RV06
- Skin E00, E50, E51
- Unicorn Mane RV06, YR16, Y08, YG05, BG13, V06
- Hat E31, E35 OR Y21, E31
- Hair E33, E35, E39 OR E13, E15, y21
- Purple Shirt V04, V06

Giveaway Information
There are 4 $25 gift certificates up for grabs (two winners each day). This is a two day blog hop, so
be sure to check the Pretty Pink Posh blog for day one.
Winners will be picked randomly along the blog hop. Just leave a comment at each blog along the hop for multiple chances to win. Comments must be left by 11:59 PM PST on 7/18/2017. Winners will be announced on the PPP blog.
Here's an entire list of hop participants for today. If you get lost, you can always start from the beginning at the Pretty Pink Posh blog.
- Pretty Pink Posh blog
- Jeanne Jachna
- Lexa Levana
- Simon Hurley
- Amy Kolling
- Carly Tee Minner
- Shannon McComb
- Eloise Blue
- Christy Reuling
- Lisa Elton
- Gladys Marcelino
- Carissa Wiley ----YOU ARE HERE
- Melody Rupple
- Yana Smakula
Thanks for stopping by today. I hope you enjoyed these projects and these quick tips for adding fun details to your colored images.
Don't forget to check out the video tutorial below. I'll share a lot more information there!
Until next time, I hope you have a fabulous day!
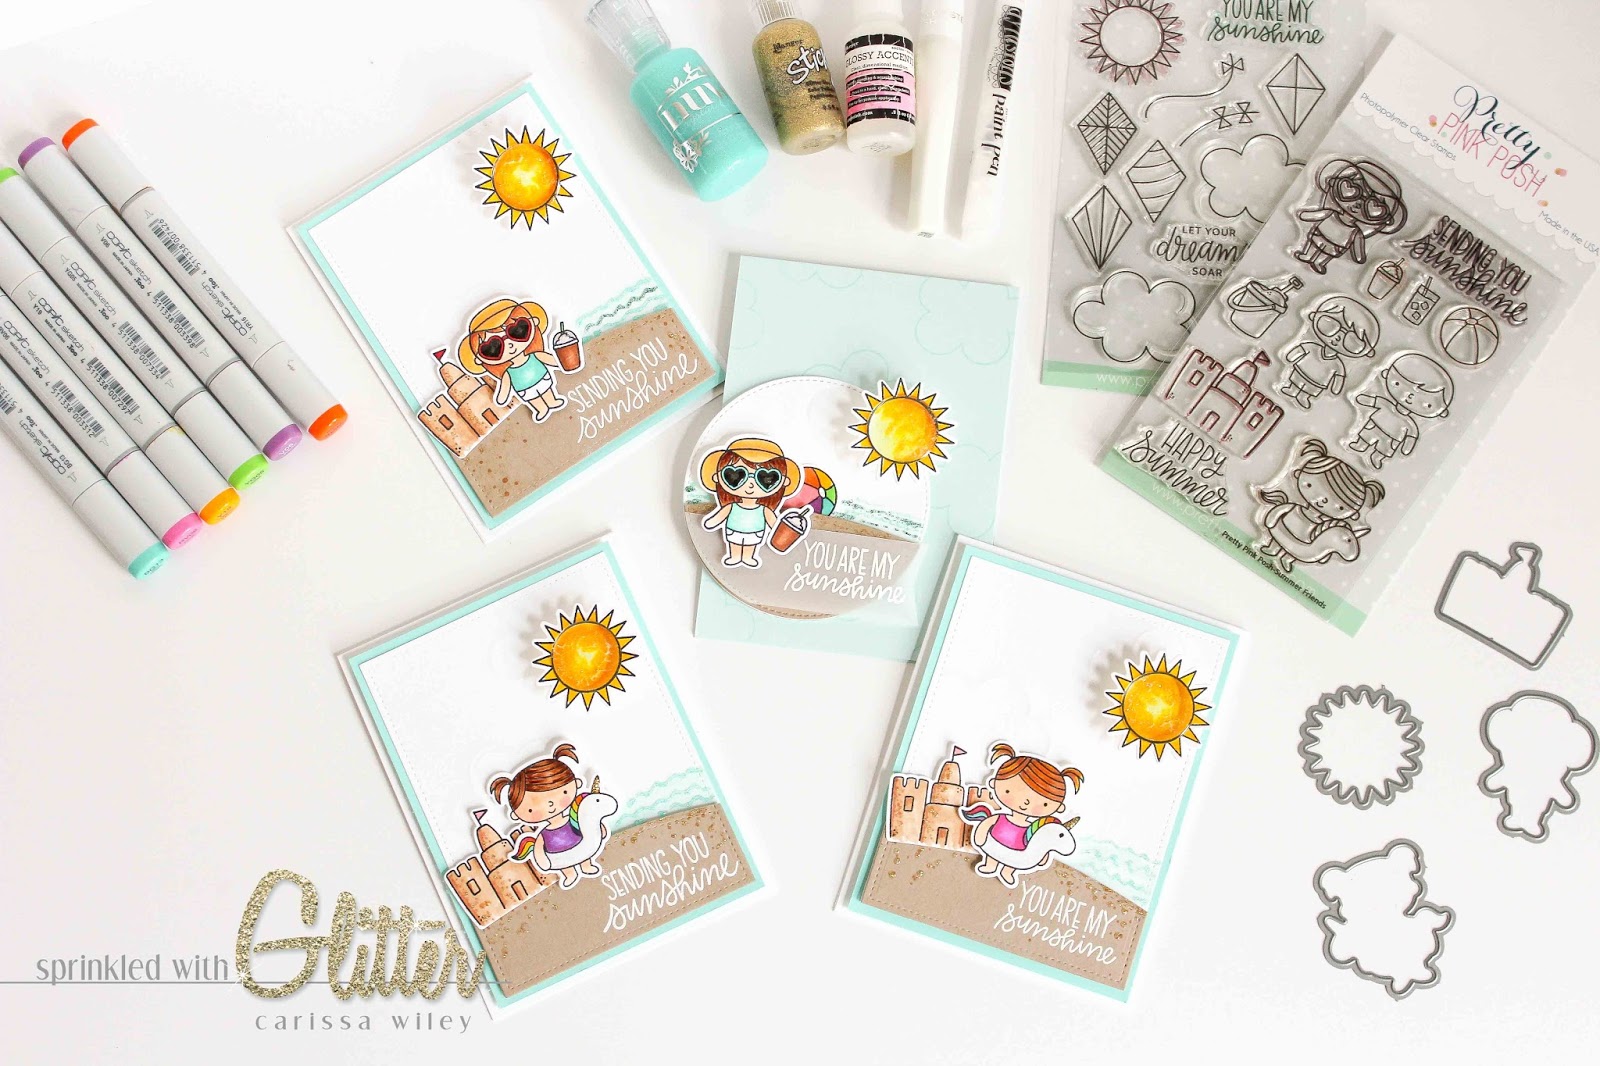
Supplies
*affiliate links used*