Blessed Watercolor Card Set - Daniel Smith Watercolors
Hi everyone! I hope you're having a fabulous Friday! Can you even believe that July is almost over?
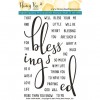
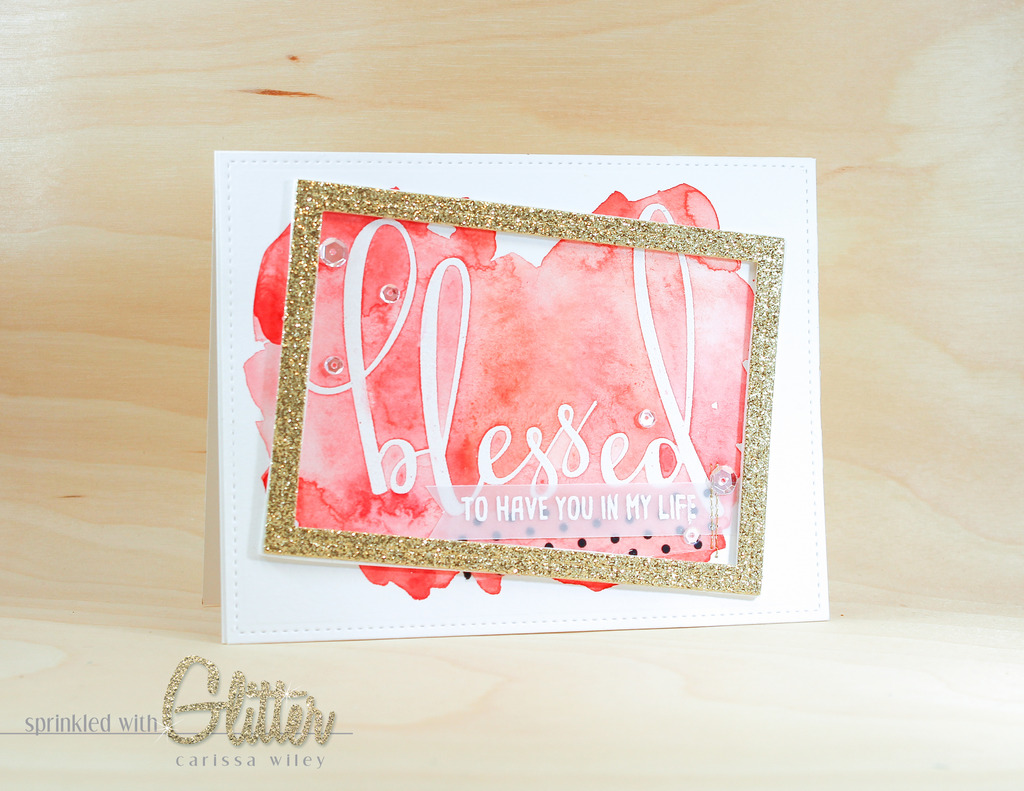
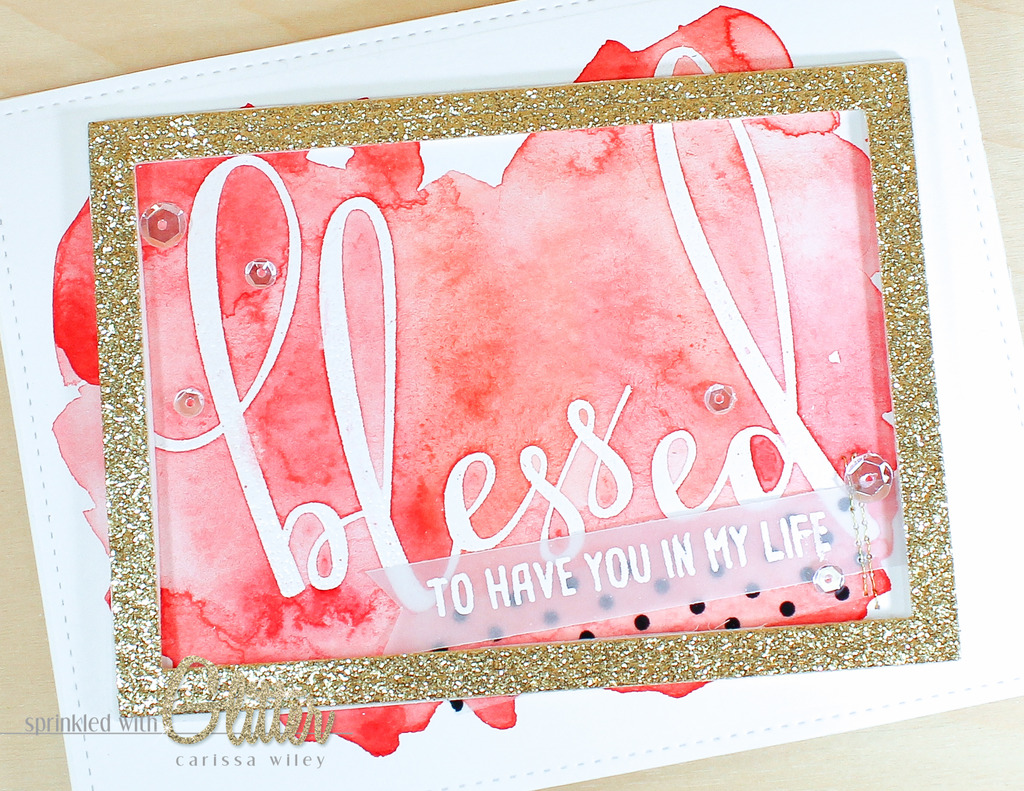
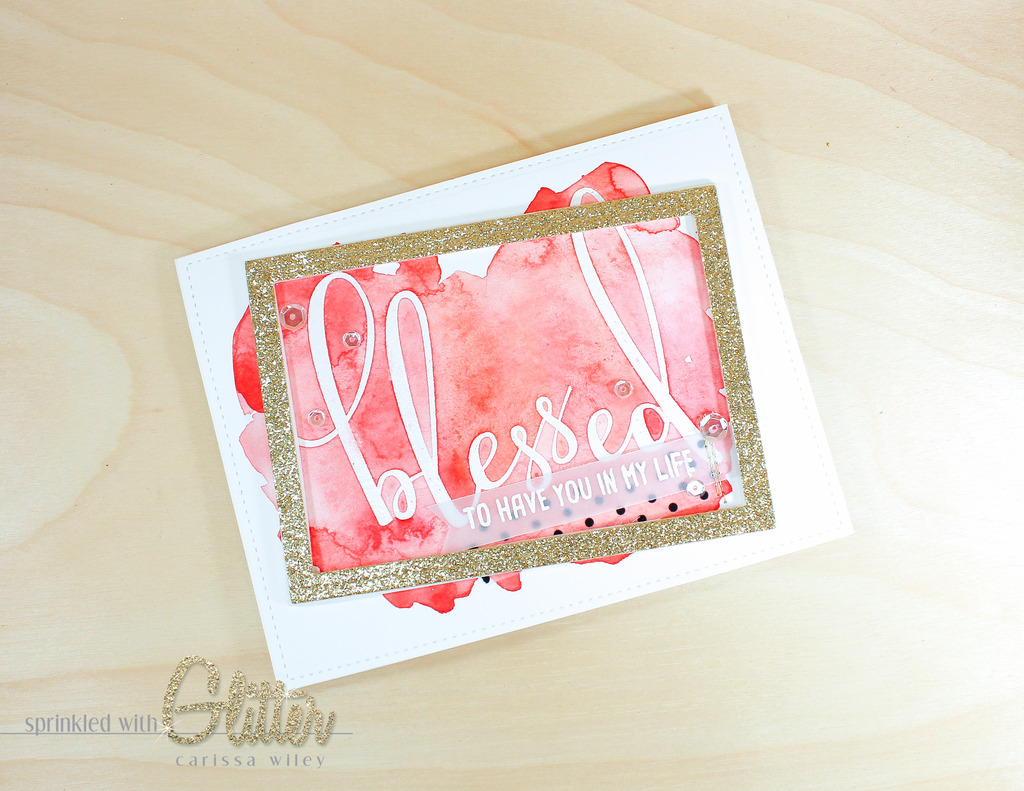
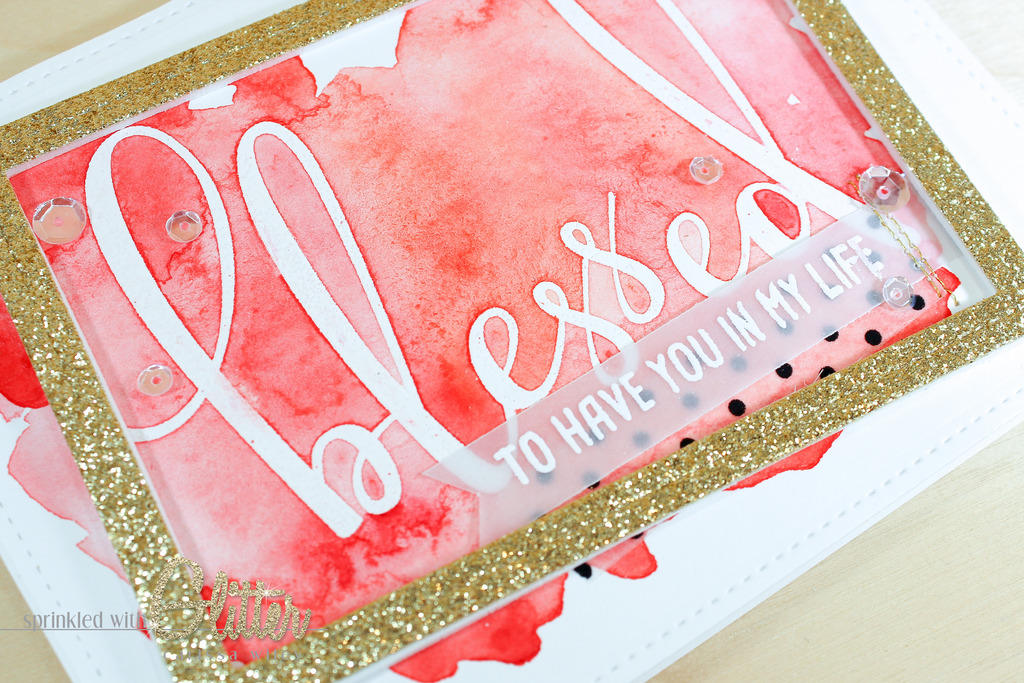
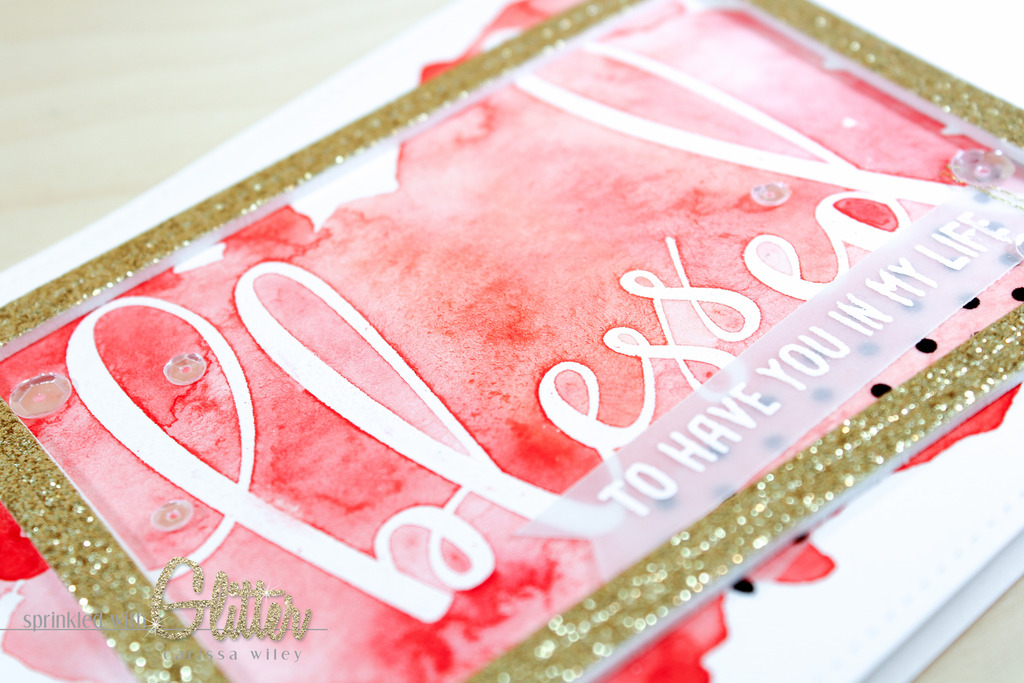
I have a really fun (and easy) card set to share with you today. I fell in love with the Bless Your Heart stamp set from Honey Bee Stamps when I first saw Jennifer use it. You can check out that post by clicking HERE. And when I got it in my hot little hands, I couldn't wait to use it. When I looked at that big, bold, sentiment, I knew I wanted to do a little watercolor resist.
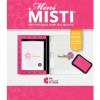
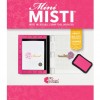
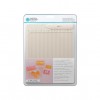
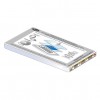
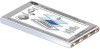
Since I'm making several of these cards, I'll be using my Mini MISTI stamp positioner. However, you can easily use an acrylic block in its place. Using the Mini MISTI makes stamping this sentiment over and over again a breeze. And I love that all of my sentiments are perfectly positioned.
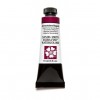
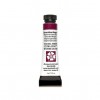
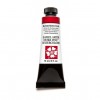
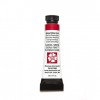
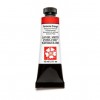
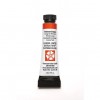
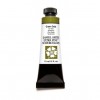
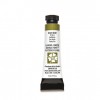
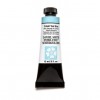
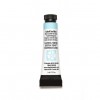
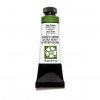
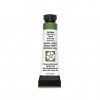
I am using the Daniel Smith Watercolors for my watercolor today. I've heard amazing things about these watercolors, but hadn't had a lot of time to experiment with them myself. I figured that this was the perfect opportunity. I've linked the specific colors that I've used in the supplies list below. I love that you can buy these individually. This allows you to choose colors that you love and will use.
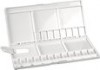
The Daniel Smith Watercolors come in small tubes. In order to create my own custom palette, I've squeezed the color in to a palette that I purchased online. I like this palette because I can easily close it up and take it with me if I choose. Once the color was in the palette, I allowed it to dry. I now have my own palette of professional grade watercolors in colors that I'll use and love. Once you're ready to use the watercolors, just grab a bit of the watercolor using a damp paint brush, mix with a bit of water and paint away!
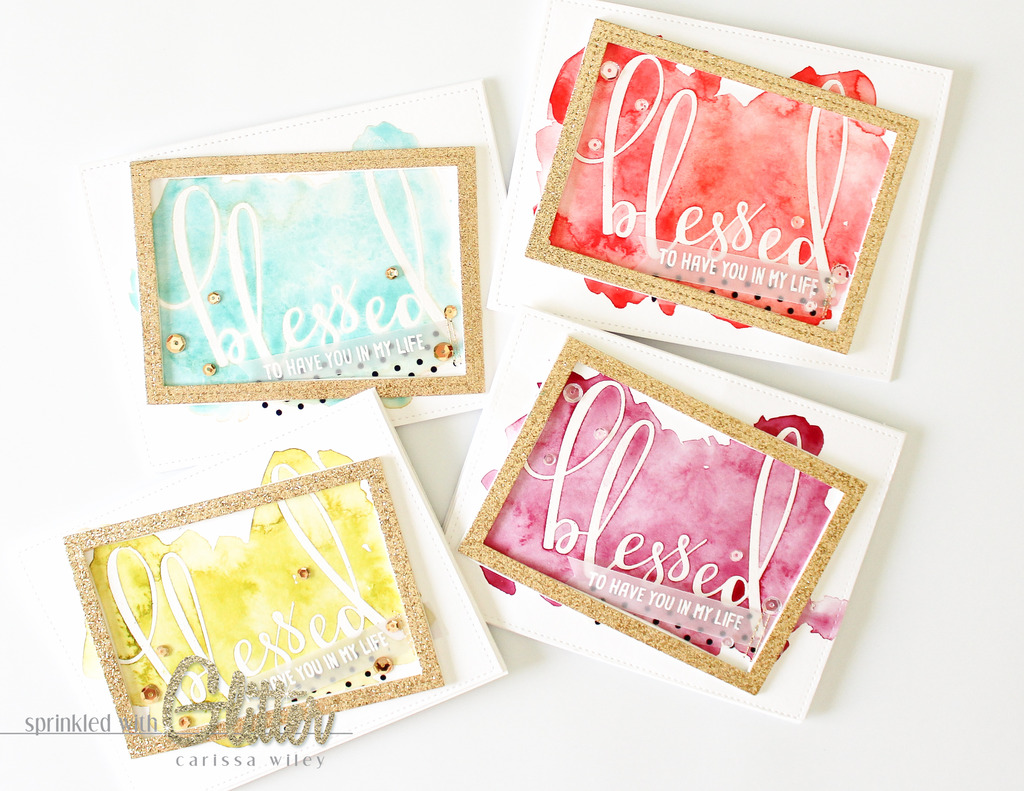
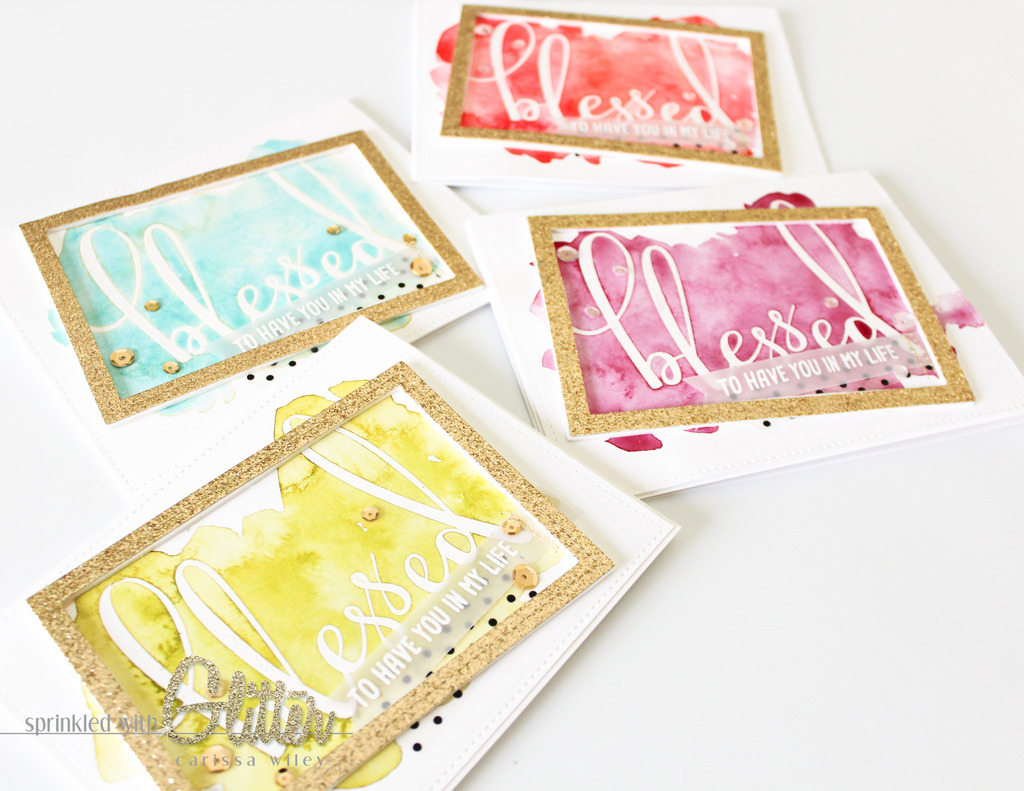
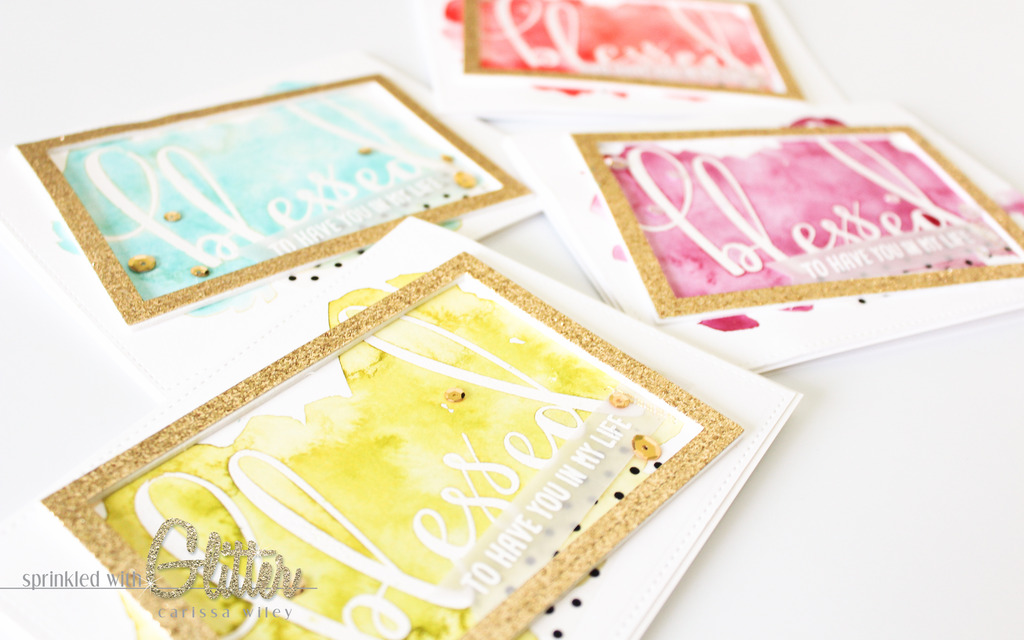
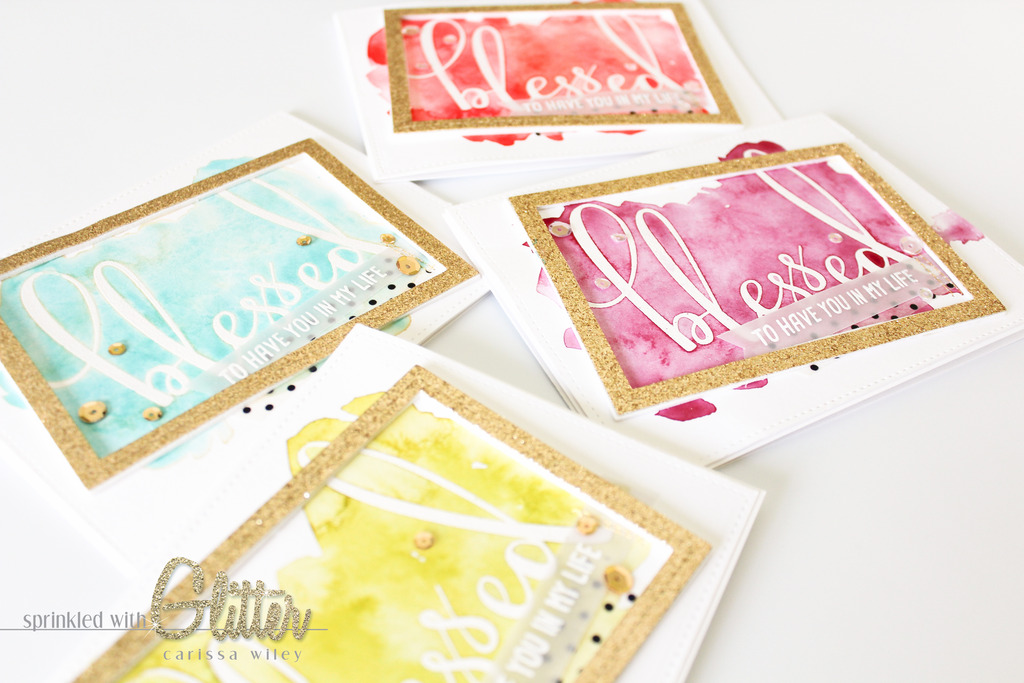
I've chosen several colors for my cards today. I kind of had a rainbow of cards in mind. I love the bright, cheery color palette that I used.
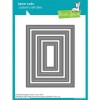
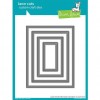
I've kept the cards pretty simple in order to keep the focus on the beautiful watercolor and amazing sentiment. I added a frame cut from gold glitter card stock. If gold glitter isn't your thing (say wha???), you could easily use a piece of colored card stock or even patterned paper for your frame. A black frame would completely change the look and feel of these cards.
I added the smaller "supporting" sentiment. Since vellum can be tricky to attached, I've opted to stitch this sentiment on to the card front using my sewing machine. I have a basic sewing machine. I don't use any special settings....I just stitch right over the end to hold the sentiment in place. This bit of gold stitching also ties in the gold from the frames.
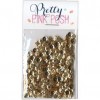
I finished the cards off with a bit of washi tape and some sequins from Pretty Pink Posh.
I'll walk you through the entire creation of these cards in the video tutorial below. Be sure to check that out. I'd love if you would subscribe and like the video while you're there!
Thanks for stopping by today! I hope you've enjoyed this project. Until next time, I hope you have a fabulous day!
Supplies
*affiliate links used*