Creating Faux Tin/Aluminum Embellishments - PaperTrey Ink Stamp-A-Faire 2017
Hi everyone! I'm honored to be a guest designer for PaperTrey Ink's Stamp-A-Fair 2017! I thought I would take the opportunity to share it here as well!
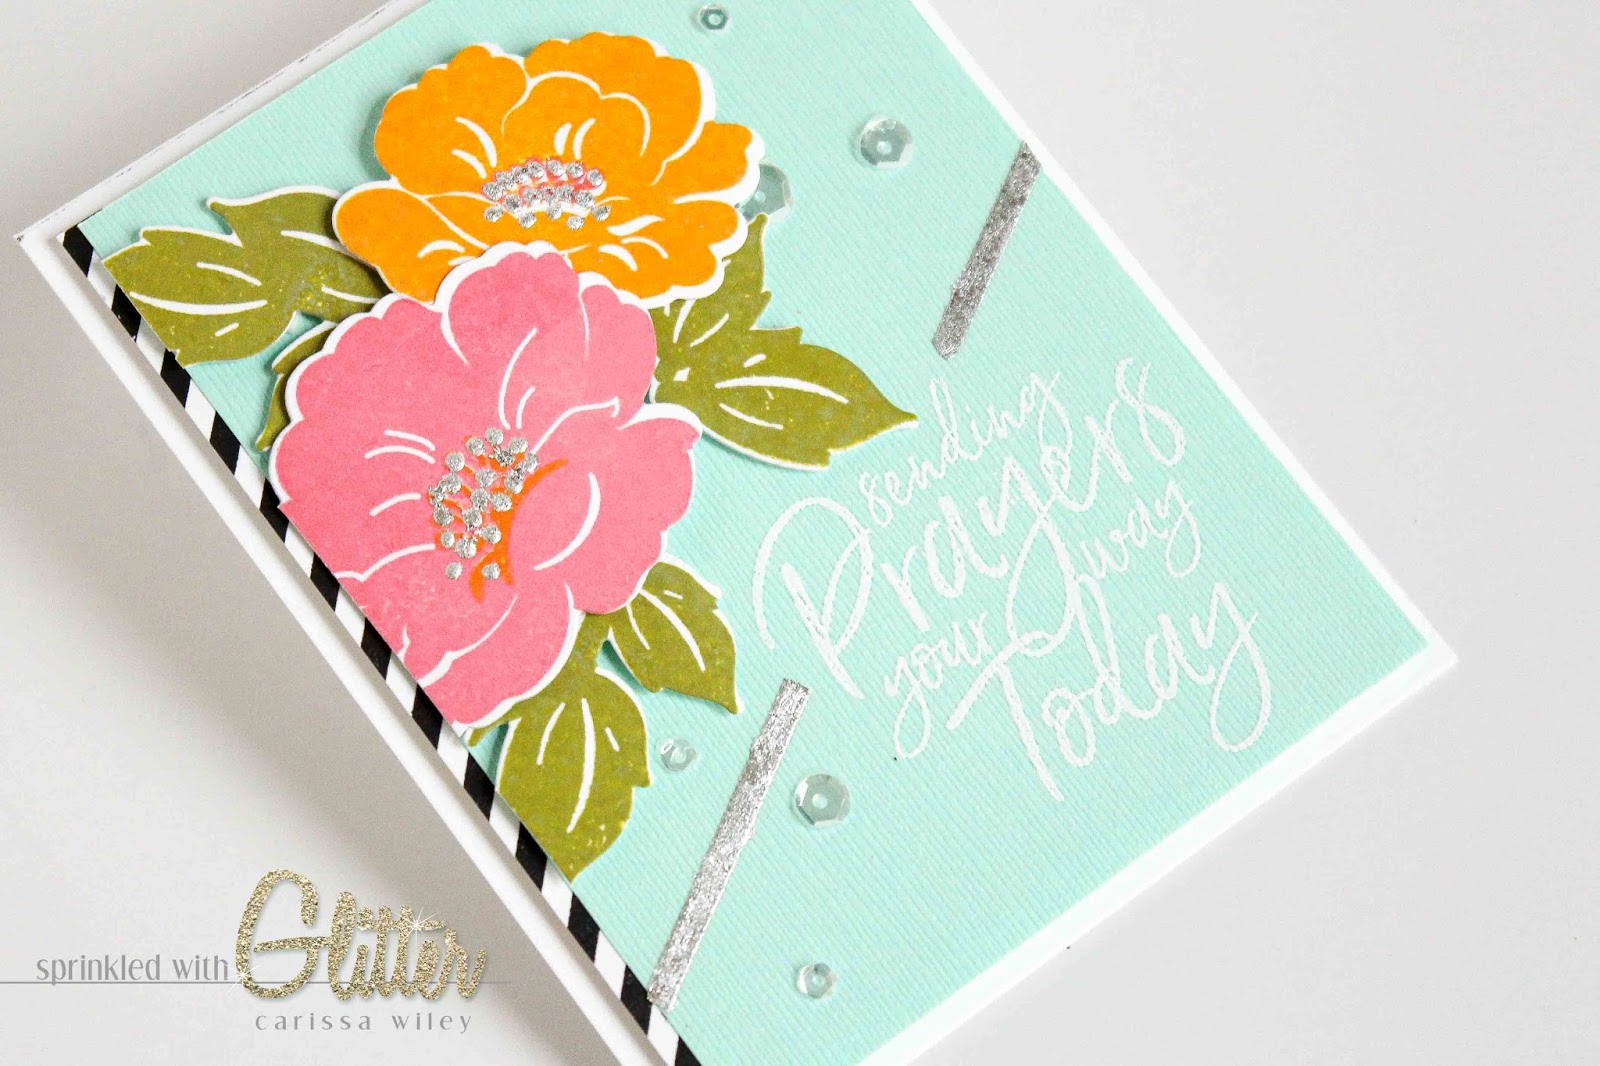
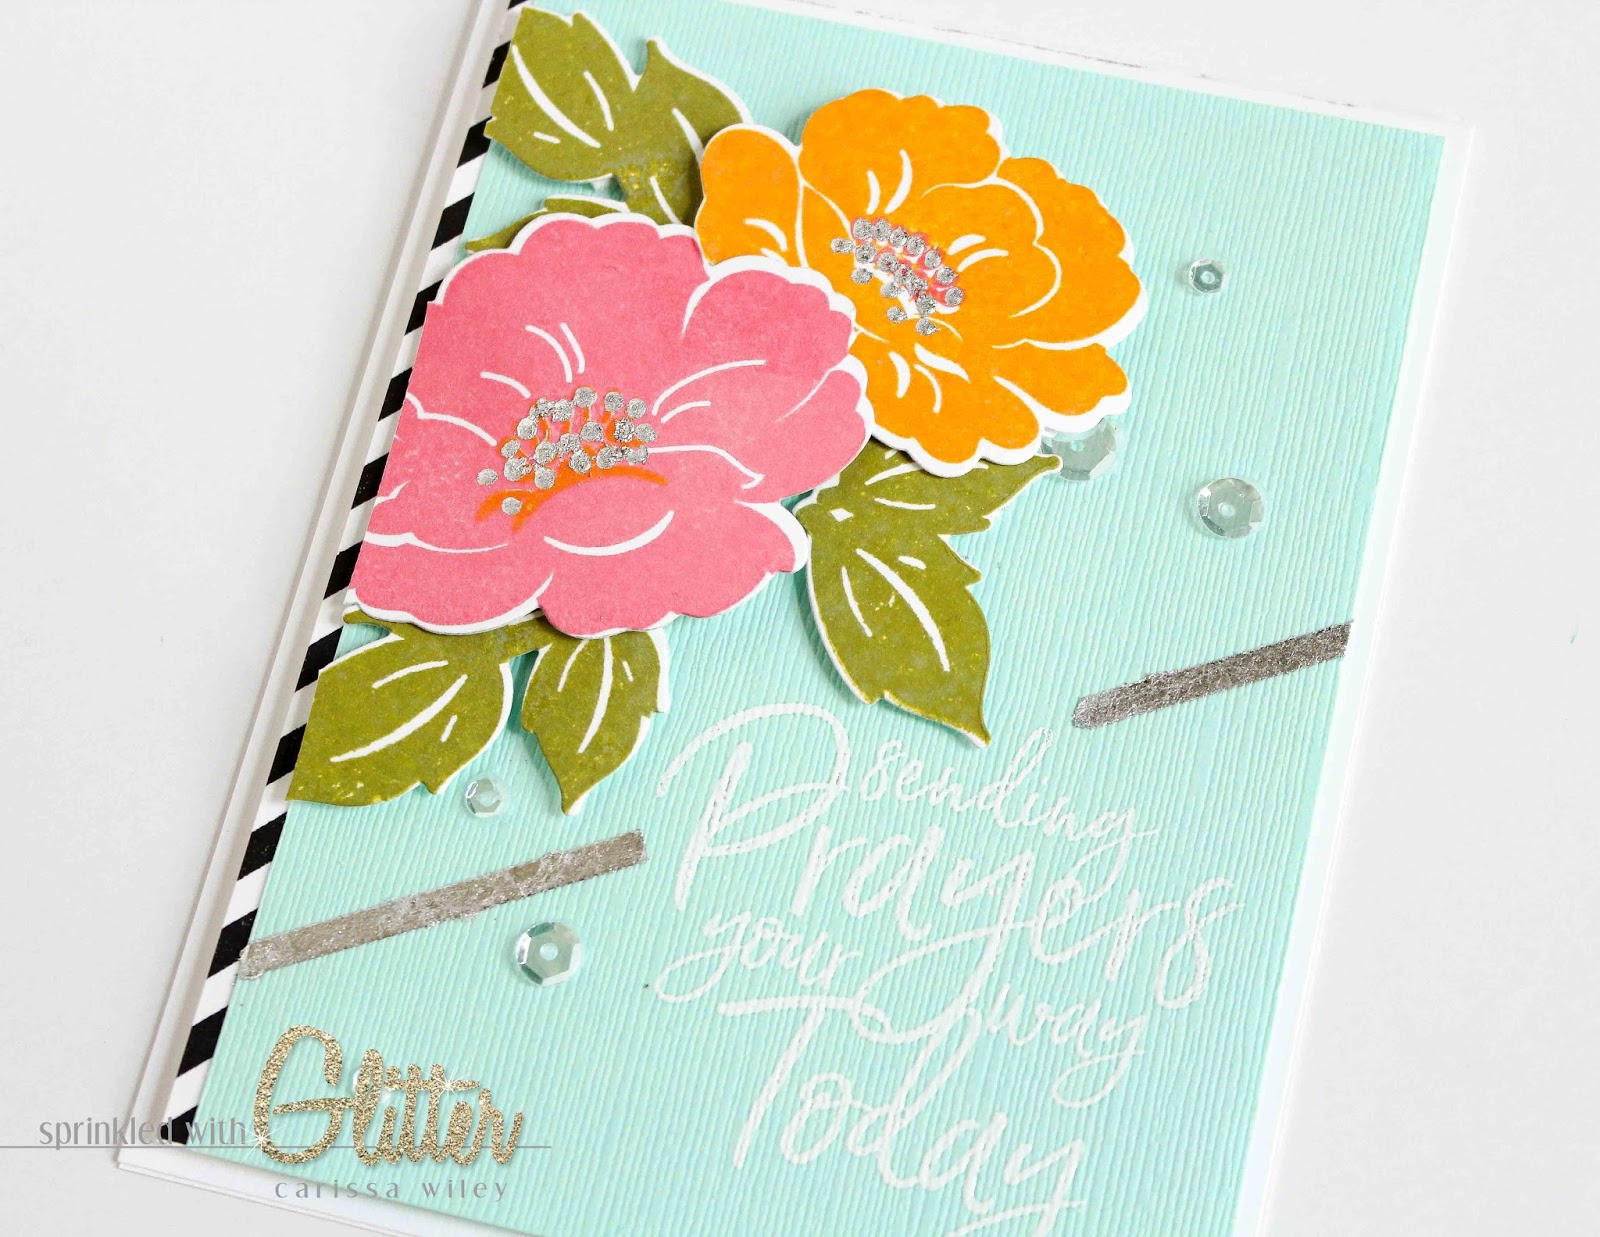
Today I’m going to be sharing some ways to create a faux tin foil look on your card projects
In the video, I’ll walk you through two card projects using these techniques.
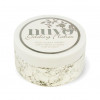
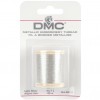
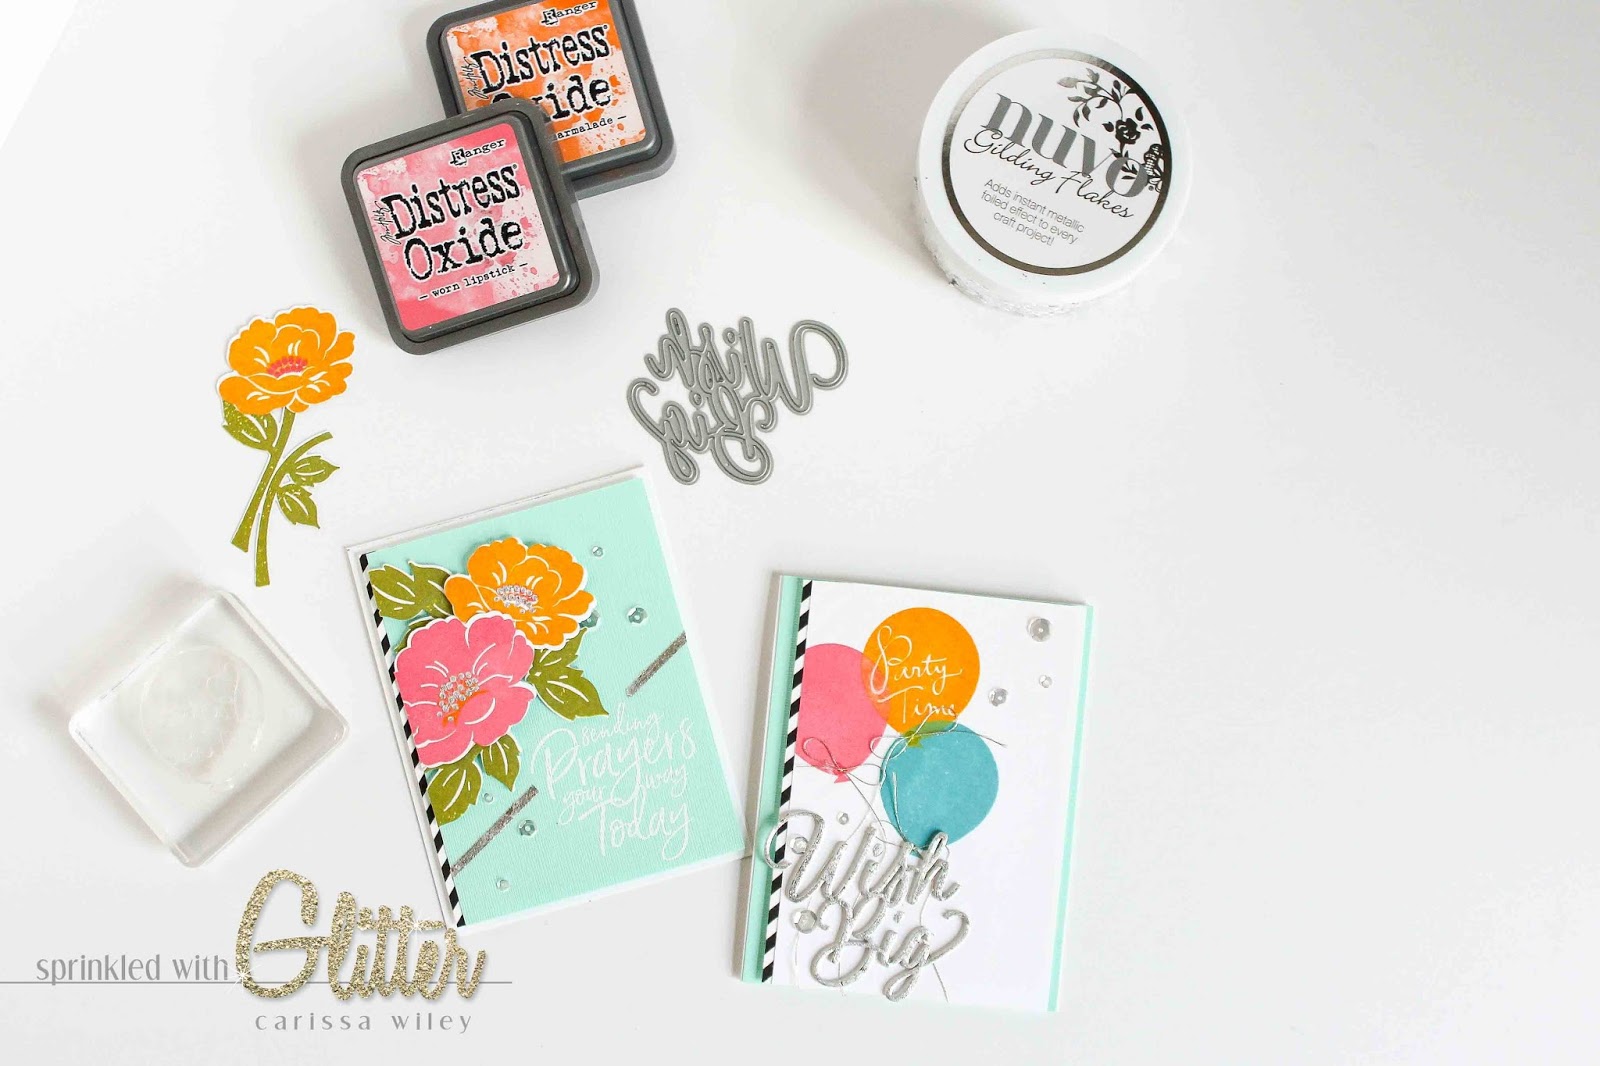
To create my faux tin look, I’ll be using the Nuvo Gilding Flakes in Silver Bullion
Gilding flakes have been on the market for quite some time and seem to be making a come back this year.
I wanted to share a few ways to use these on your cards.
The gilding flakes leave you with a metallic shine that is slightly more antiqued than a traditional foil.
There are a few ways you can add these gilding flakes to your card projects.
Here are just a few:
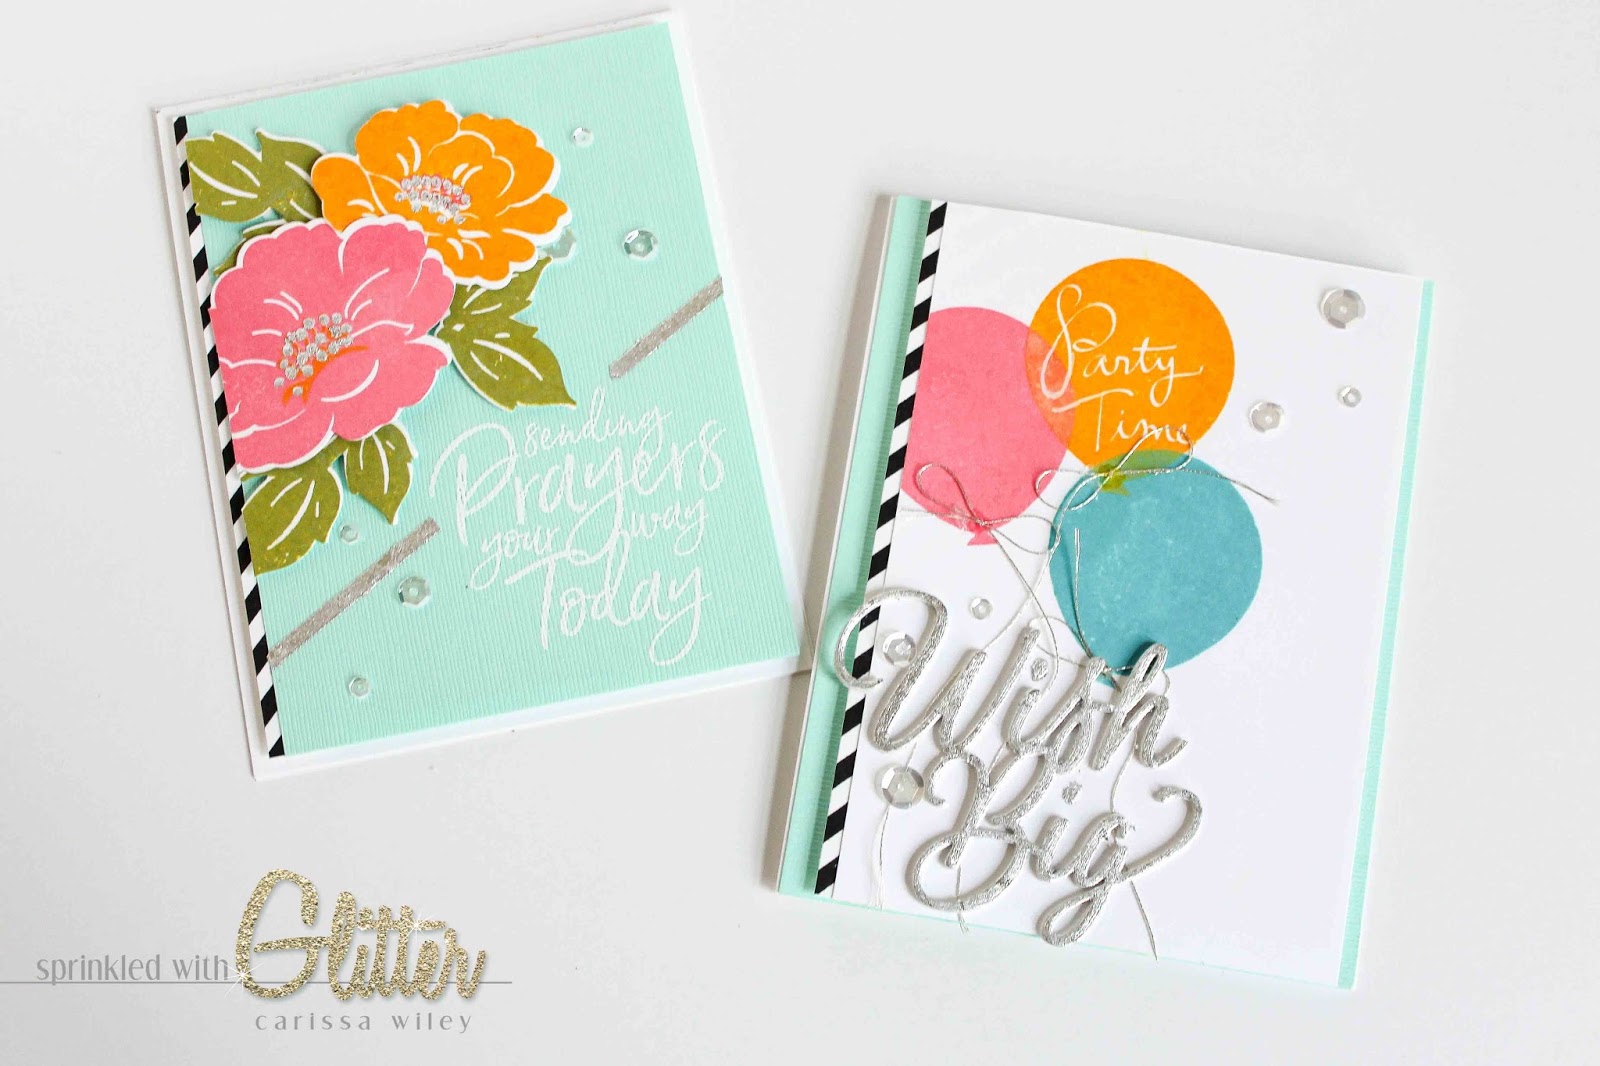
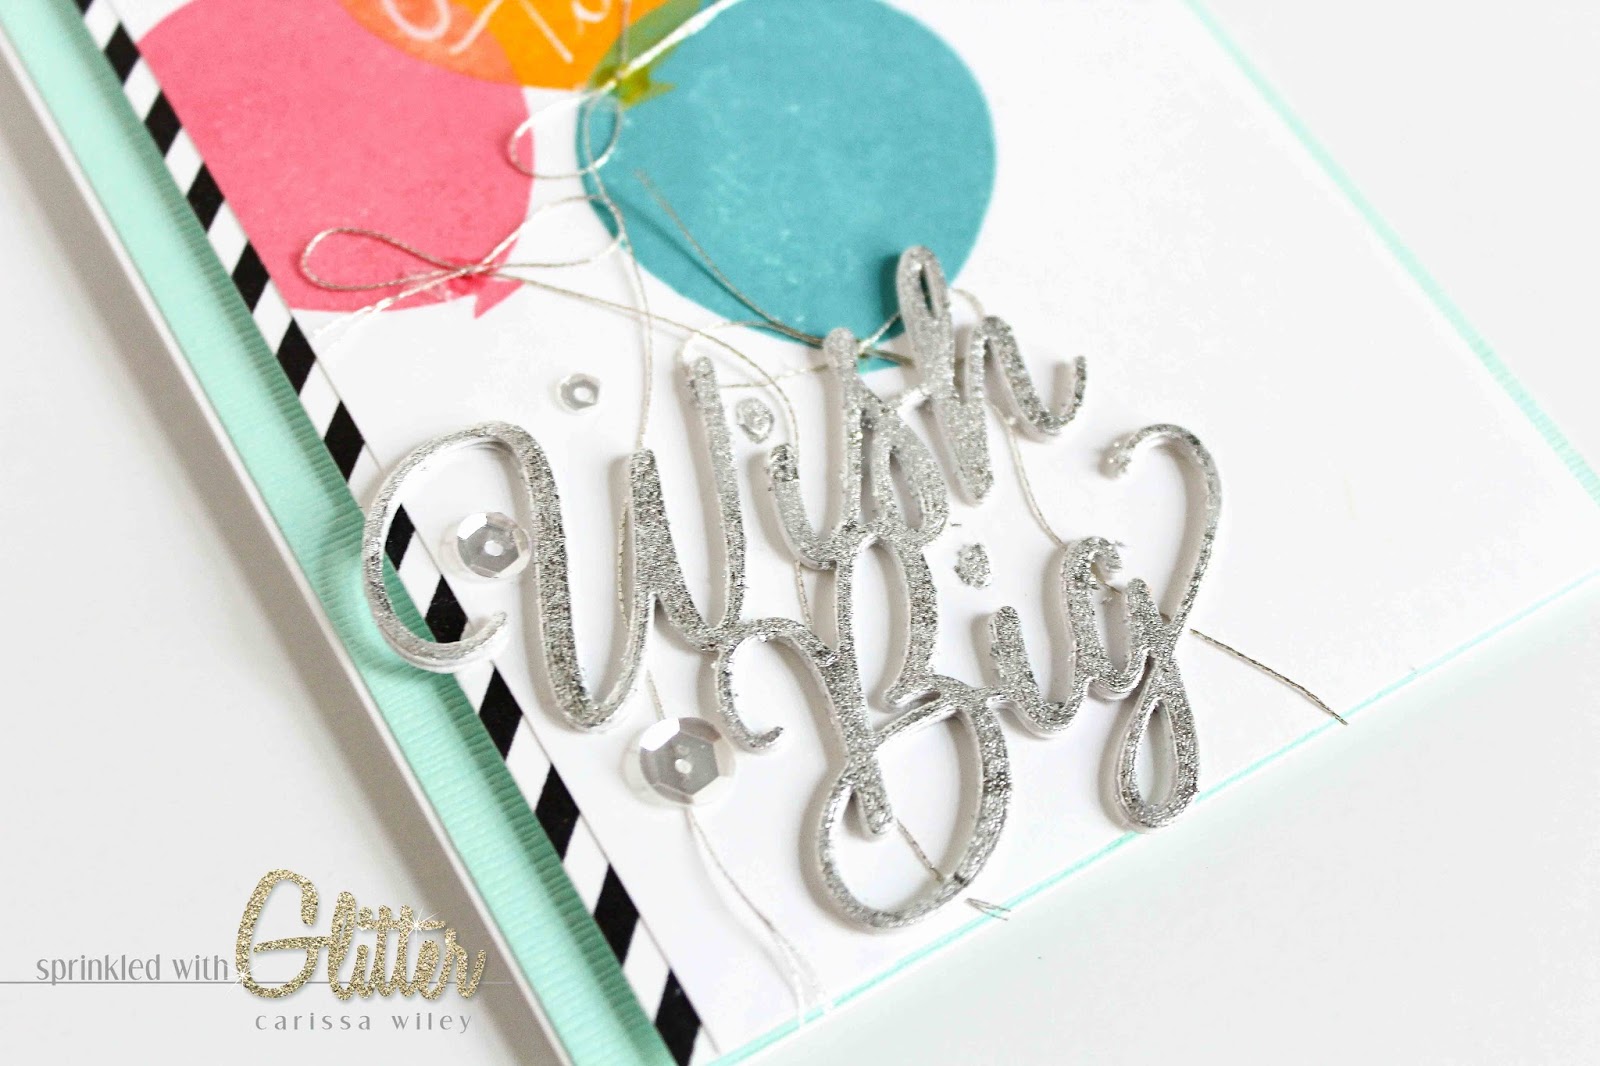
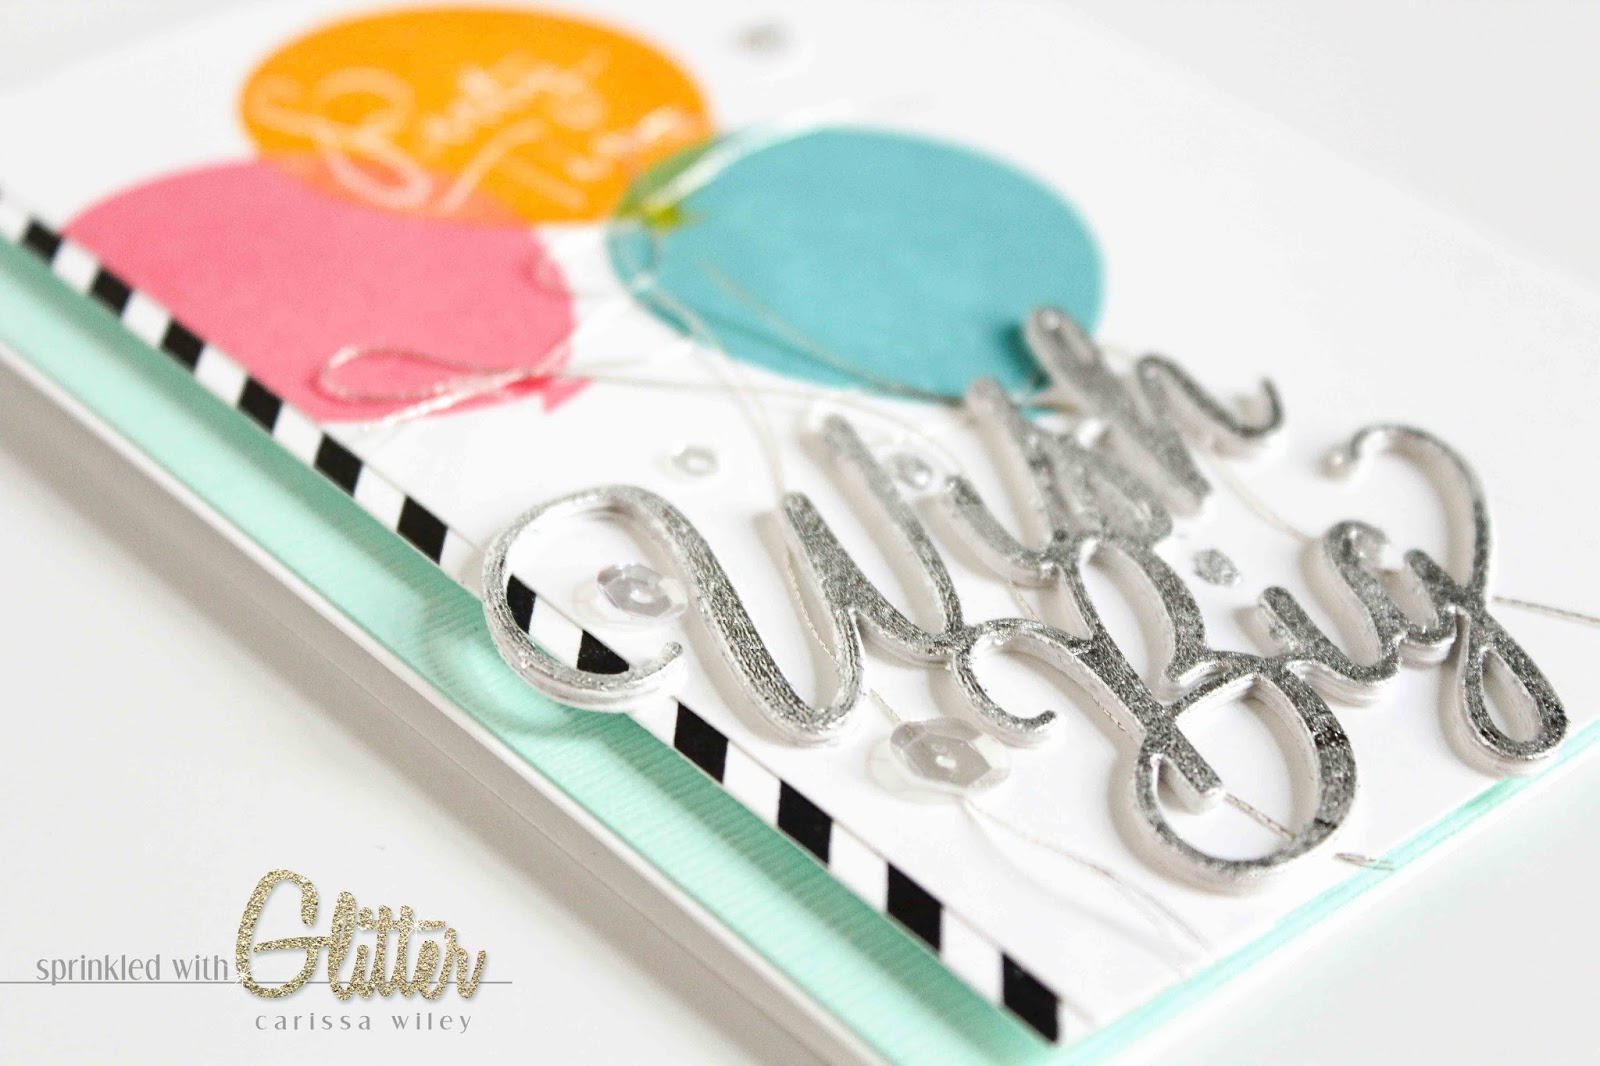
- Use a double-sided adhesive sheet to create gilded die cuts.For this technique, I prefer to use the Be Creative double-sided sheets.I add the adhesive to my cardstock and then run that through my die cut machine with the adhesive side facing toward the cutting blade.I’m left with a die cut that has sticky adhesive all over the front.I can then expose my adhesive and press the gilding flakes in to the adhesive.
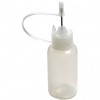
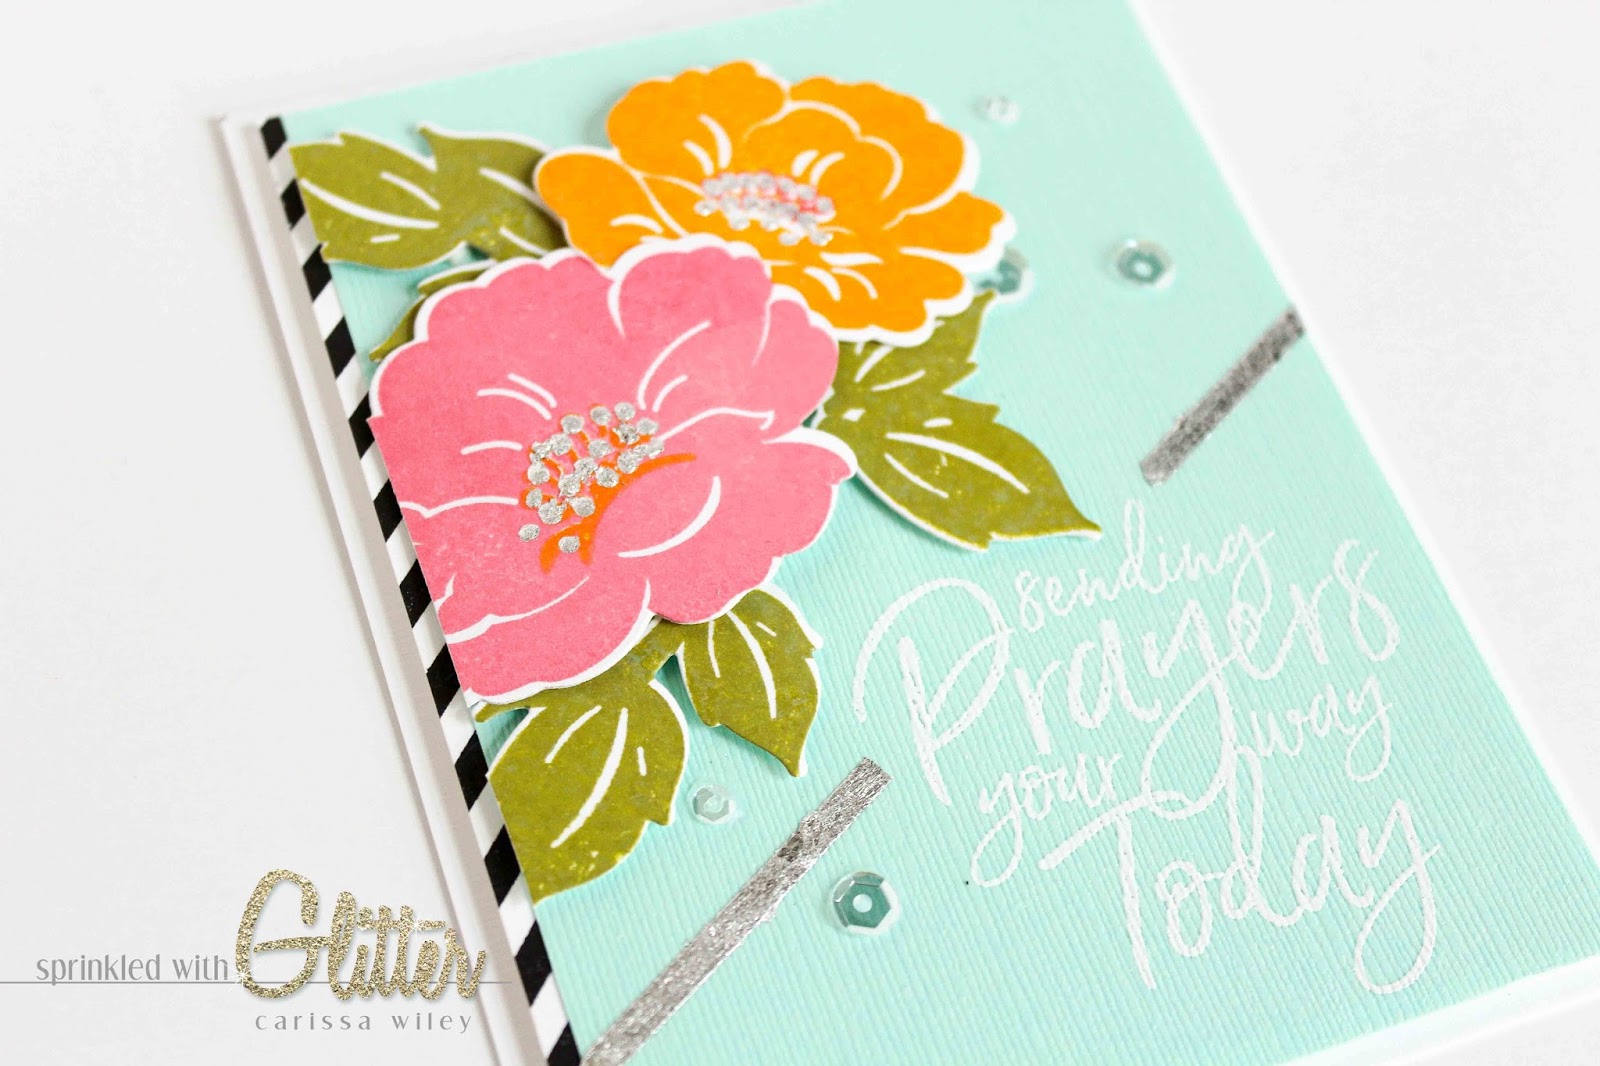
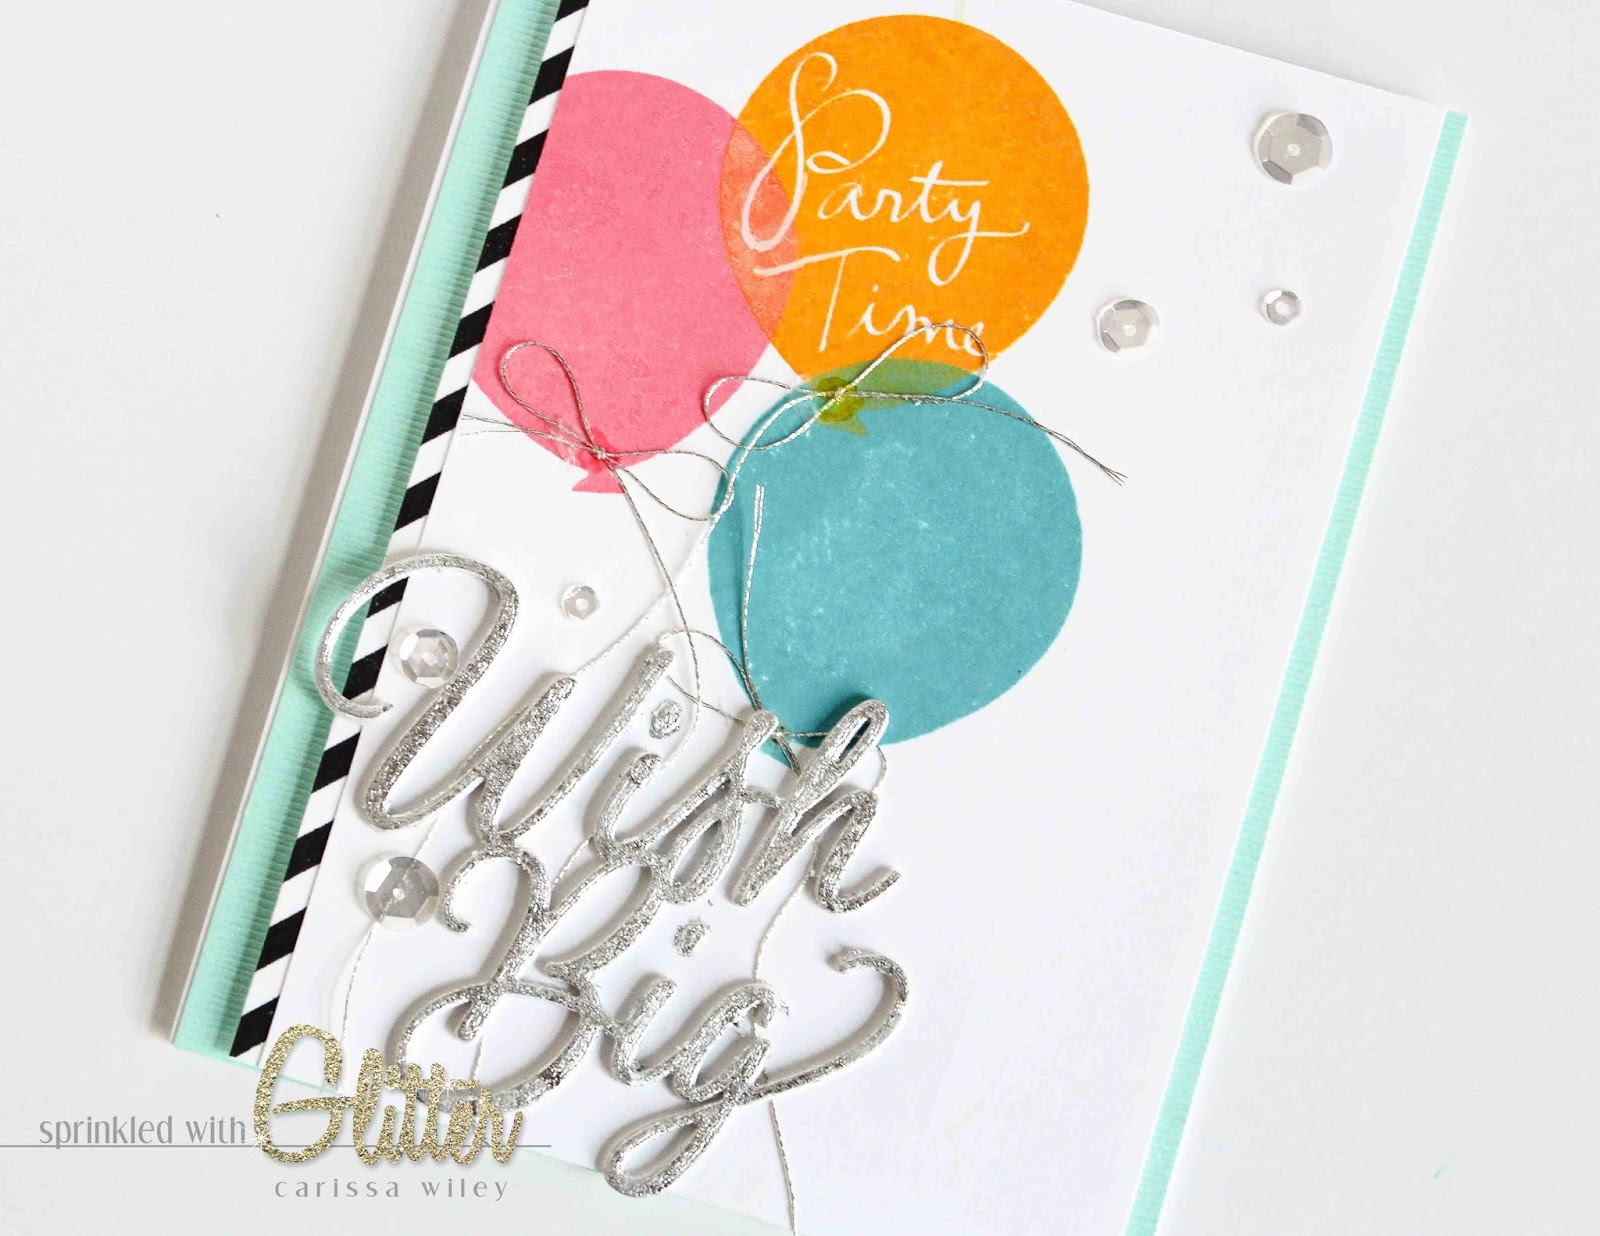
- Use a glue pen to add gilded embellishments to your stamped images.Today’s second card features a few little accents on top of my stamped images.I simply added some glue, using a glue pen in the areas where I wanted to add my tin accents.It’s important that you use a glue that dries tacky for this technique.I used the Zig Two Way Glue Pen.You can draw lines, dots….whatever you want.I allowed the glue to dry before adhering my gilding flakes.Once the glue is dry, it will be tacky.I pressed my gilding flakes to the areas with glue and voila, custom tin accents on a stamped image.
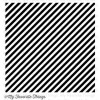
- Use double-sided tape to create stripes on your project.I used the Be Creative tape in 1/8 width to create a stripe running diagonally along the front of my card.You can use varying widths to create more stripes.Or add multiple colors of gilding flakes.Once my adhesive was added to the front of my card, I removed the backer and pressed the flakes to the adhesive.I love adding these metallic stripes to my card projects.
- Use a sticky embossing powder to gild stamped images.I didn’t show this technique in today’s video, but you can use a sticky or bonding embossing powder to adhere gilding flakes to your stamped images to create a metallic stamped image.This gives you a different look than using metallic embossing powders.Try it out!
For all of my projects, I used a box to contain my flakes.
These gilding flakes are very fine and very light and can definitely go flying on you!
Using a box helps to keep the flakes contained.
Once the gilding flakes are applied to your project, use a brush to brush away the excess flakes and remove any rough edges that the flakes may have left behind.
So there you have it!
Two projects featuring tin (well, faux tin) accents.
I hope you enjoyed these projects.
Don’t forget to check out the video tutorial for a more in depth look at the creation of these cards.
The products I used are linked below. Be sure to check out the video tutorial below for more tips, trick and instructions on creating these fun cards!
Until next time, I hope you have a fabulous day!

Supplies
*affiliate links may be used*