Believe
Hi everyone! I hope you're having a great day! I'm stopping by today with a clean and simple holiday card project. I hope that this will inspire you to get to the craft room this weekend and play!
I shared a photo or two of these card projects when I posted the Essentials By Ellen Holiday 2016 Release. You can see that post (and two video tutorials) by clicking HERE.
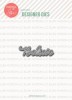
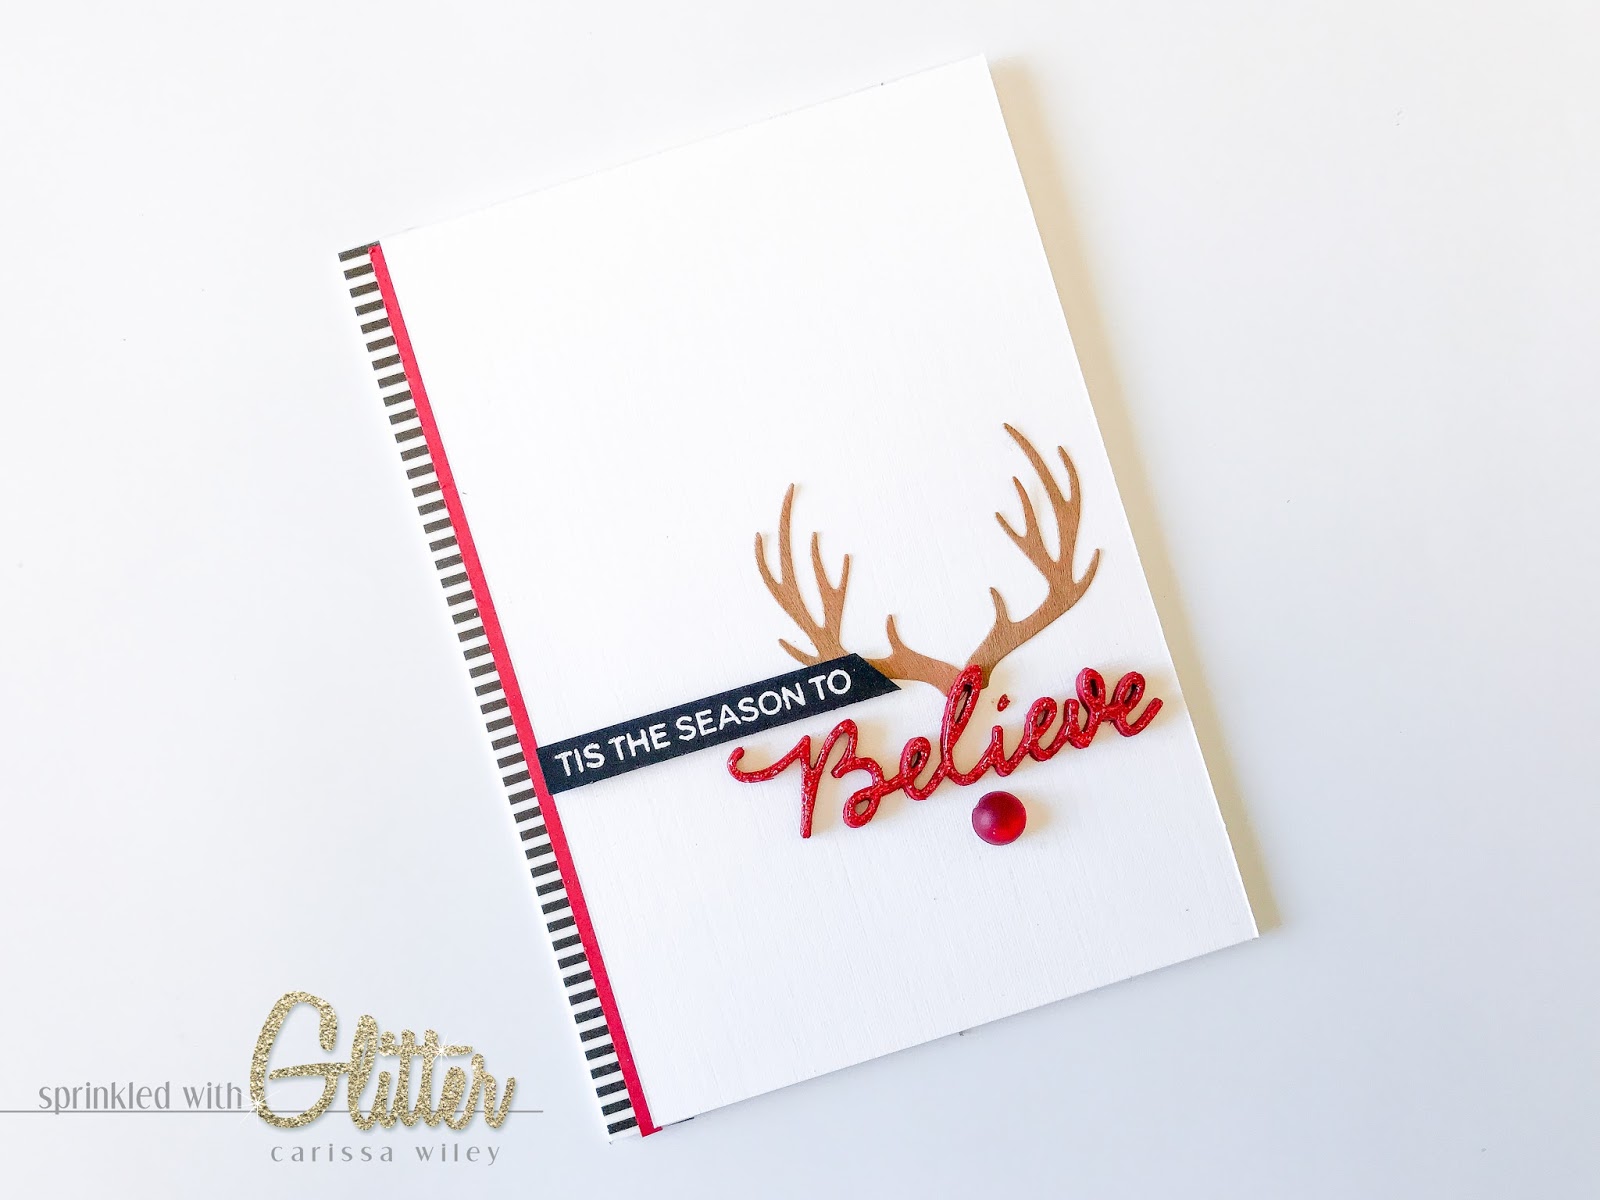
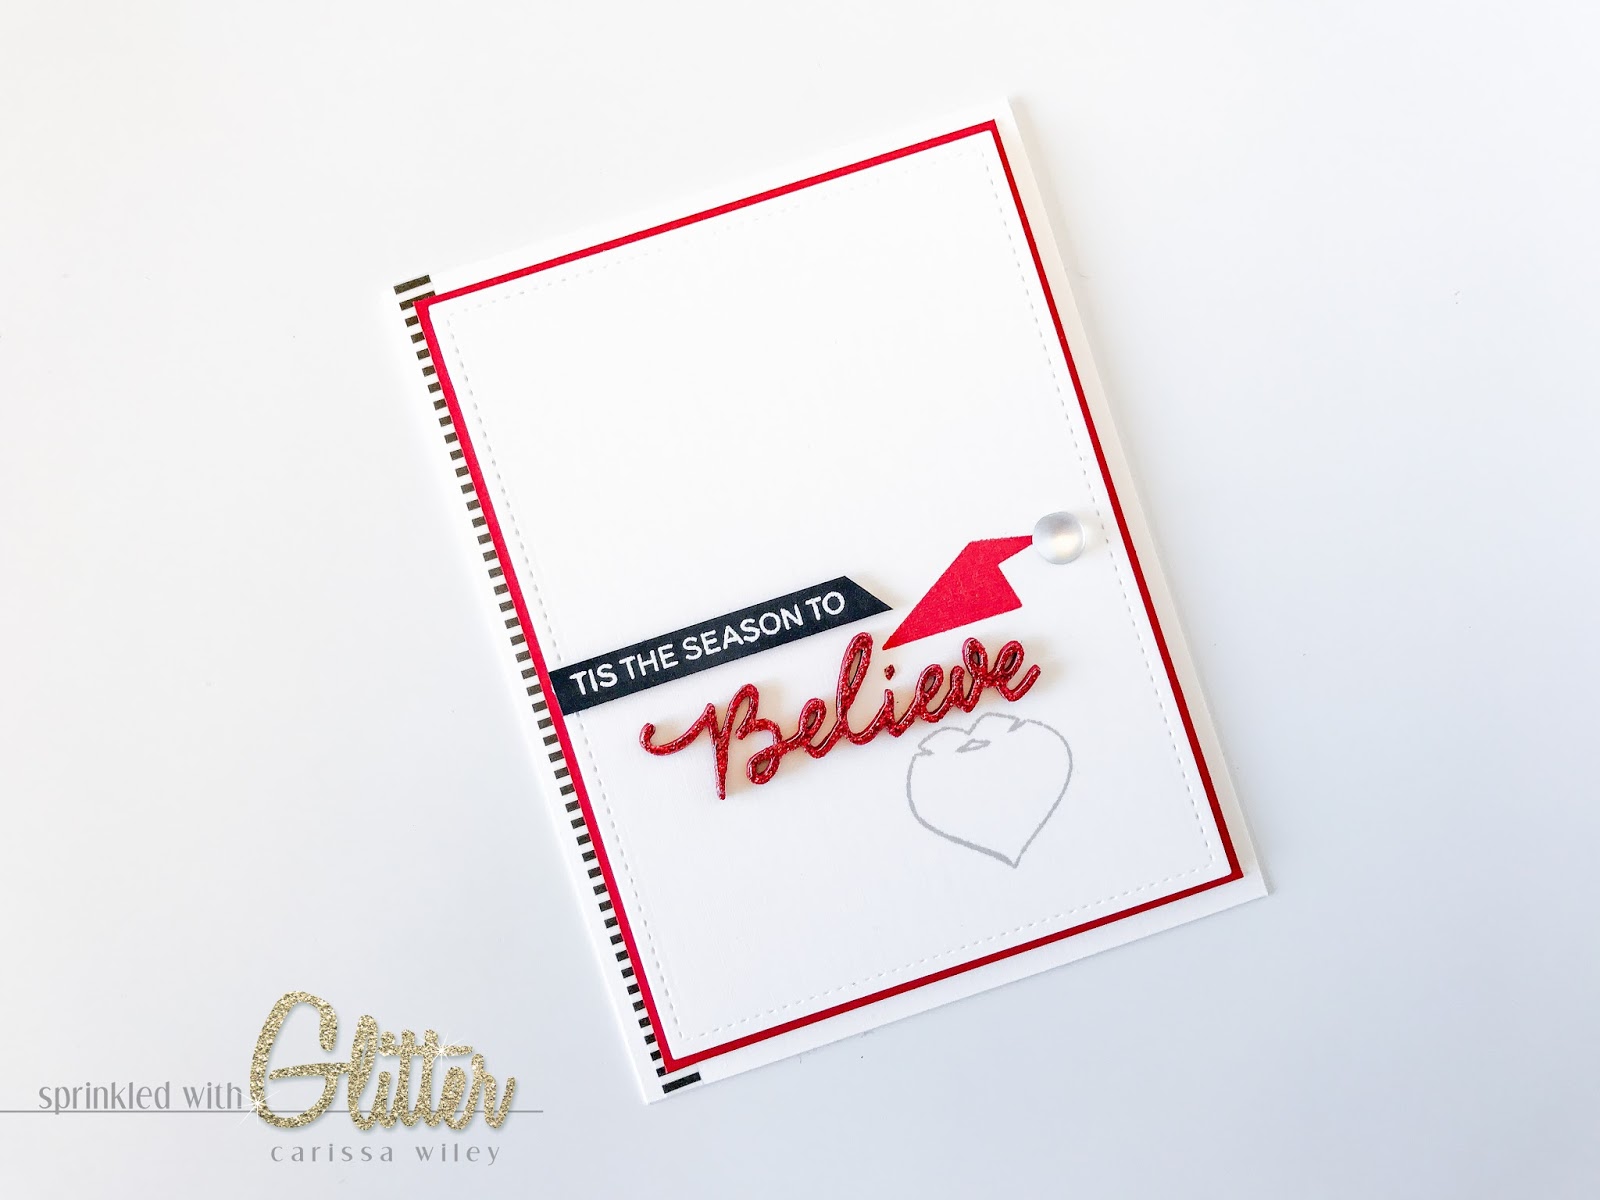
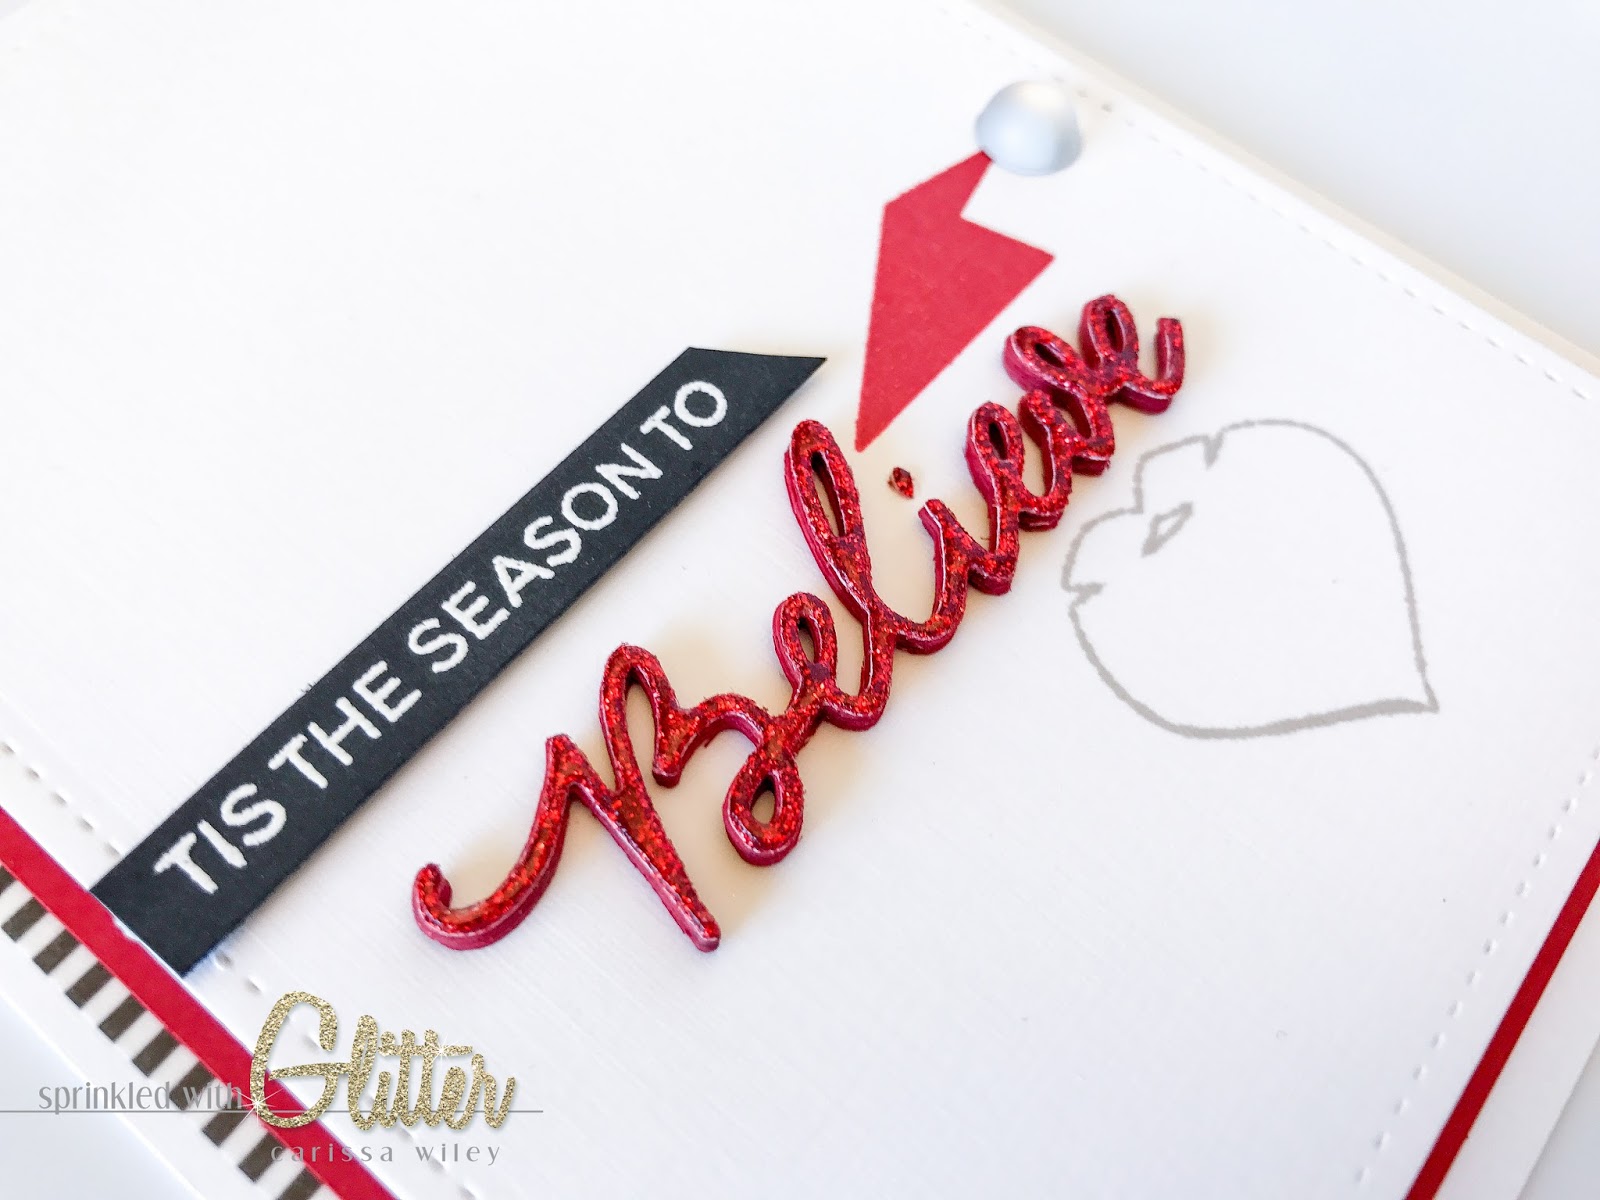
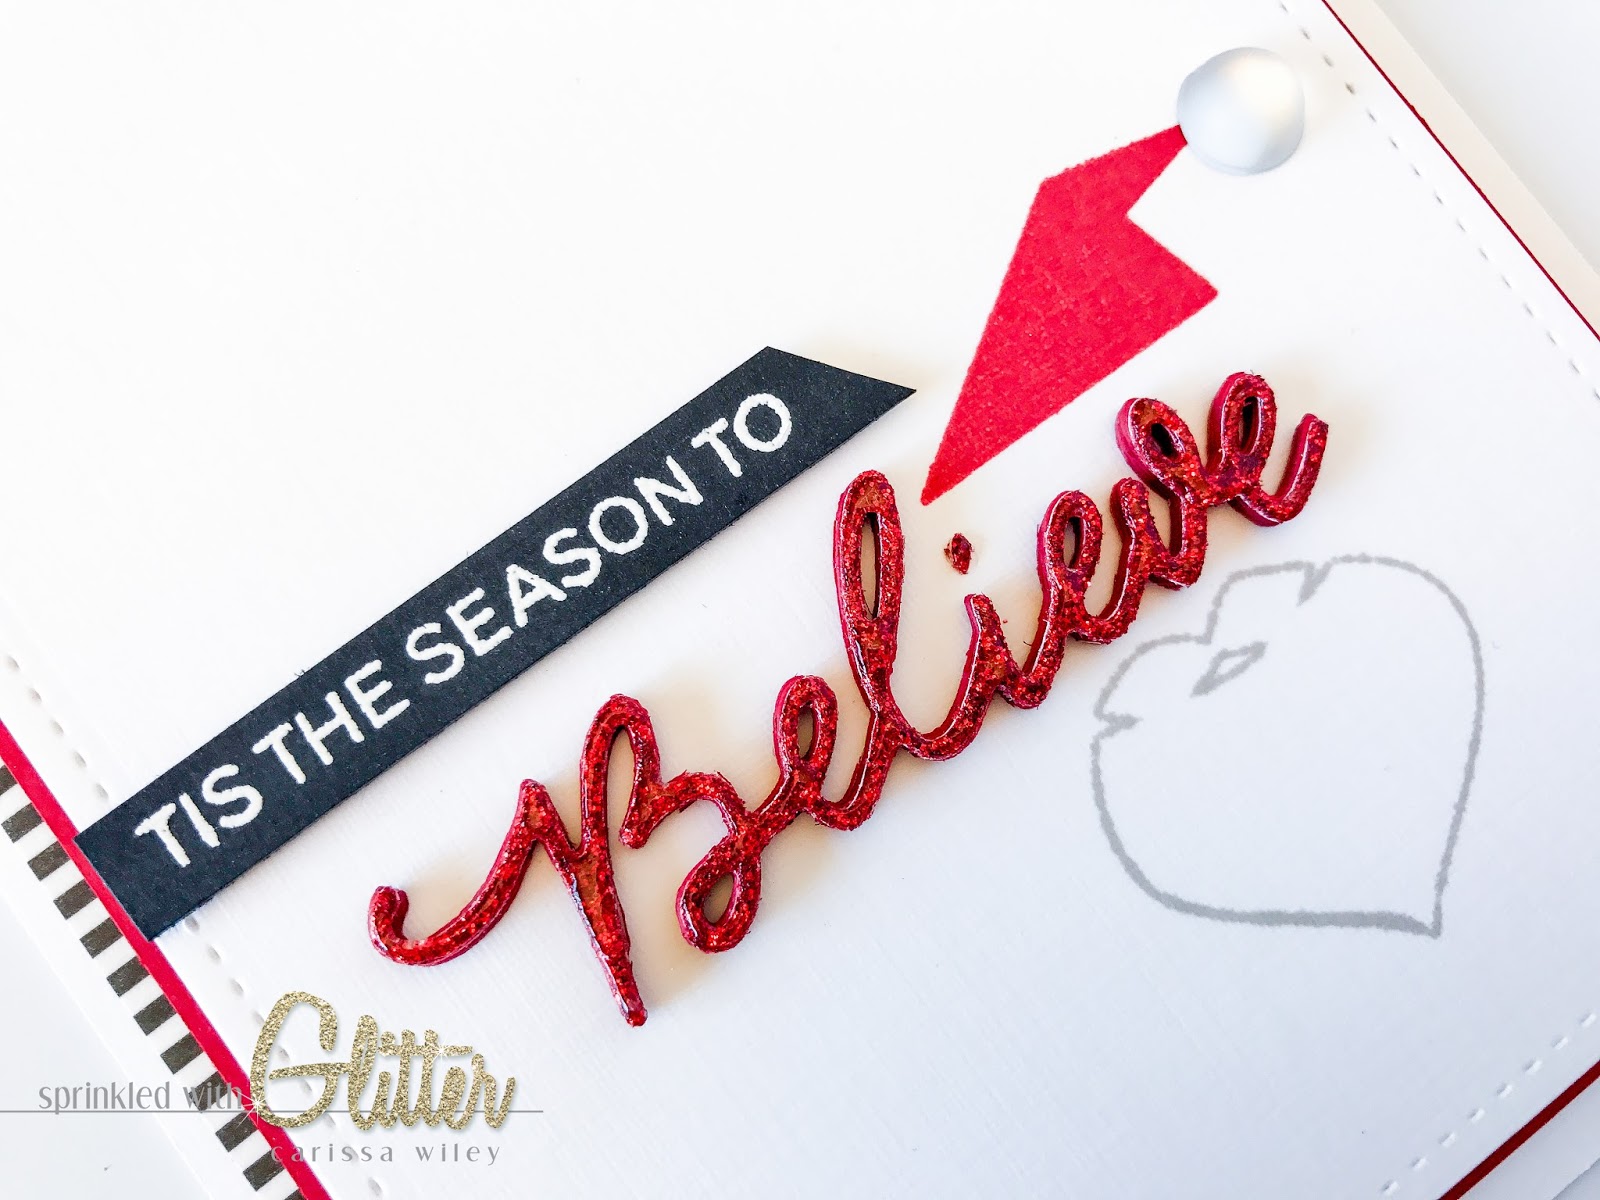
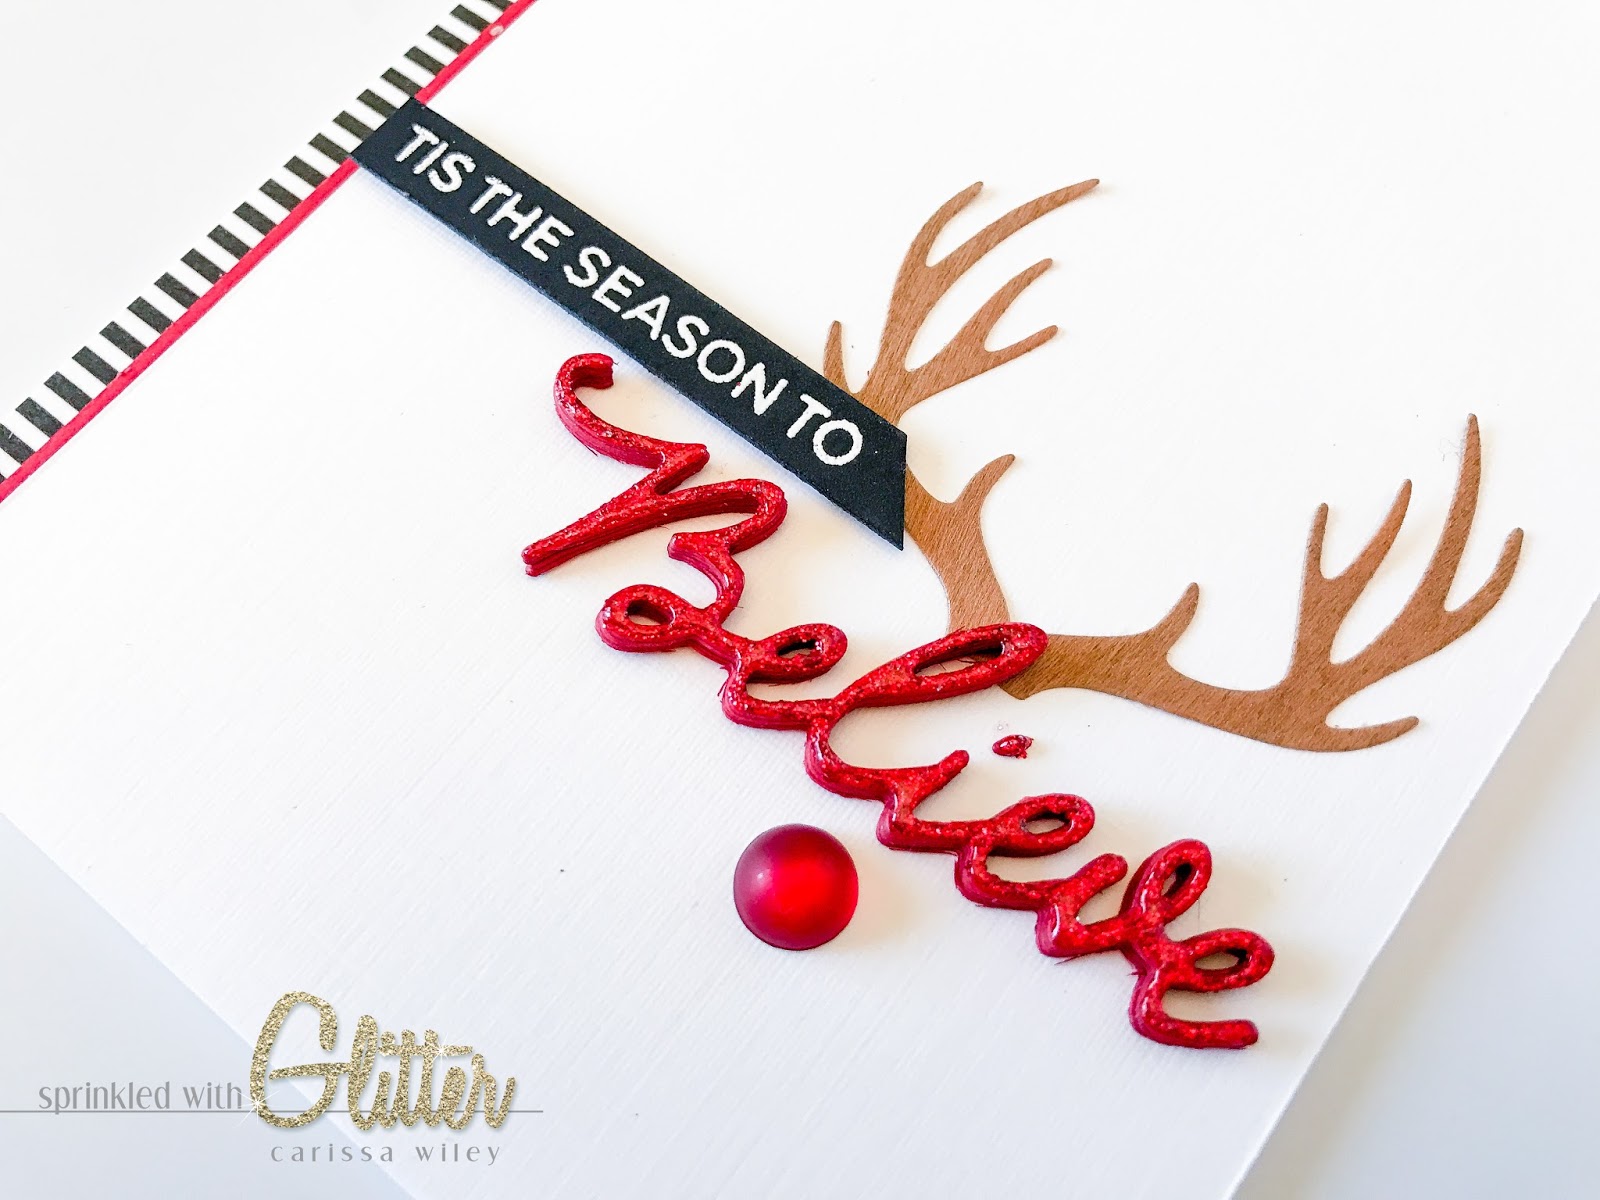
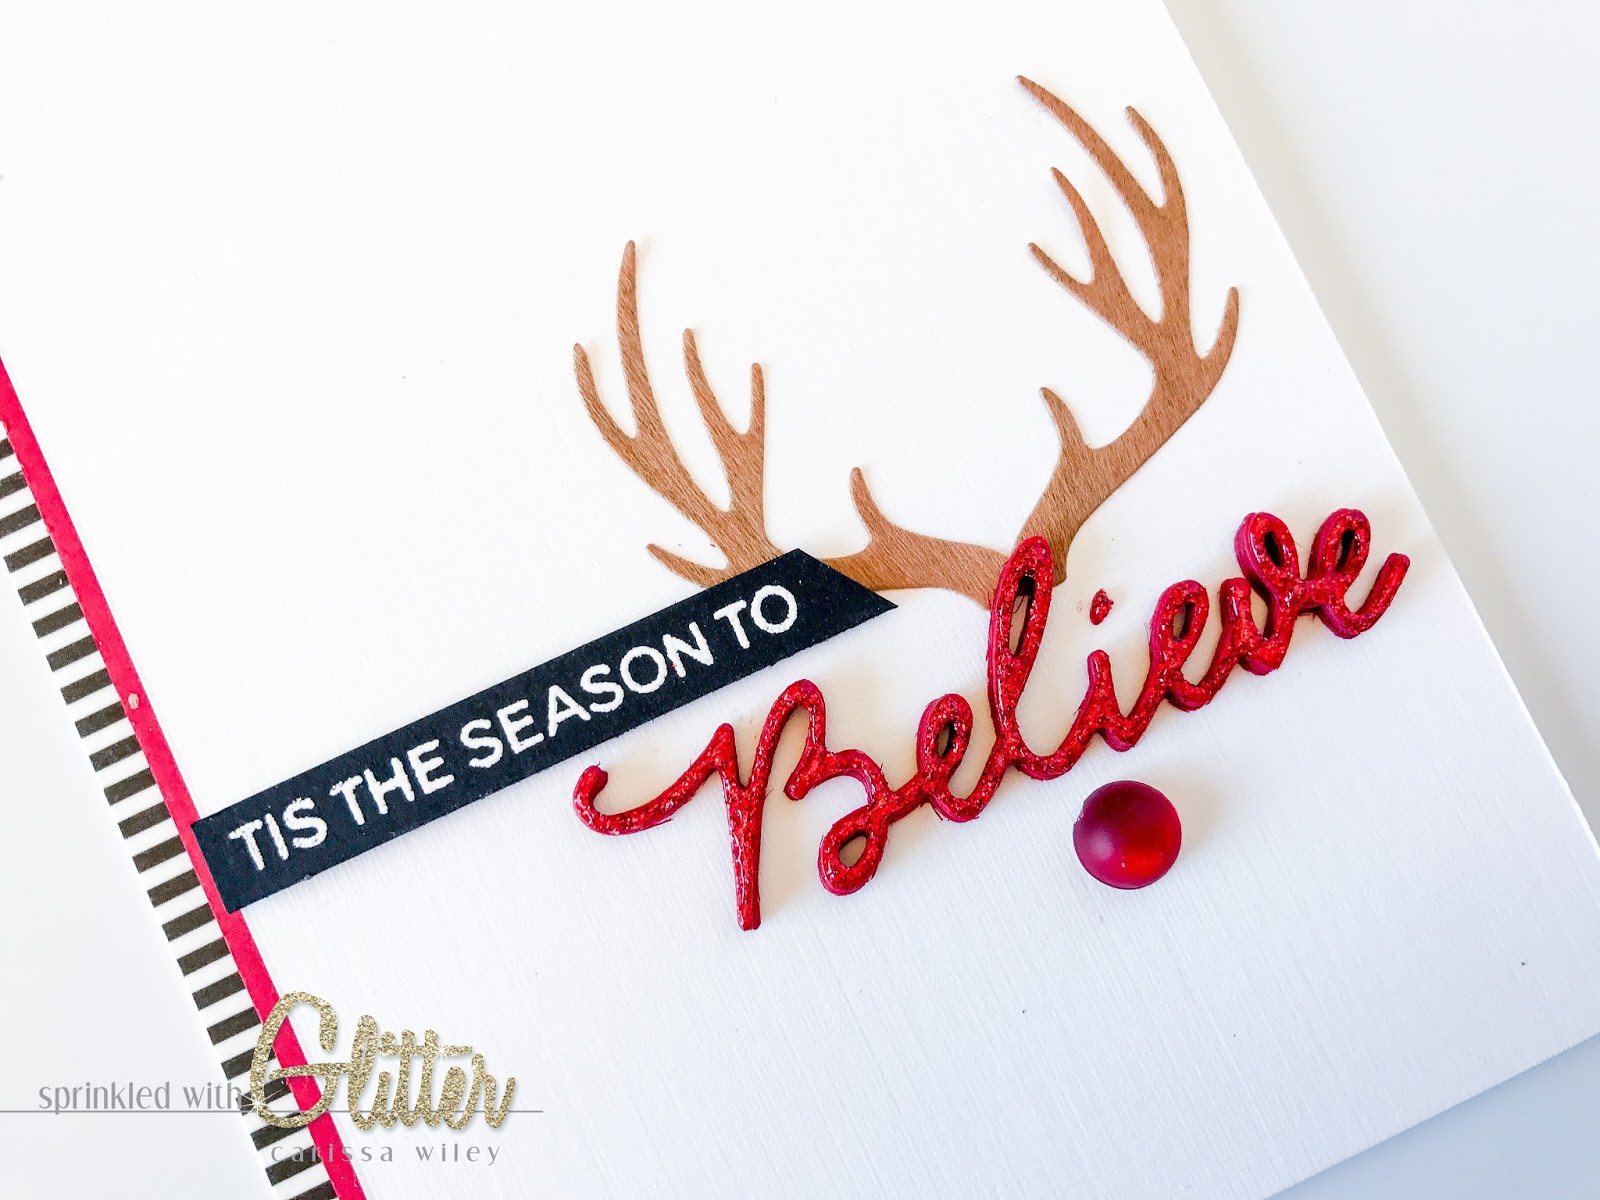
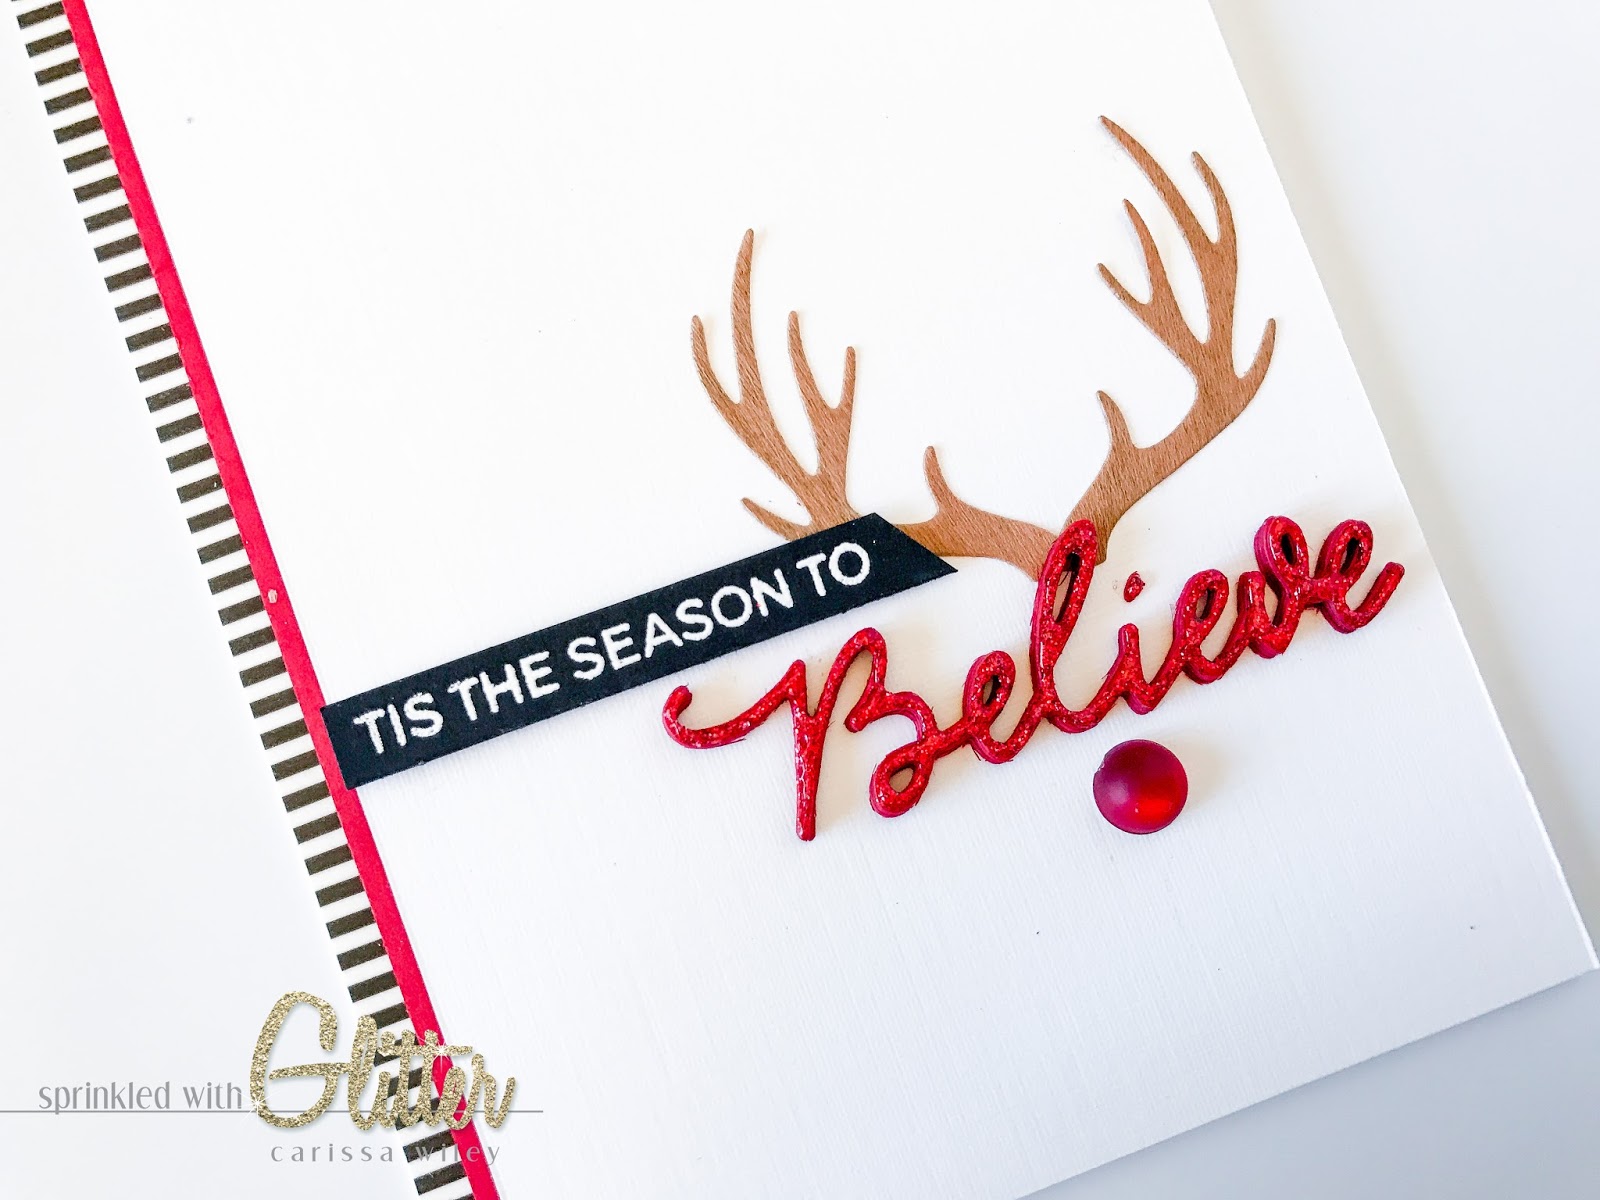
For the sentiment on both of the cards I created today, I'm using the Believe die from the Essentials By Ellen line. This delicate word die cut is so beautifully designed. In fact, these handwritten dies from the Essentials By Ellen line are some of my favorites.
I really wanted this delicate die to carry some weight on the card front. In order to do that, I wanted to add dimension. I achieved this by stacking several of the die cuts on top of each other. This really makes this delicate die cut feel substantial on the card front.
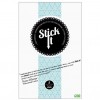
When I'm working with delicate dies like this and I want to stack them on top of each other, I like to use Stick It Adhesive on the back of the paper prior to die cutting. This means I don't have to fuss with messy adhesives. The other great thing about Stick It is that it remains repositionable for some time. If you don't get it just right the first time, you get some mulligans...and you won't rip your paper.
I really wanted these cards to have a little nod to some of the most iconic Christmas characters without full on creating a whole Santa or Rudolph. So I'm using elements of these characters to make up the focal image of the cards.
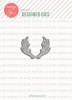
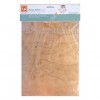
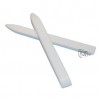
For the Rudolph, I used some simple antlers cut from real wood card stock. I cut these using the Antlers die from the Essentials By Ellen line.
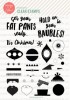
And for Santa, I'm using some simple stamped pieces from the Fat Pants stamp set from the Essentials By Ellen line.
I'll walk you through the entire creation of these cards in the video tutorial below. Be sure to check it out.
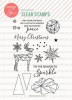
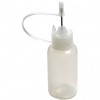
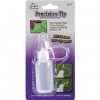
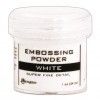
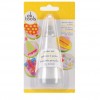
To finish off the card, I added a bit of sparkle to the Believe die cut sentiment. I brushed on some Christmas Red Stickles over the top of the sentiment. I chose to brush it on because the tip of the Stickles bottle is a bit thick which makes it hard to apply it to small areas. Once the Stickles dried, I added a layer of Glossy Accents over the top of that to really make it shine and feel even more dimensional.
So there you have it, a couple really quick and easy Christmas card projects for you. As always, I've included a video tutorial below, and links to all the products used in these projects.
Which one is your favorite? Is it Santa or Rudolph? I'd love to hear.
Thanks for stopping by today. I hope you've enjoyed these projects. Until next time, I hope you have a fabulous day!
Supplies
*affiliate links used*