Happy You're My Person - Tips For Using Acetate On Cards
Hi everyone! I'm so glad you stopped by today. I have a really fun card project to share with you. In fact, this may be one of my favorite cards EVER! I think I may have said that last time.....but I love them both so I'm okay with that. :)
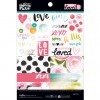
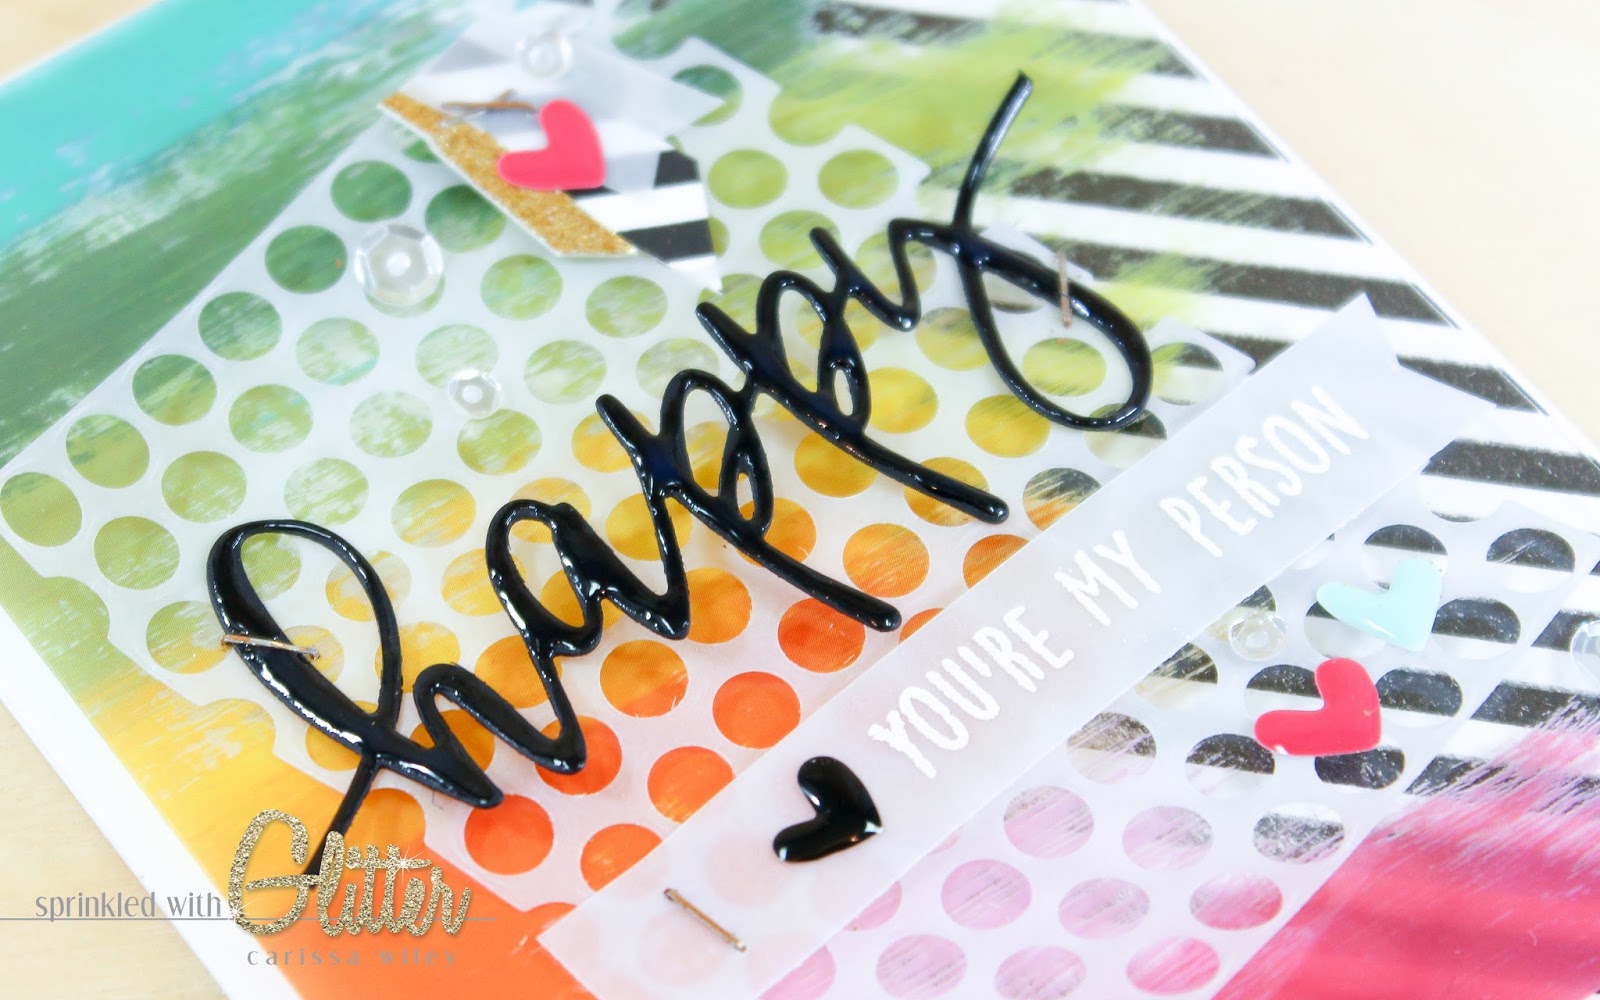
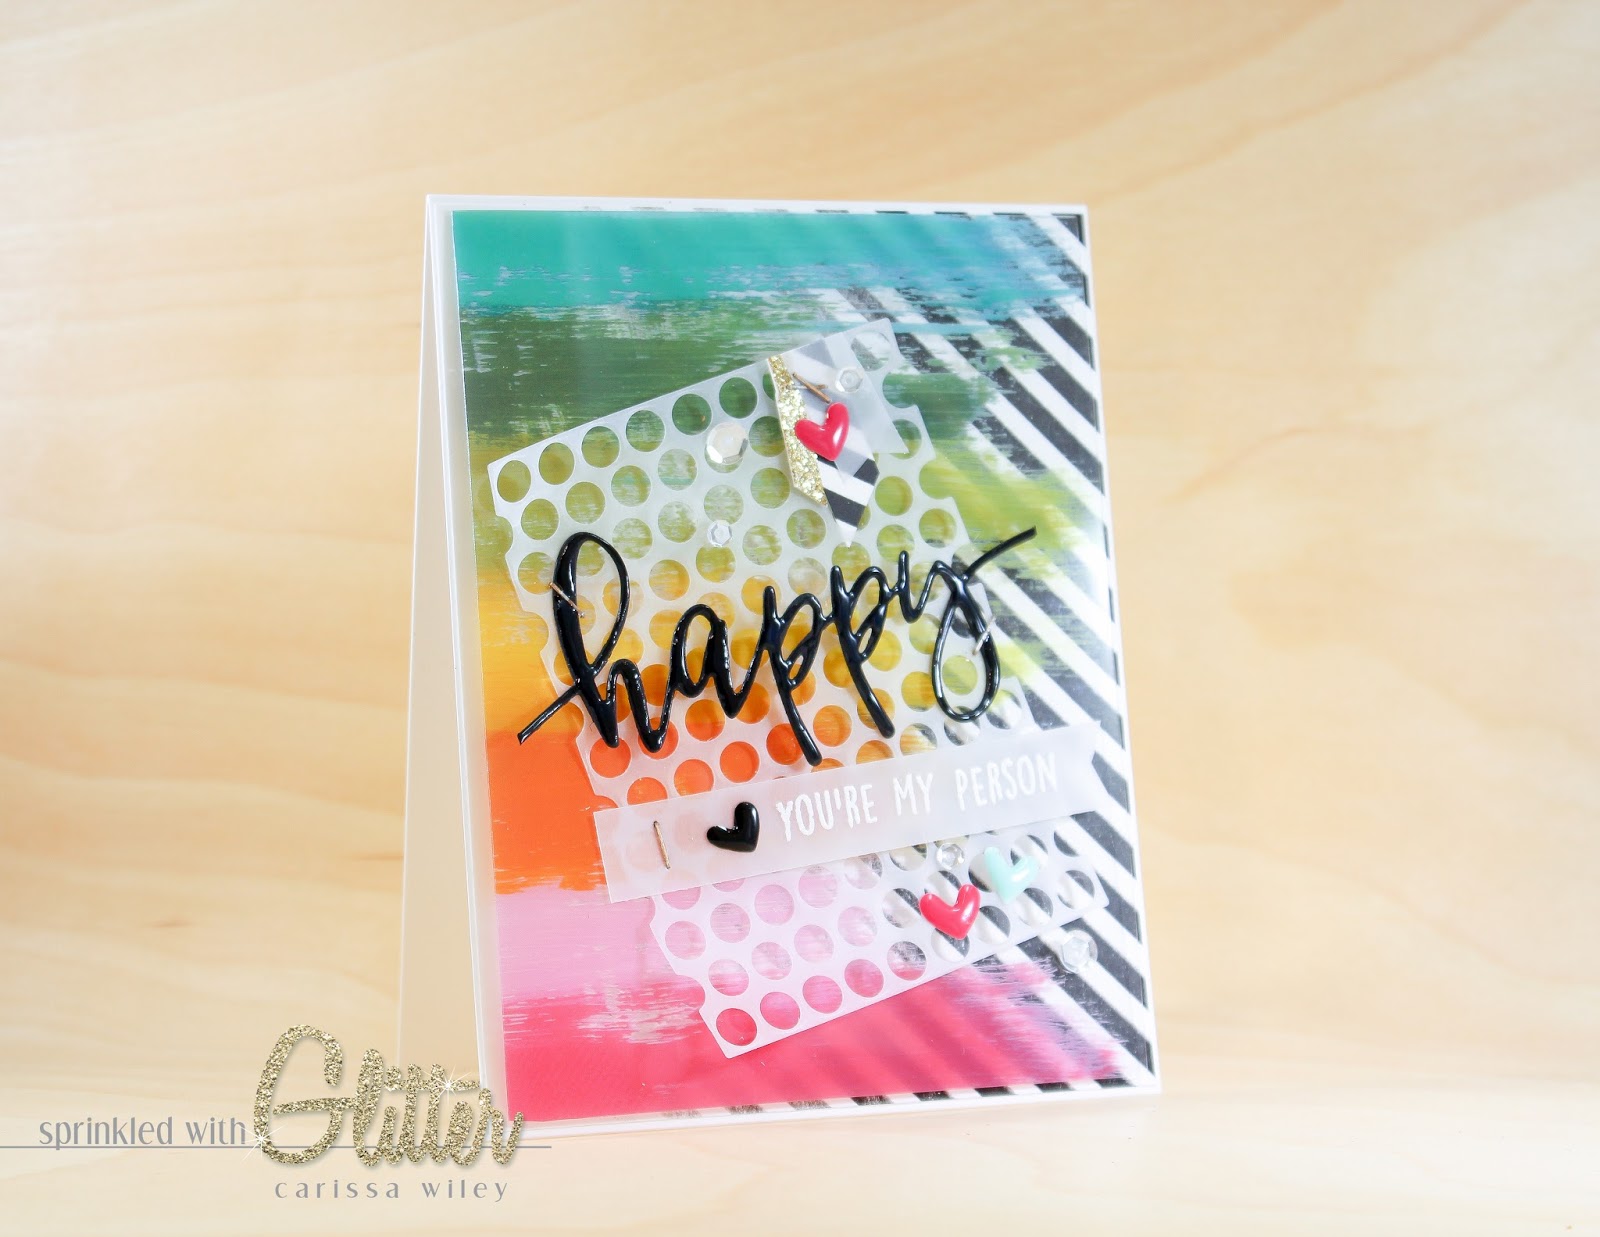
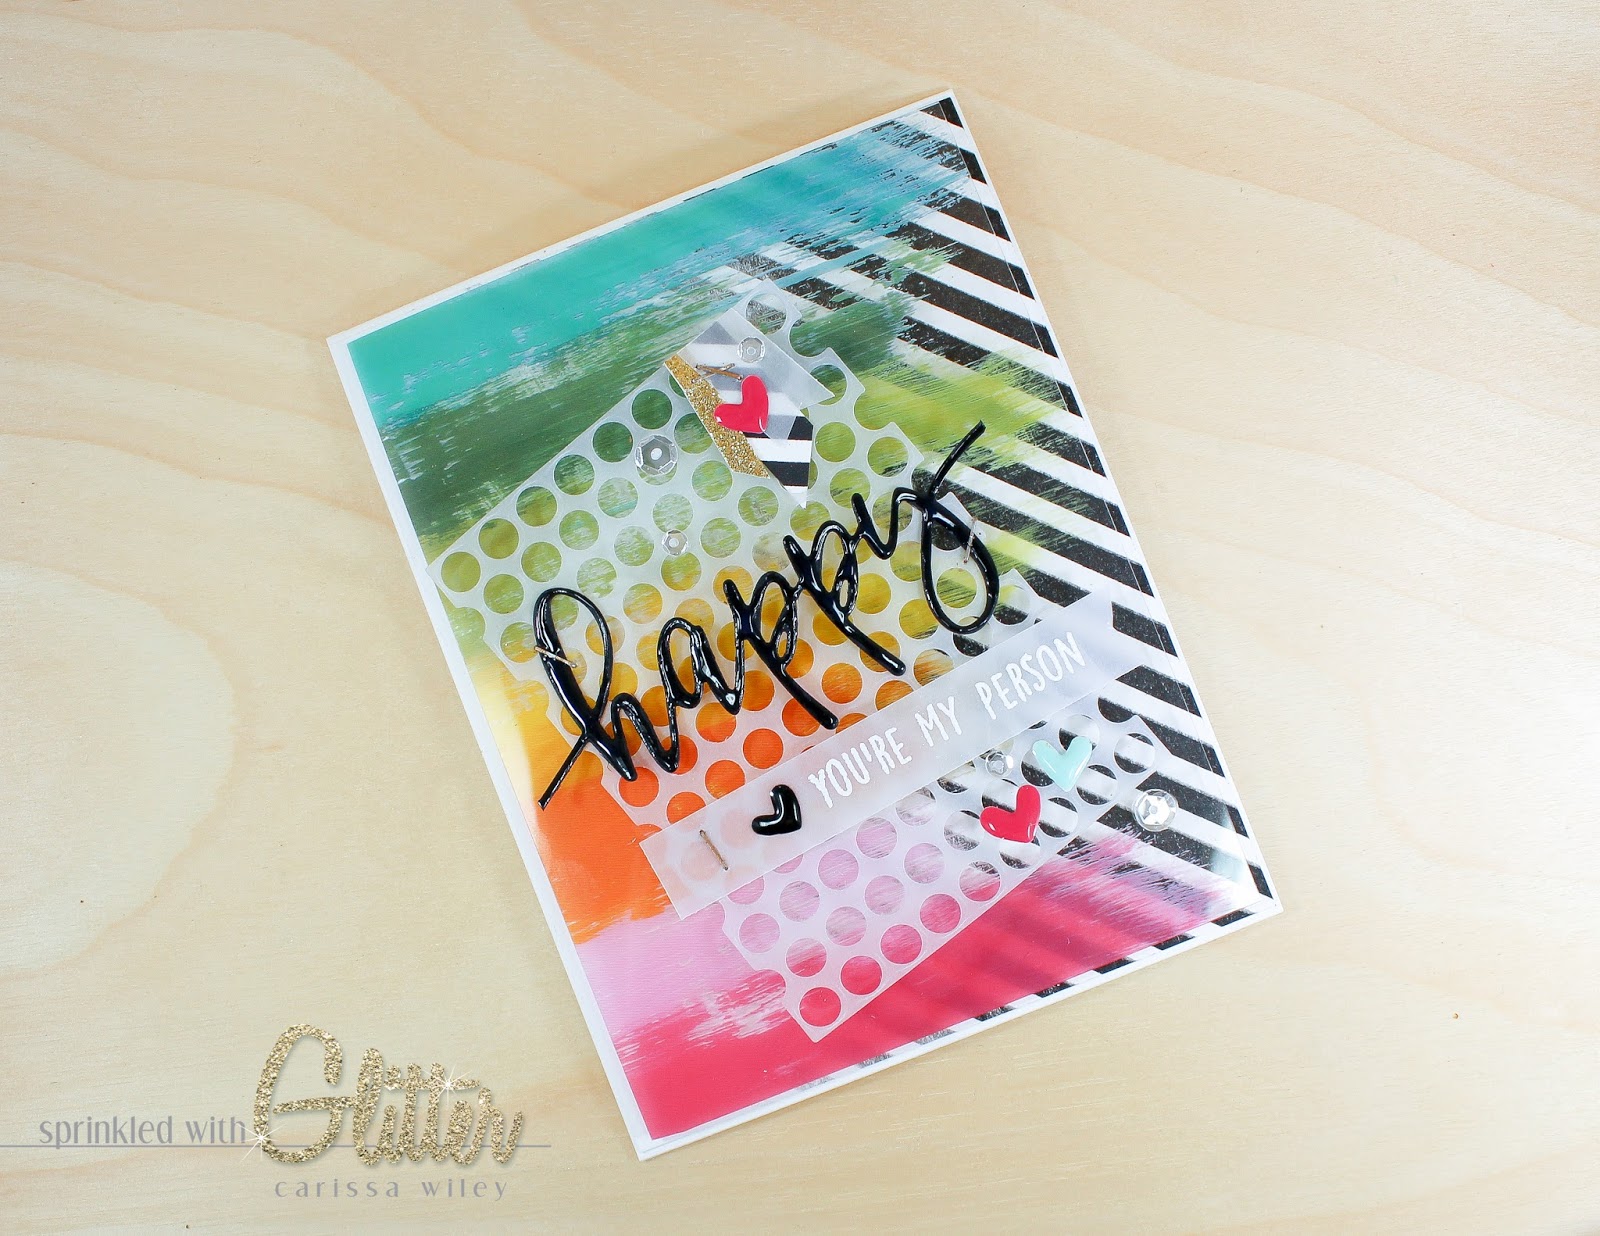
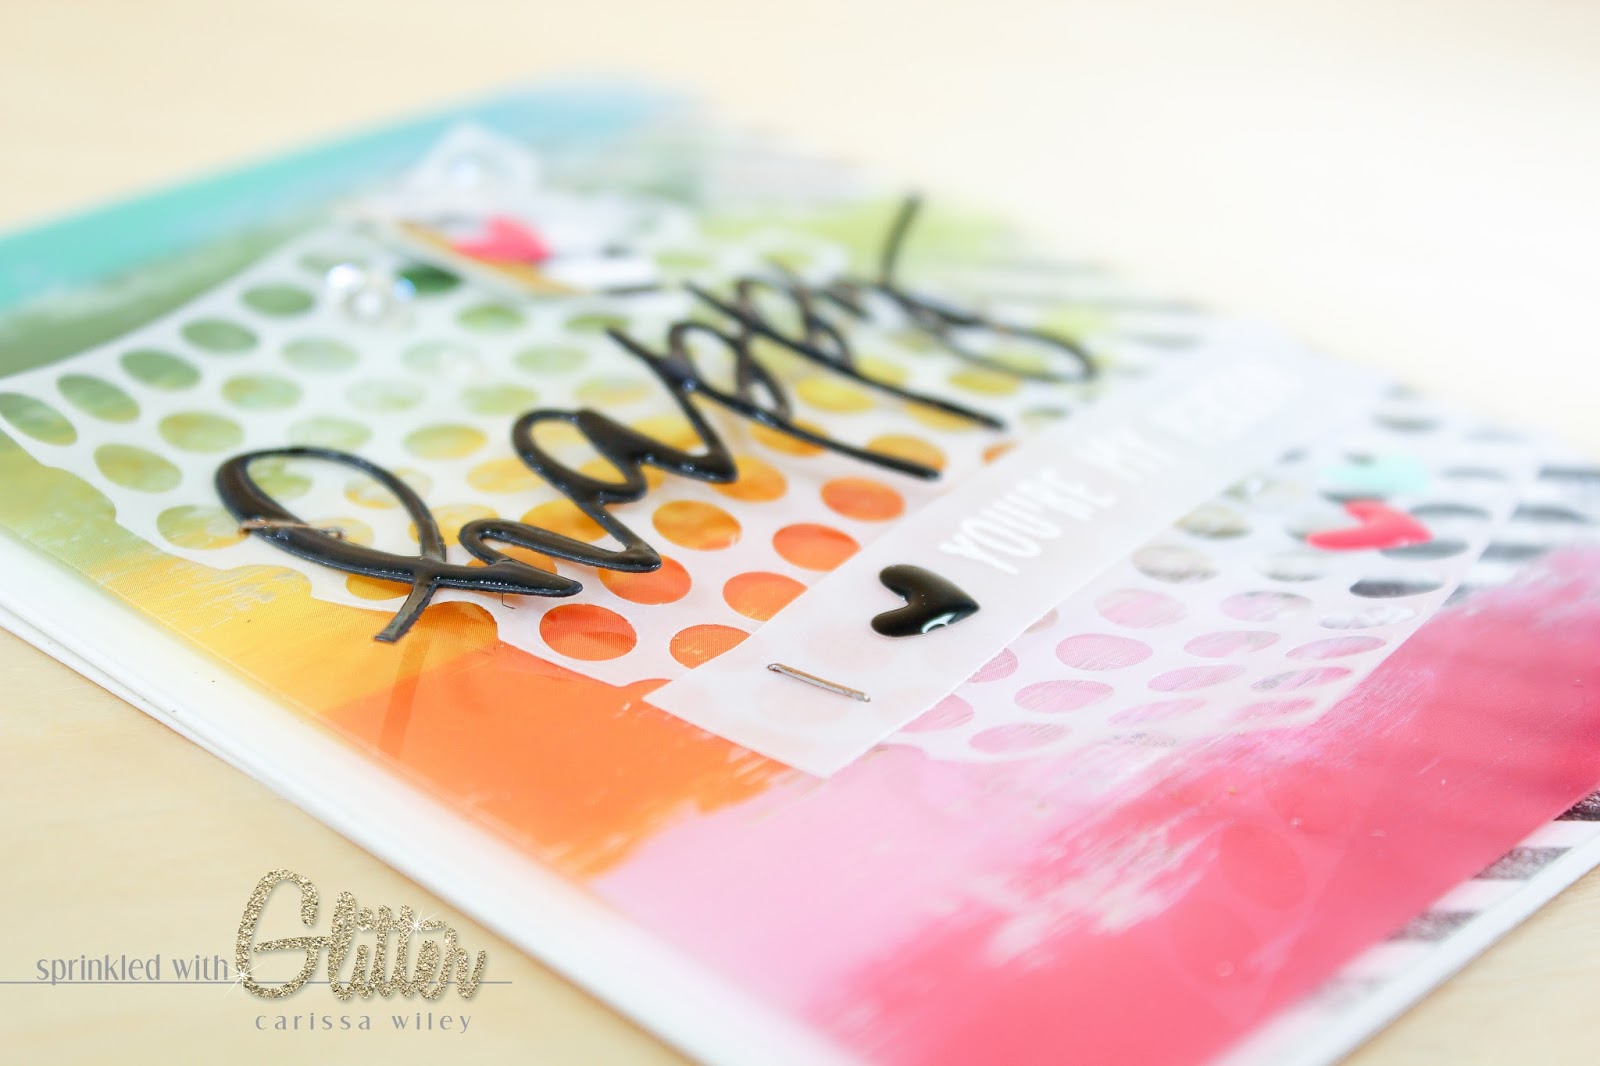
When I saw the You Are Loved Clear Cuts collection from Illustrated Faith used in a Bible journaling layout, I fell in LOVE with the colorful dry brush strokes on this piece. I knew I had to have it...and I knew I had to use it on a card. So that's exactly what I'm doing today. I love that the Clear Cuts pad comes with two of each of the patterns. That means I can make another card using this same clear acetate piece too!
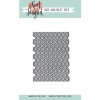
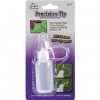
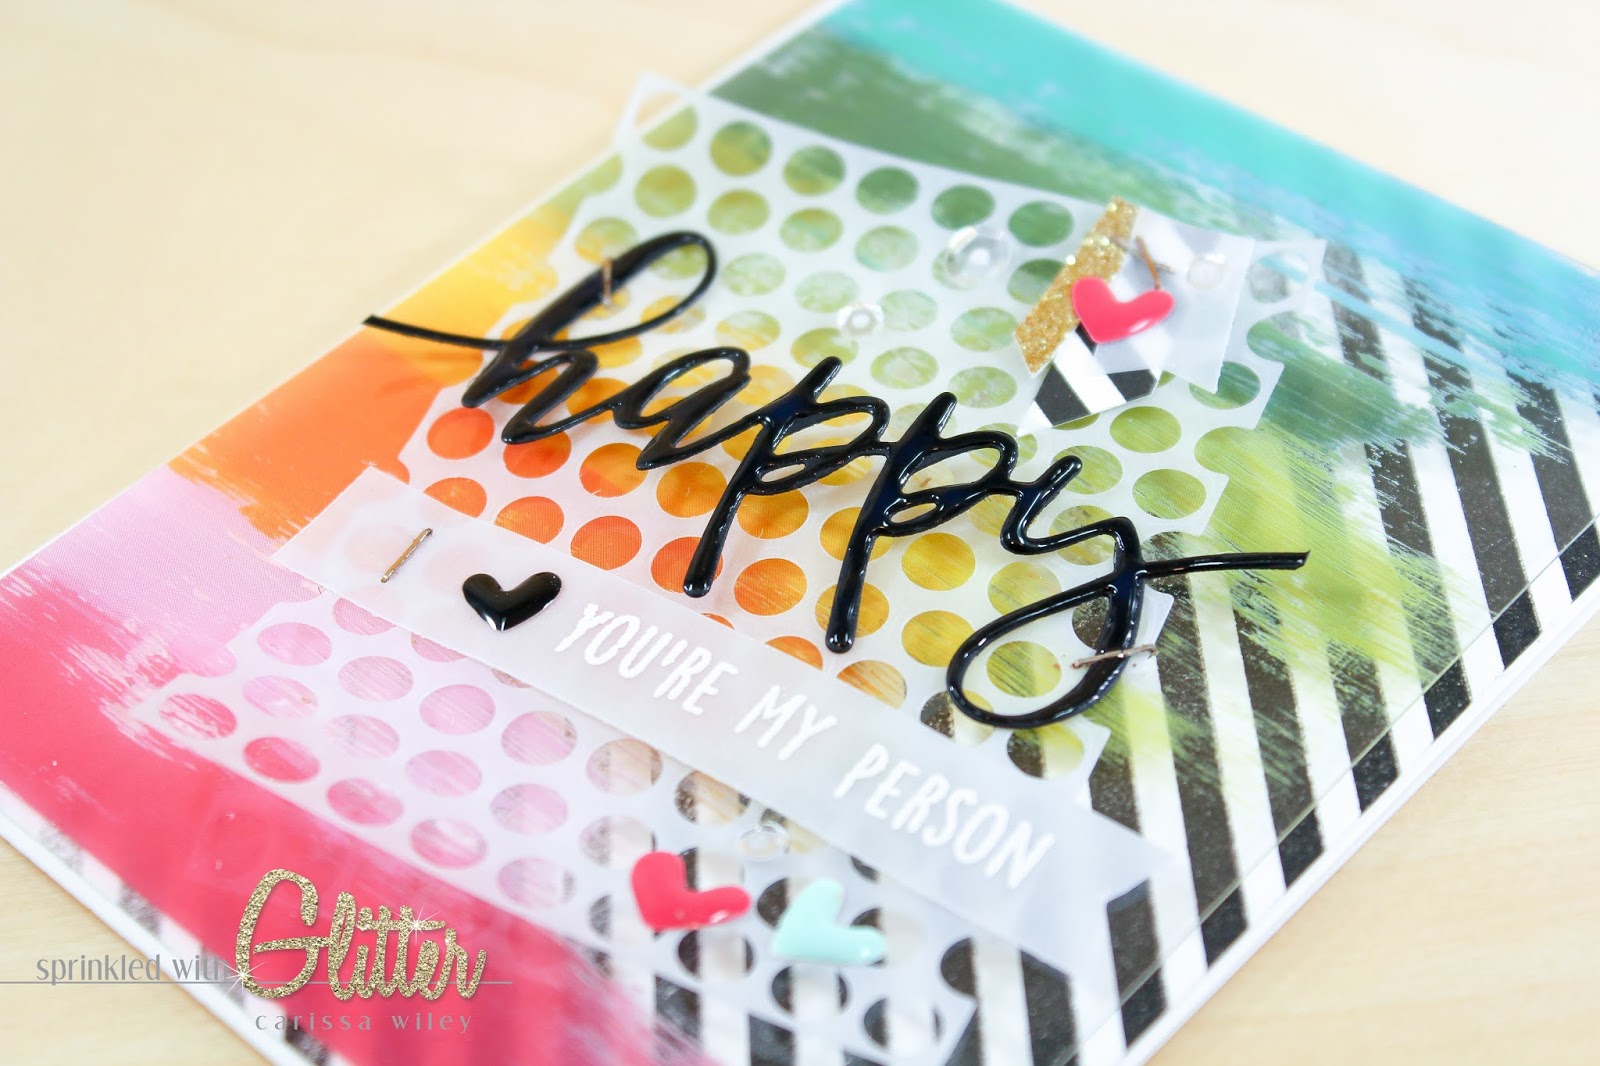
Using acetate on cards can be tricky. When it comes time to adhere elements, you might have to be a little bit creative. I used some die cut elements over the top to disguise some foam adhesive behind the acetate piece. I also used my Tim Holtz Tiny Attacher to attach some pieces on top of the acetate. This really worked with the design, because I feel like the design has a very mixed media feel anyway. You could also try stitching your pieces to the front of your acetate.
Little touches, like the little tiny banner grouping, also allowed me to add even more adhesive to the acetate piece. It's really not hard to hide adhesive when using acetate, you just might have to use things other than glue to adhere your pieces.
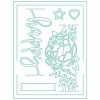
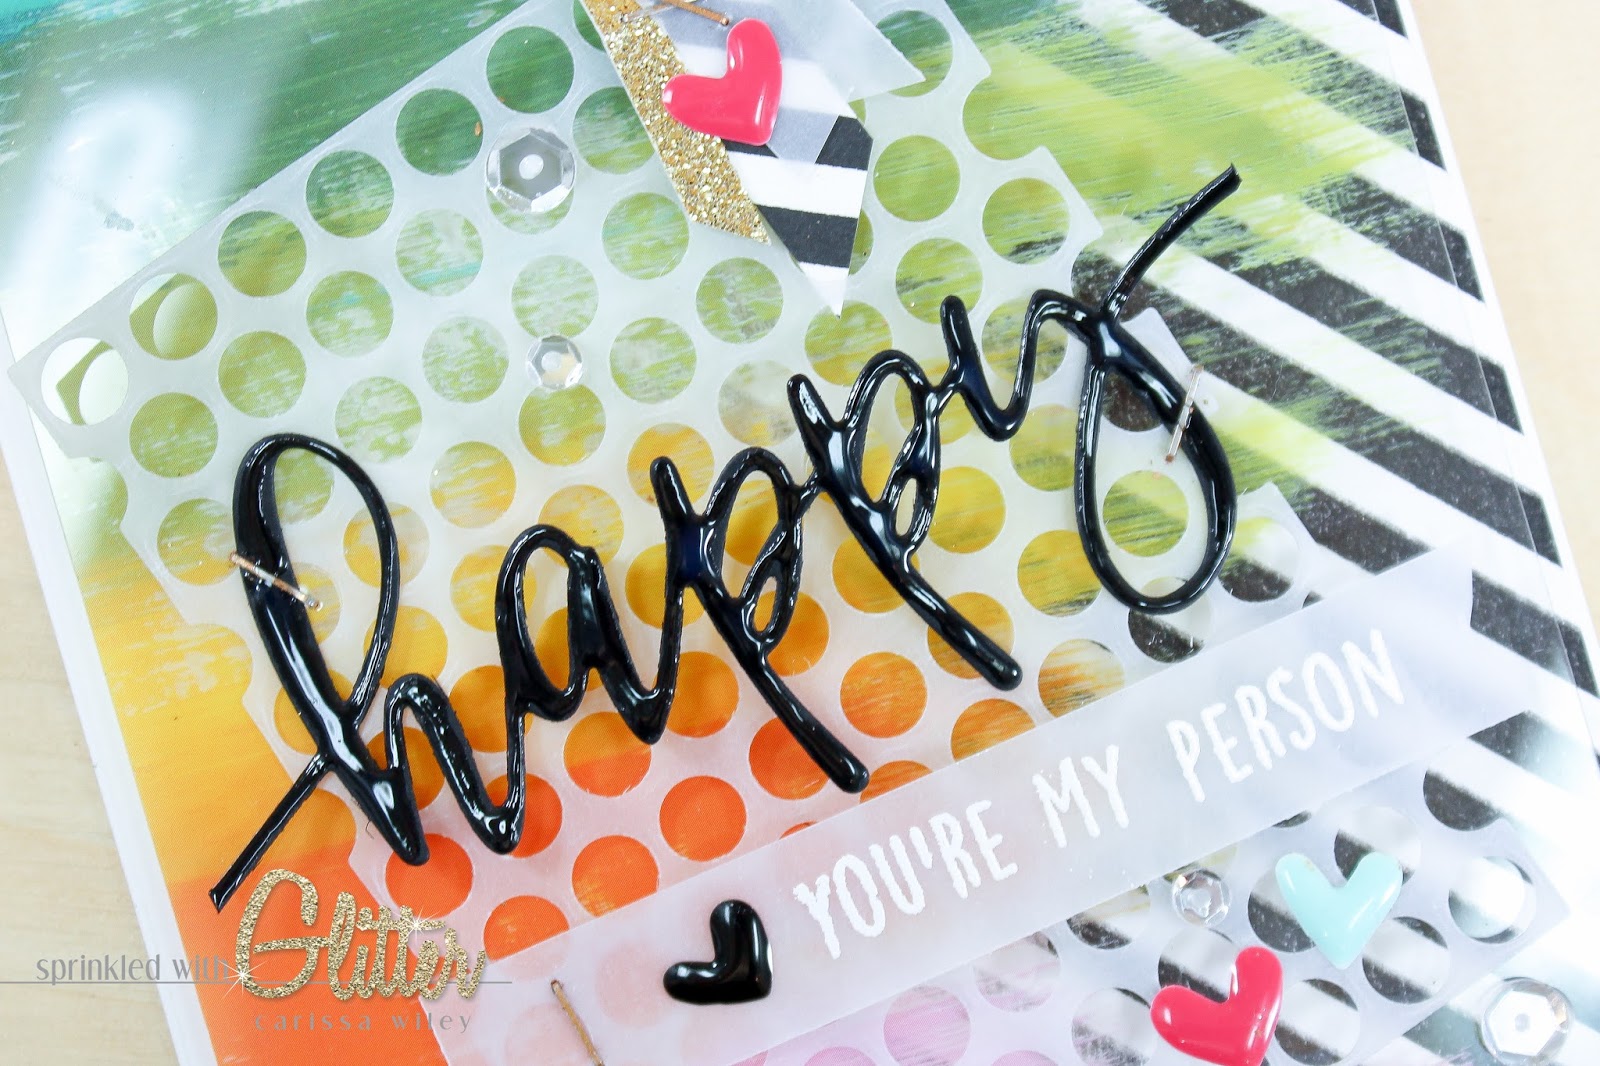
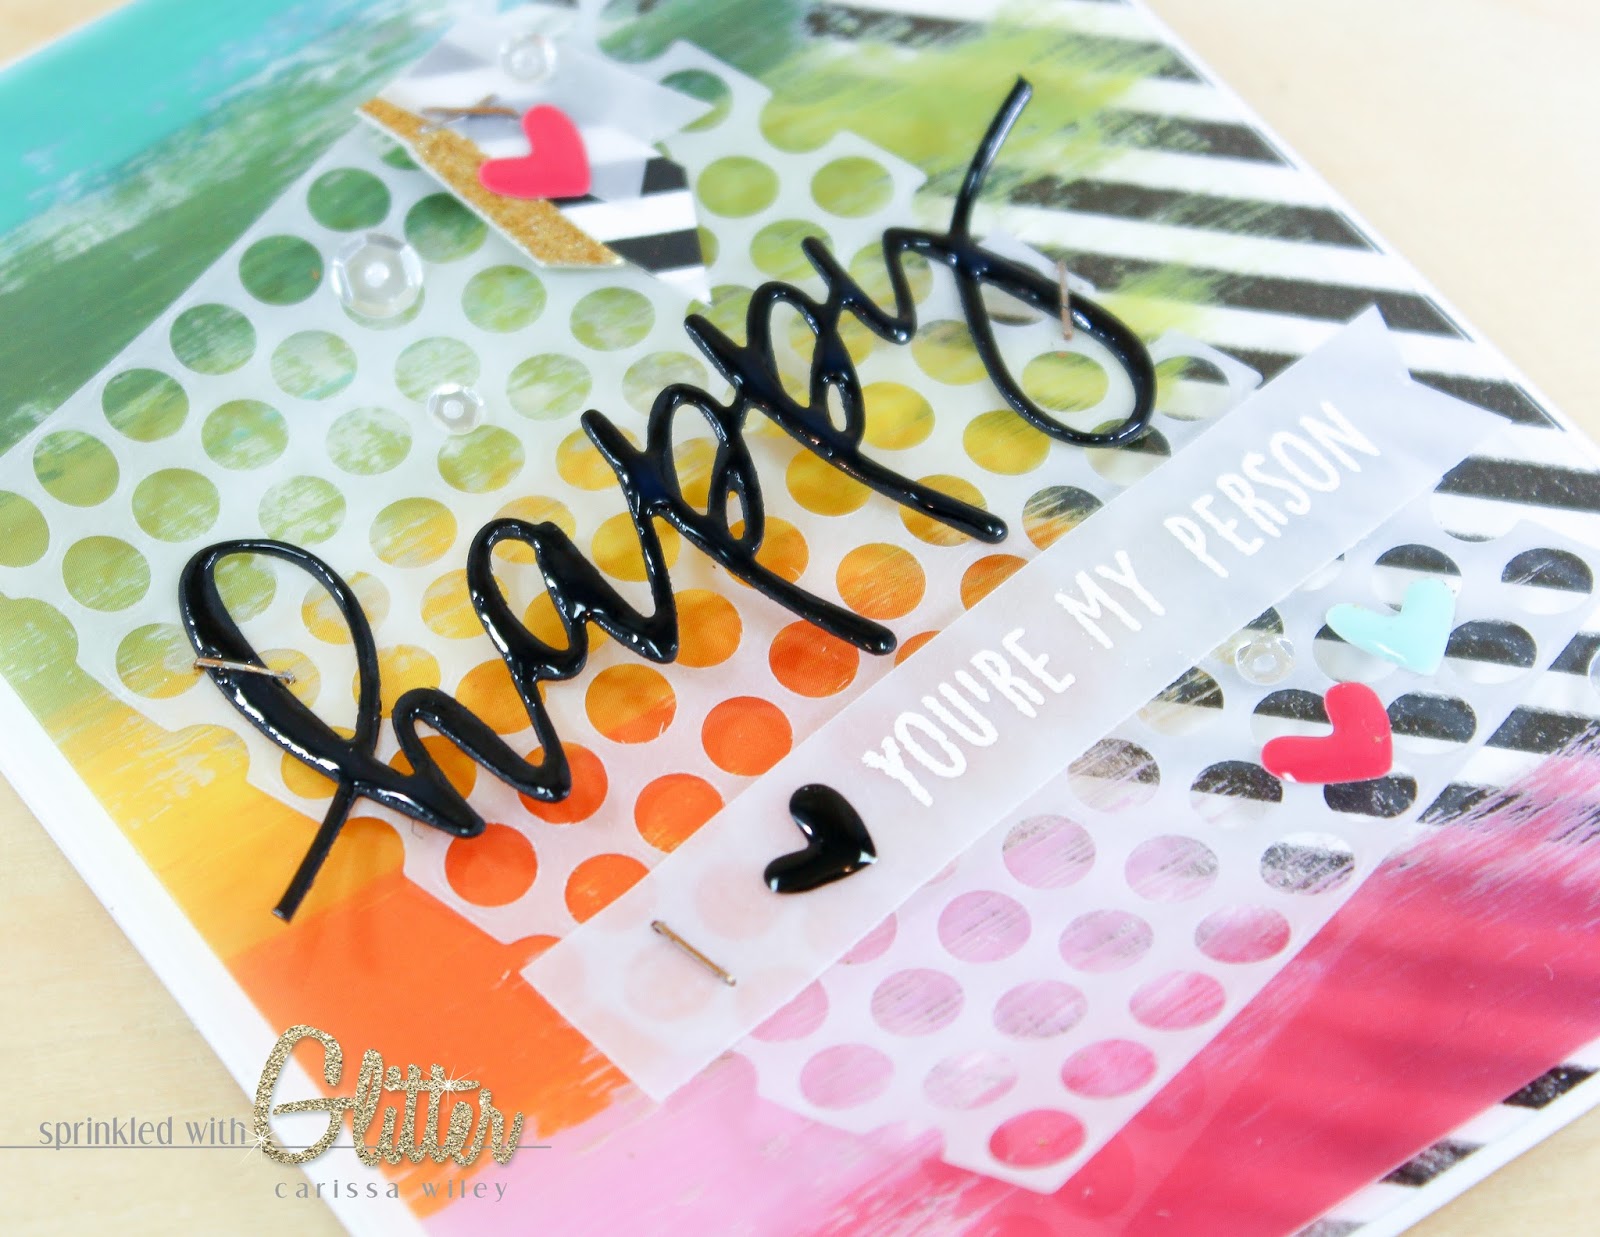
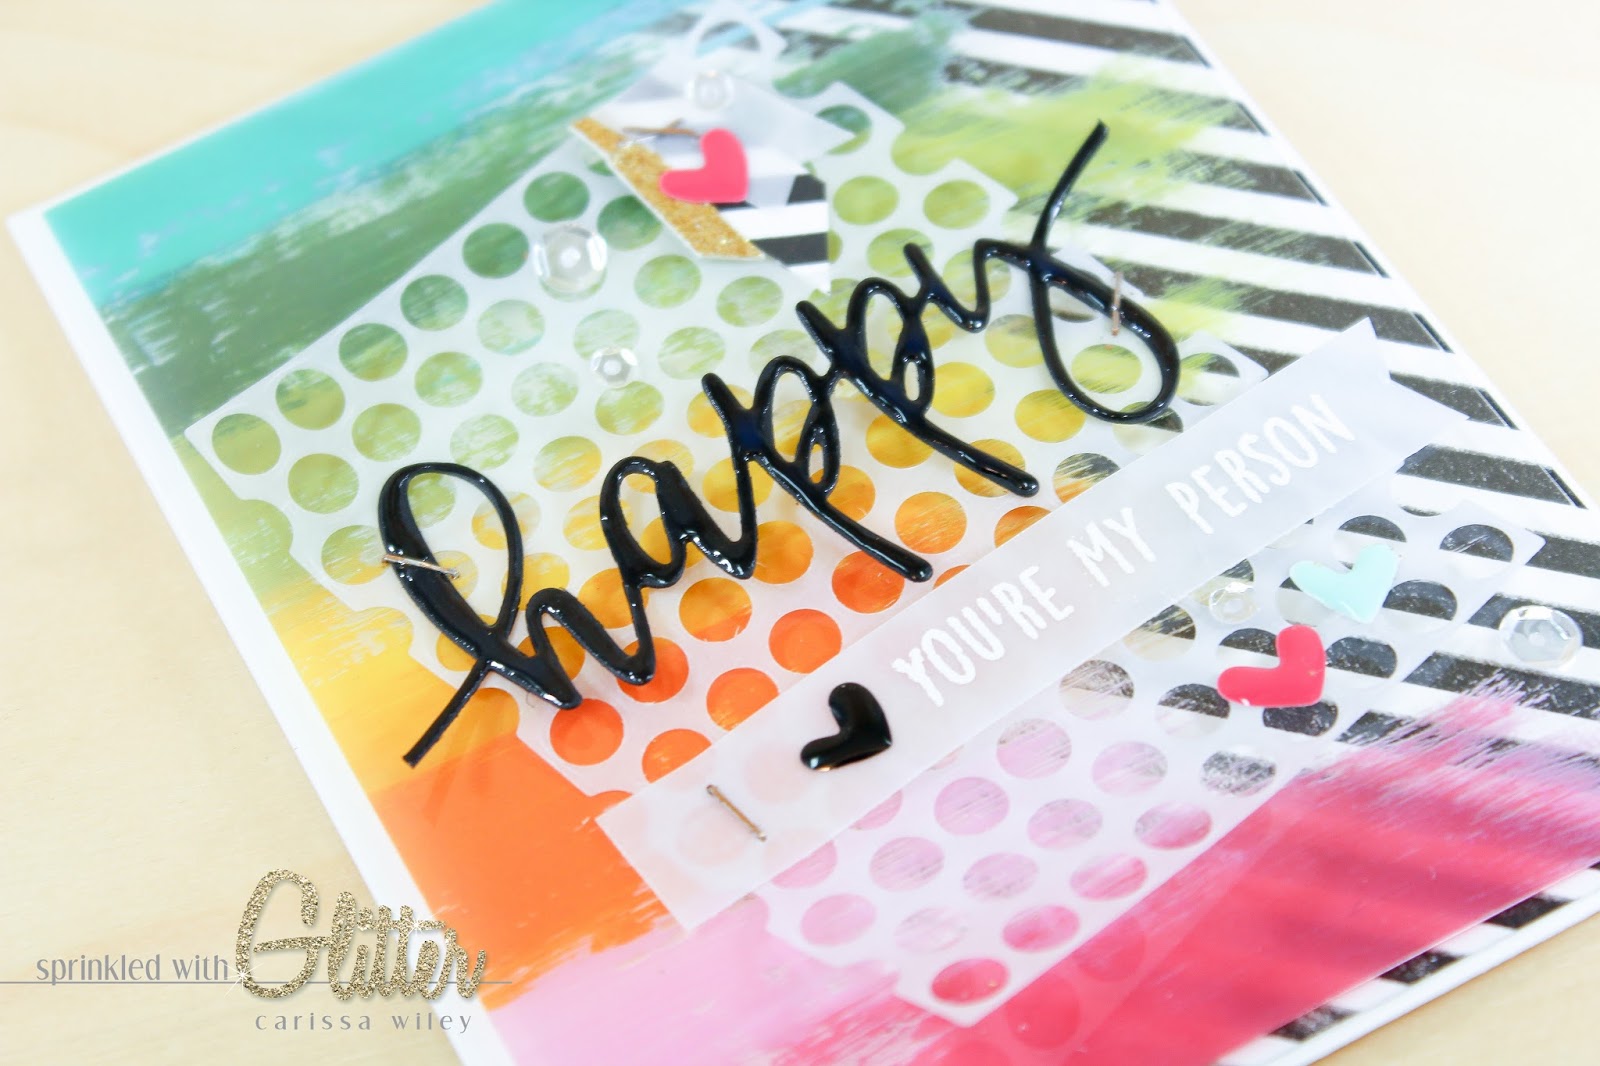
The die cut 'happy' sentiment comes from the Happy Card Frame Die Set from Concord & 9th. I love the versatility of this die set. You can use it within the frame that it comes with and have the sentiment suspended within the frame, or you can use it on its own, like I've done here. I love well thought out products. Concord & 9th has even created other products to go along with this frame set.
I added a layer of Glossy Accents over the top of the die cut sentiment to make it feel like an embellishment. This simple step can really add a lot of impact to a die cut sentiment.
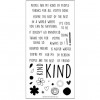
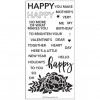
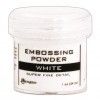
I used the Kindhearted stamp set, also from Concord & 9th to stamp and emboss my supporting greeting. I did a little stamp surgery to allow me to stamp "you're my person." It's a fun sentiment that can really be used for anyone at any time of the year!
I've included a video tutorial below walking you through the entire creation of this card. I've also included links to multiple sites to all the products used in this project. Be sure to check out the video tutorial to see exactly how this card came together.
Thanks for stopping by today! I'm excited to be heading to Phoenix this week for the 2017 Creativation Show. I'll be checking out all of the latest products coming to the wonderful world of crafting. I also love that I get to see old friends and make new ones too! Be sure to stay tuned to my Instagram for a look at the latest and greatest from Creativation. Until next time, I hope you have a fabulous day!

Supplies
*affiliate links used*