Hello, Ia Orana - Layering Elements
Hello everyone! Ia orana from Moorea. I'm currently honeymooning with my hubby in French Polynesia. We celebrated our 15th anniversary this year and we are escaping for our official anniversary trip. We'll be staying on Moorea for four nights, then head over to Bora Bora for another five nights.
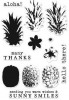
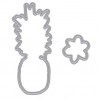
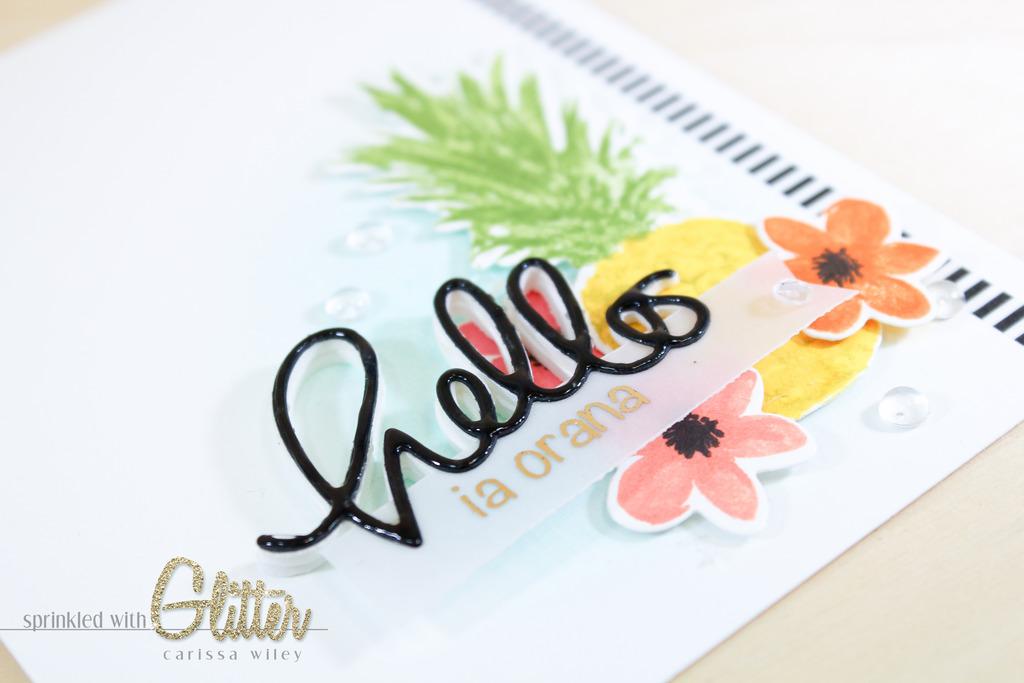
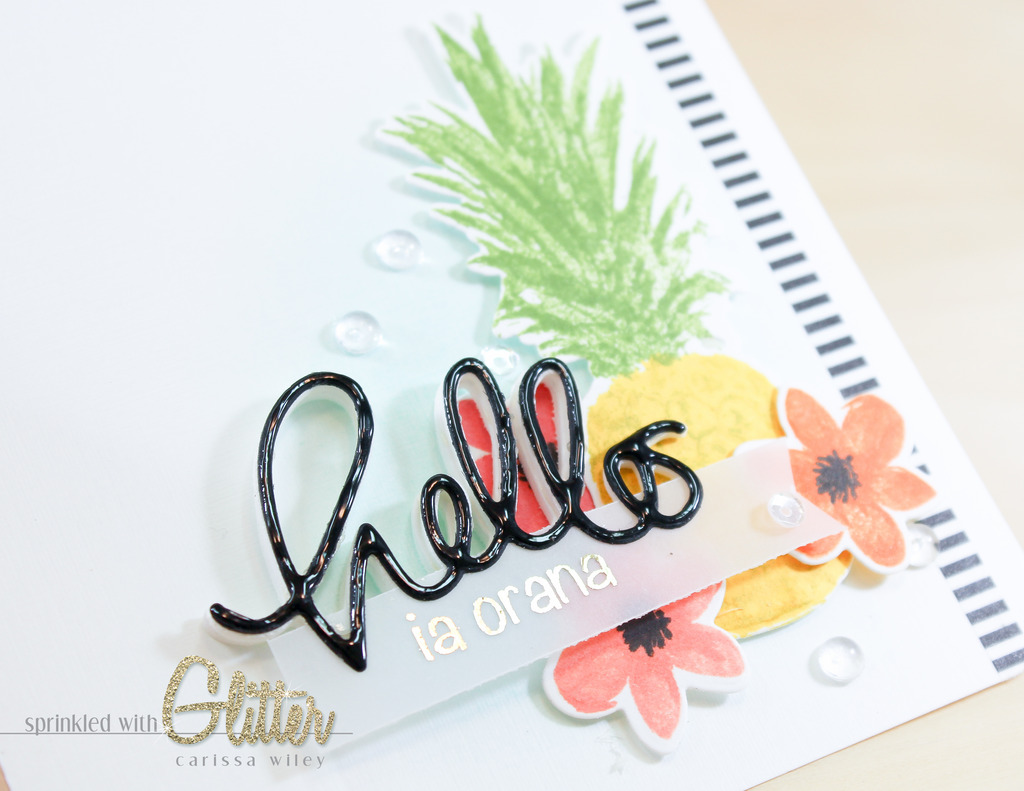
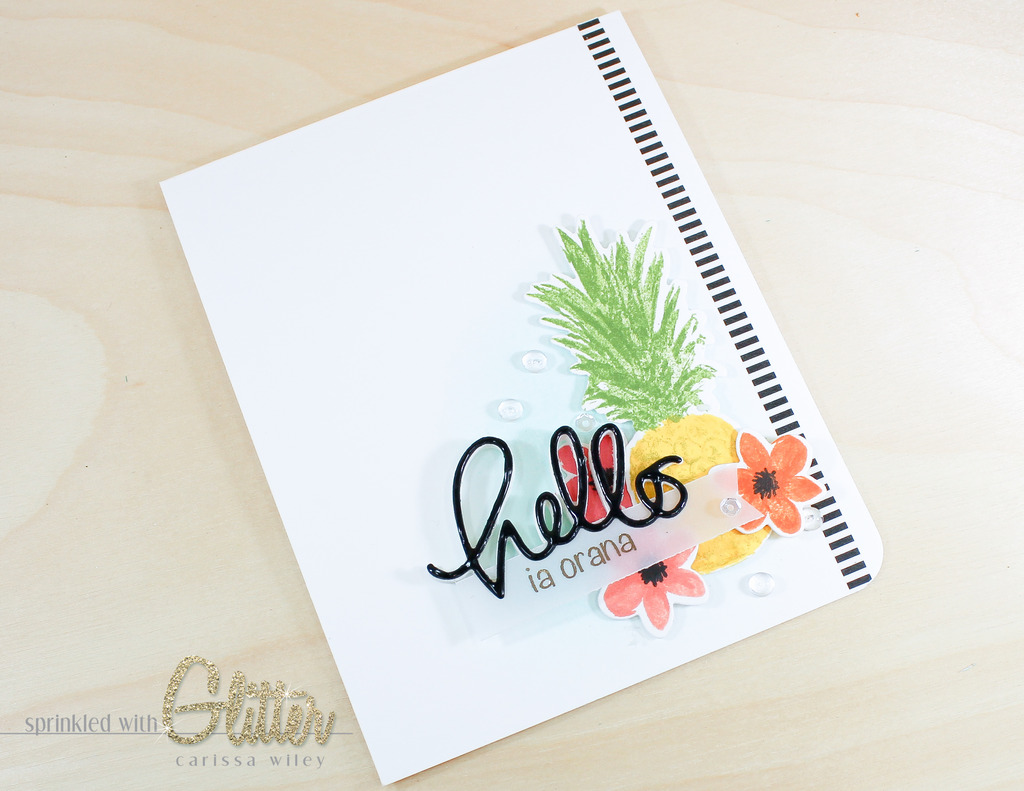
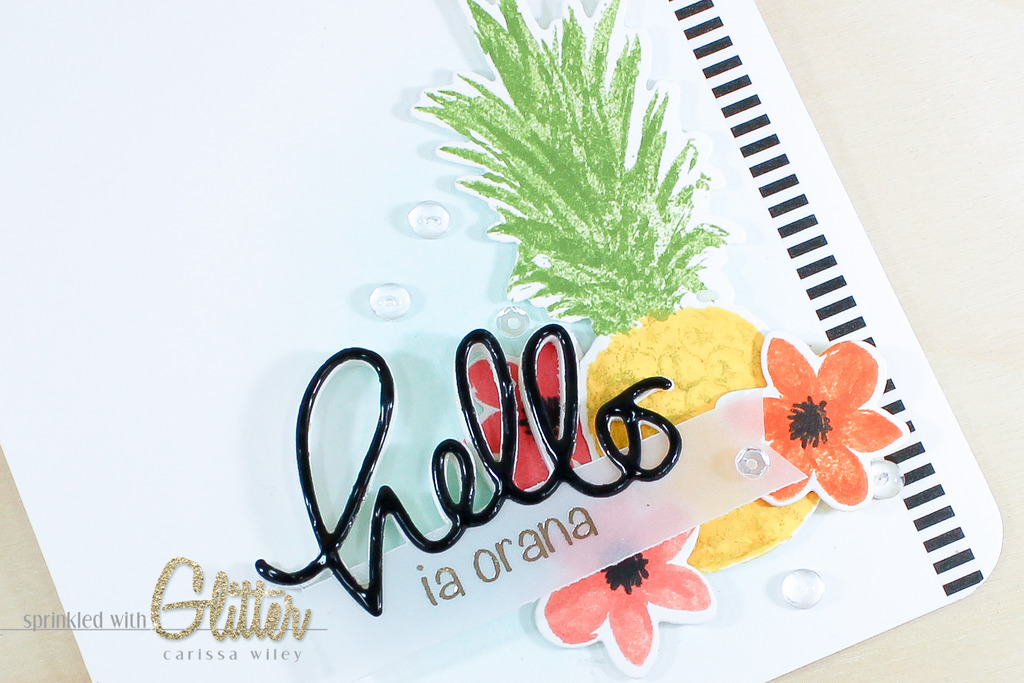
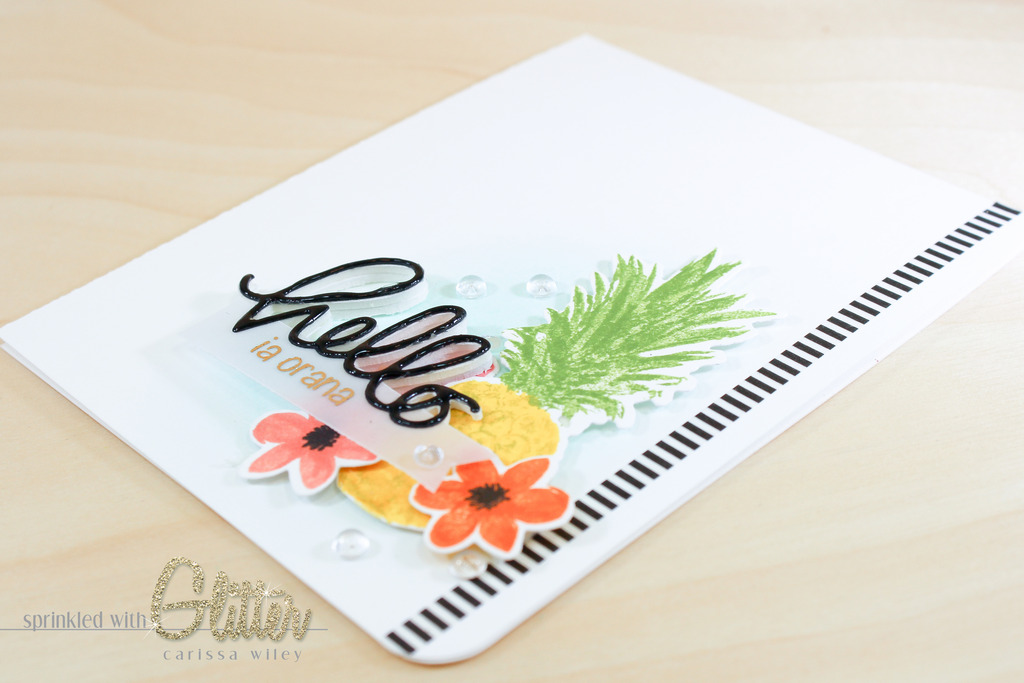
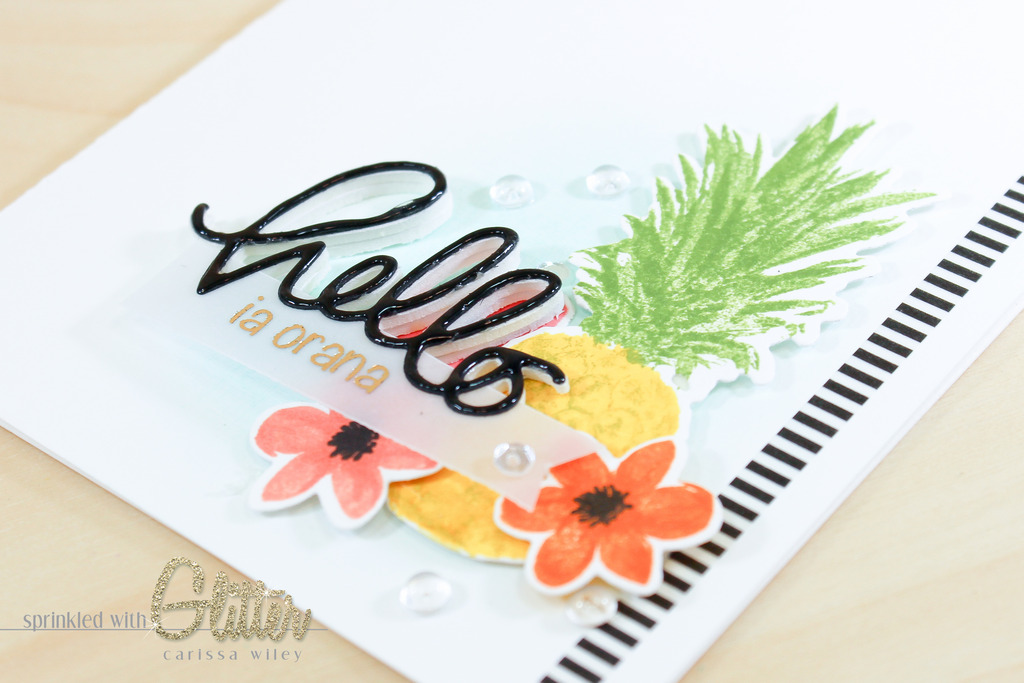
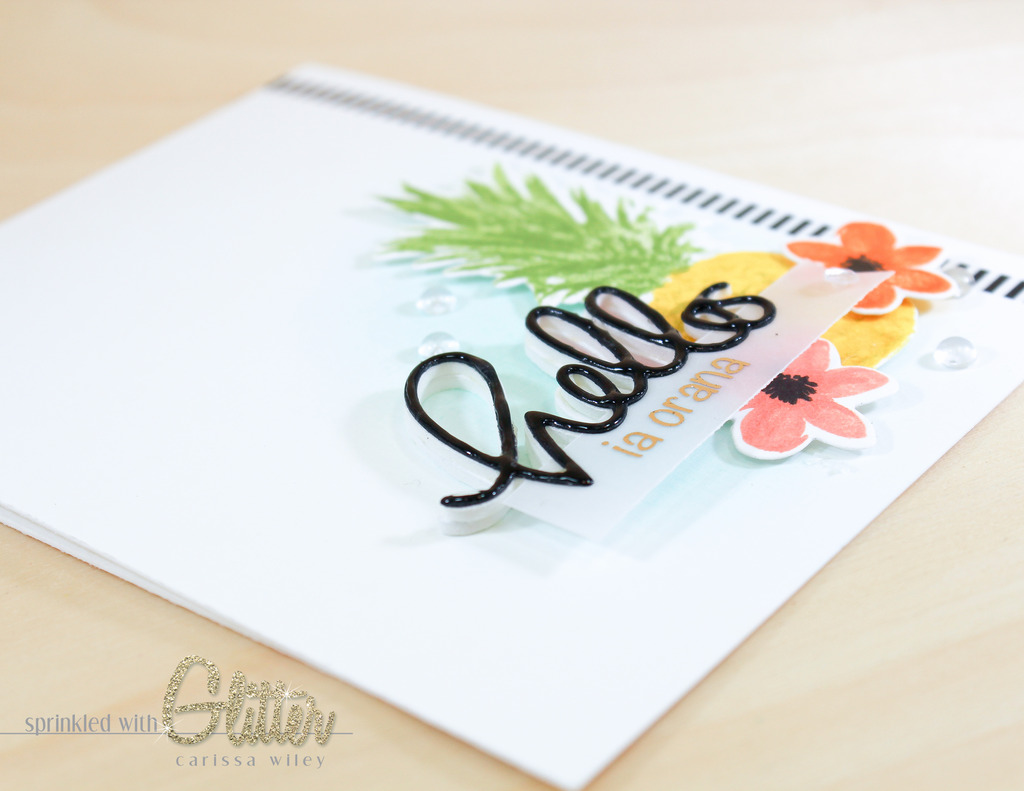
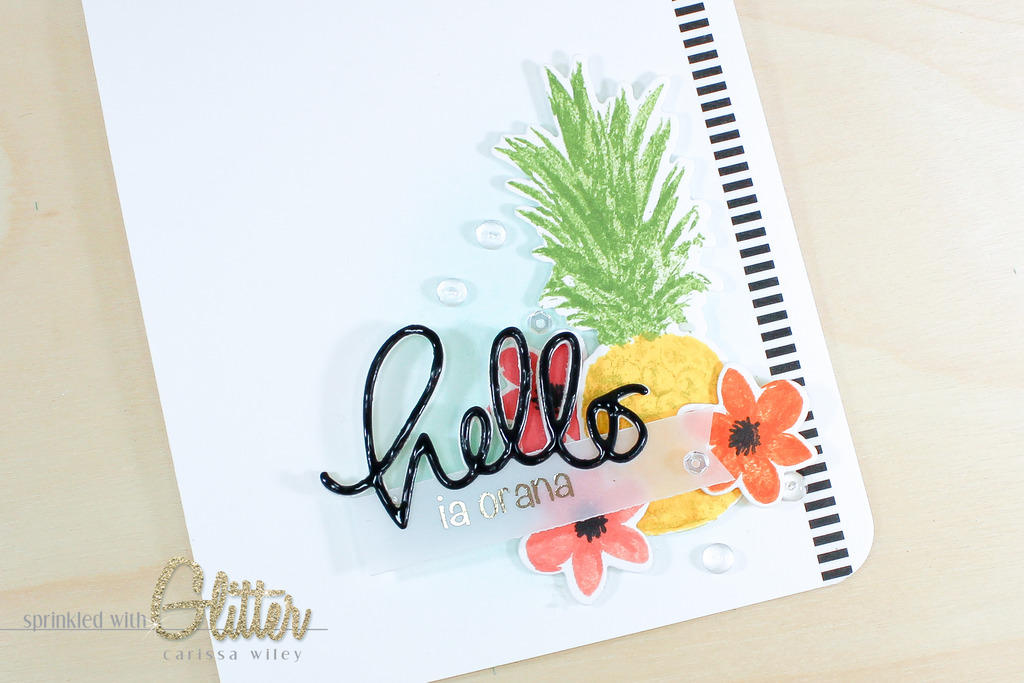
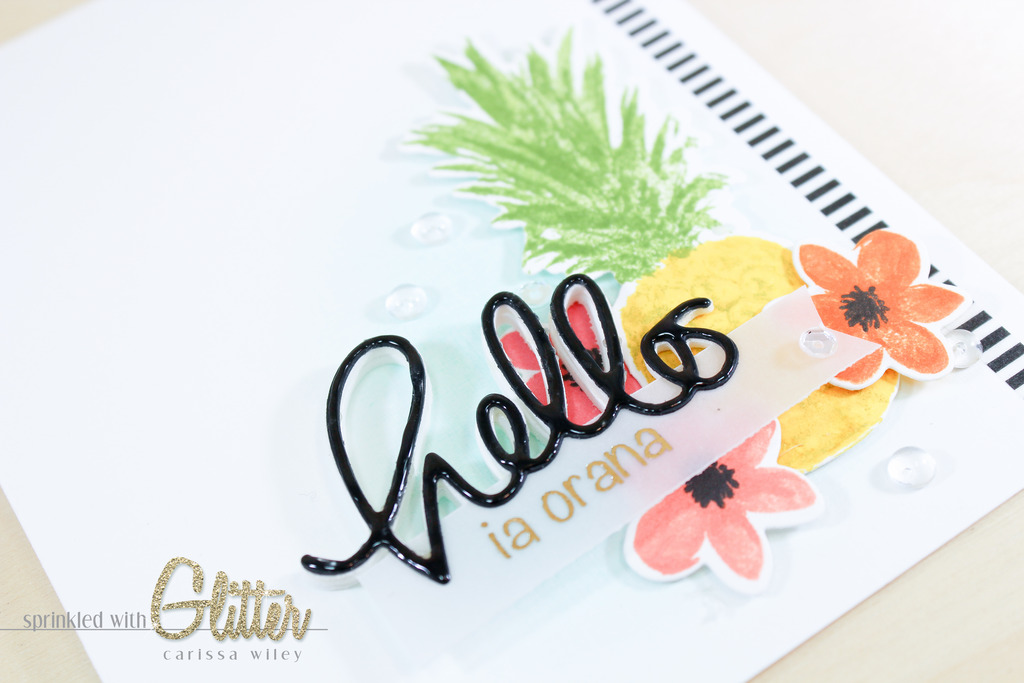
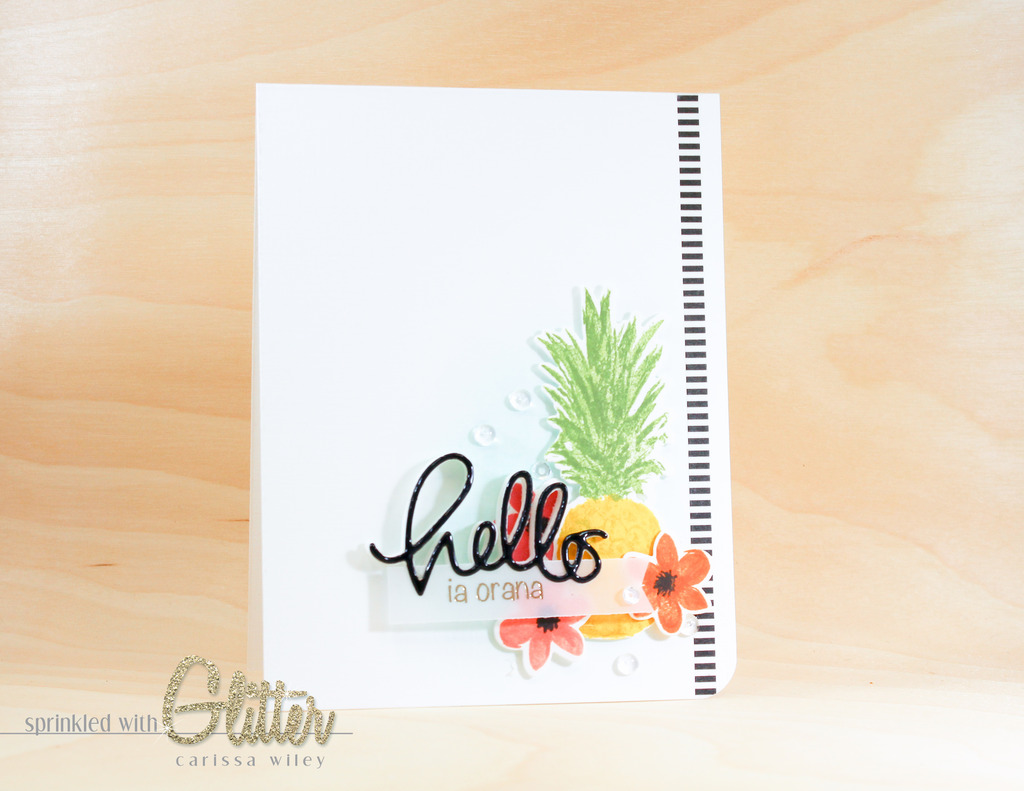
Before I left, I wanted to put together a project that would be suitable for this little vacay and what could be more perfect than a project featuring the Hero Arts Color Layering Pineapple stamp set and matching die? I absolutely LOVE this project and I'm so happy to be sharing it with you today! I have to tell you, this card was heavily inspired by THIS card from Yana Smakula. I love the cluster of stamped and die cut images with the foil accents.
I will be using just a couple of colors to stamp my images. I'm just using one shade of yellow for my pineapple. By layering the same color on top of itself, I can create darker shades of the same color. I mixed in just a touch of green on my pineapple to add a more realistic effect. I'll show you how I partially inked the layers to create some green shading on my color layering stamps.
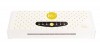
I used my Mini MISTI to get perfect placement on my images. If you don't have a MISTI, no worries! Just use a clear acrylic block. You can look right through the image to stamp on top of the other image.
For my sentiment, I used a combination of a die cut and a printed foiled sentiment. The hello die cut is from Simon Says Stamp. This same hello die is also available in a larger version too!
I printed the rest of the sentiment, ia orana, which is the traditional greeting in French Polynesia, on some heavy weight vellum. I used the Noteworthy Light font. It's a standard font on most computers. I tried several different fonts, but ended up liking the simplicity of this font the most. You can adjust the size to whatever size fits the scale of your project. I used size 20 for my final sentiment. I just typed these words in to my word processing program and printed it out on some vellum using my Brother laser printer. I used my laser because I knew I wanted to add a touch of foiling to this sentiment.
I added the foil using my Mini Minc and some Champagne foil from Therm O Web (my new favorite gold foil). It has a much softer look than the traditional gold foil and it is just beautiful!
I layered all of these elements on a linen card base. I love the texture that the linen card stock adds. I put foam adhesive behind some of the elements and used regular tape runner adhesive on others. This gives the card a lot of depth and dimension and creates interest because they are all on different planes. This was definitely inspired by Yana's card that I mentioned earlier.
I'll walk you through the entire creation of this card in the video tutorial below. Be sure to check it out. I'd love it if you were to subscribe and give the video a thumbs up while you're there!
Thanks for stopping by today. I hope you enjoyed this project. If you want to see a little more of my trip (and get to know me on a more personal level), be sure to follow me on Instagram. I love to hear from all of you. Until next time, I hope you have a fabulous day!
Supplies
*affiliate links used*