Kids Craft Valentine With Elliot - Featuring Thermoweb DecoFoil
Hi everyone! I'm so excited to be here with something a little different for you today. I'm doing a little collaboration video with one of my best creations ever...my youngest daughter, Elliot. She's a fun and spunky little thing...and she loves to craft. You'll get acquainted with her in the video tutorial below. She stole the show! So I thought we'd get a little jump on Valentine's Day and make some handmade Valentines for her friends and classmates. After all, there's no better holiday for handmade cards than Valentine's Day!
My goal was to make this project simple for Elliot. She's eleven years old. I knew that there were things that I would have to show her, but my goal was to be able to teach her how to use my tools and then set her free to create on her own. This was a fun way to spend time with her and teach her a few things along the way. The biggest lesson she learned was how tough it is to record a voice over for a video tutorial.
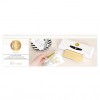
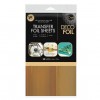
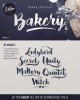
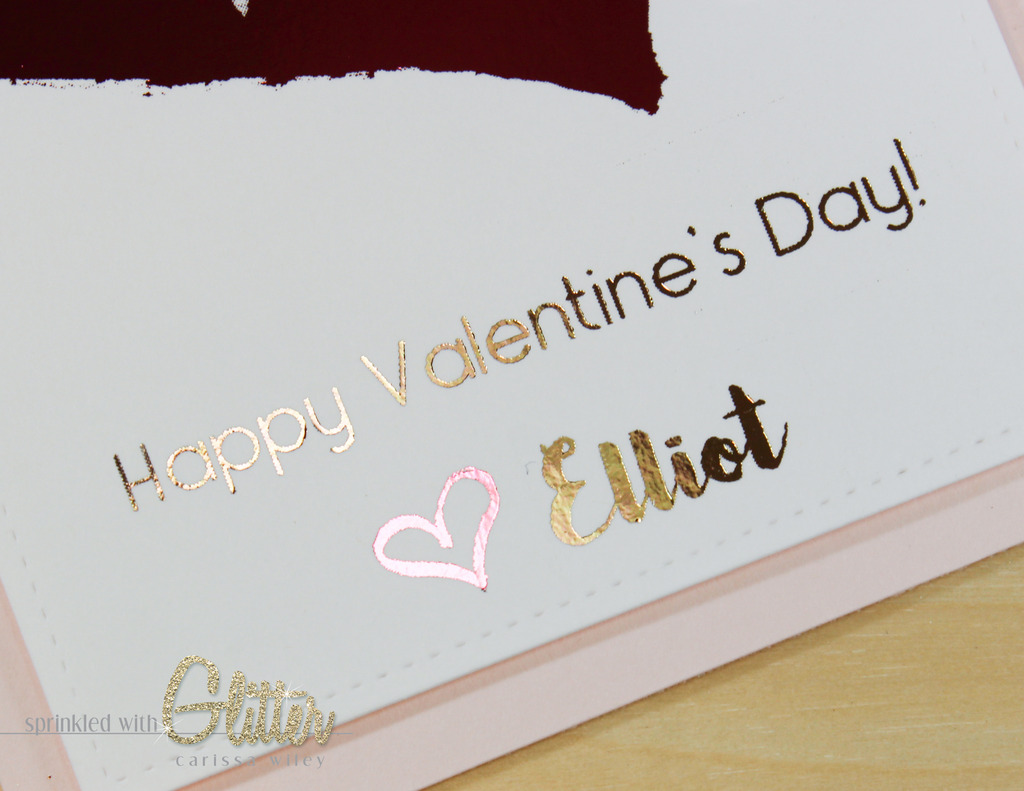
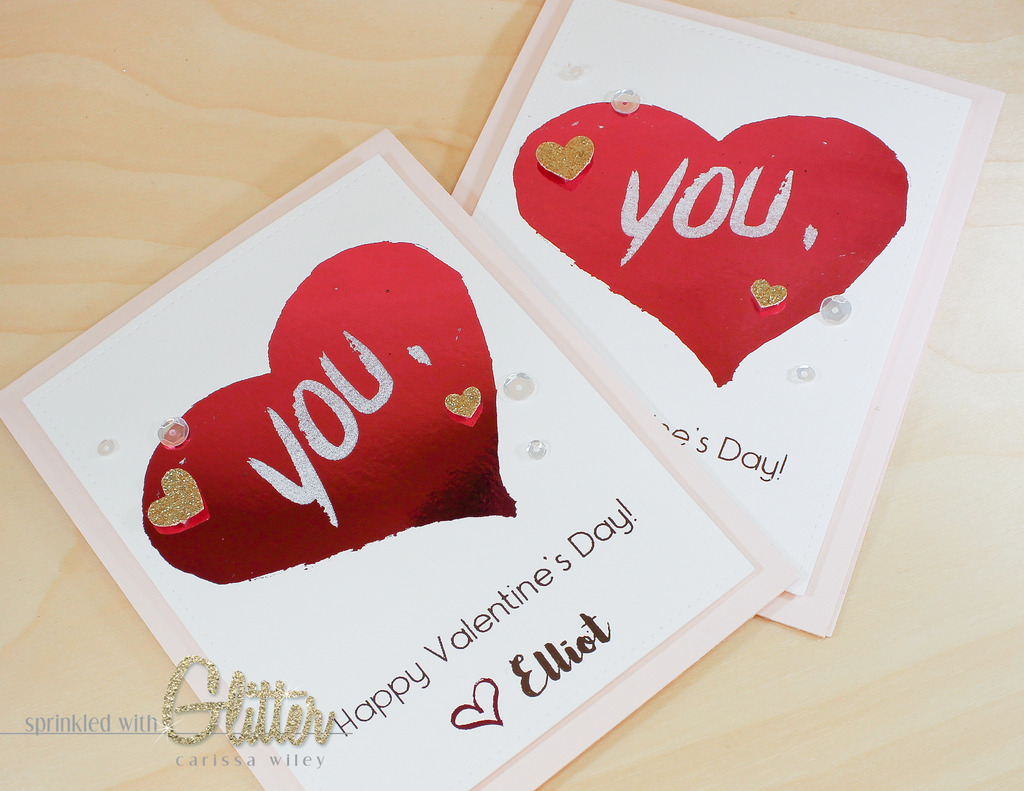
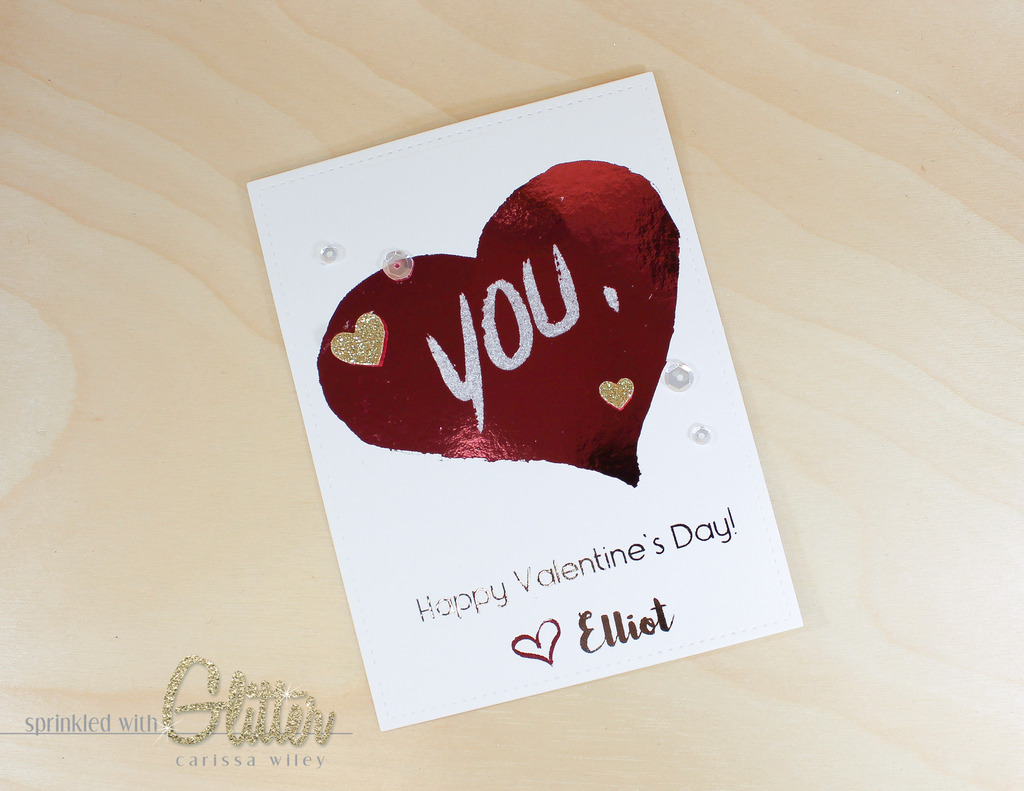
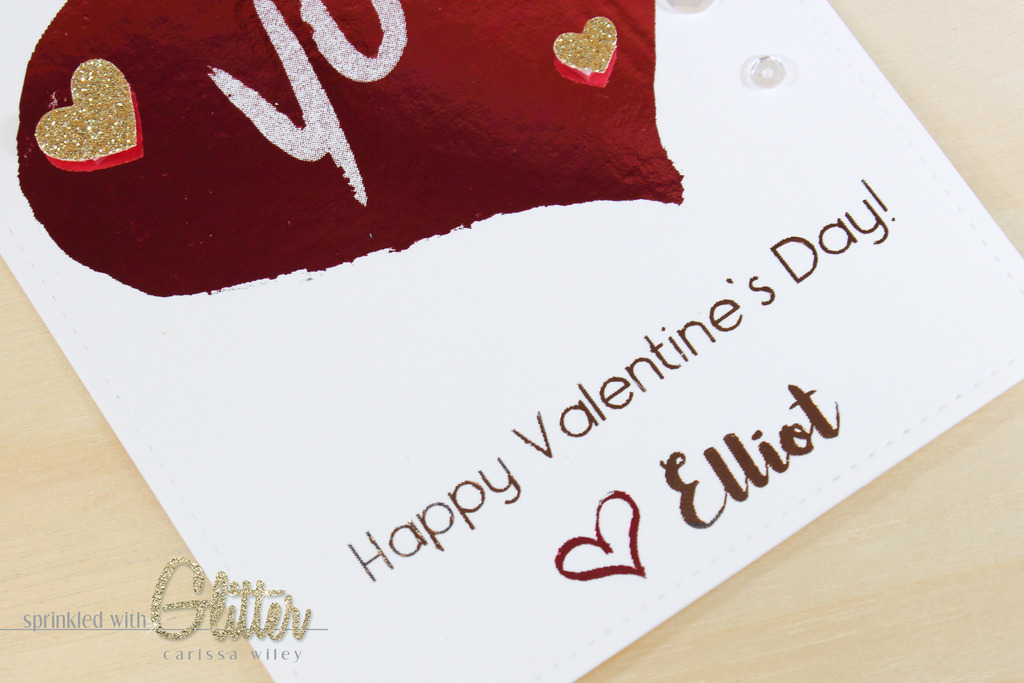
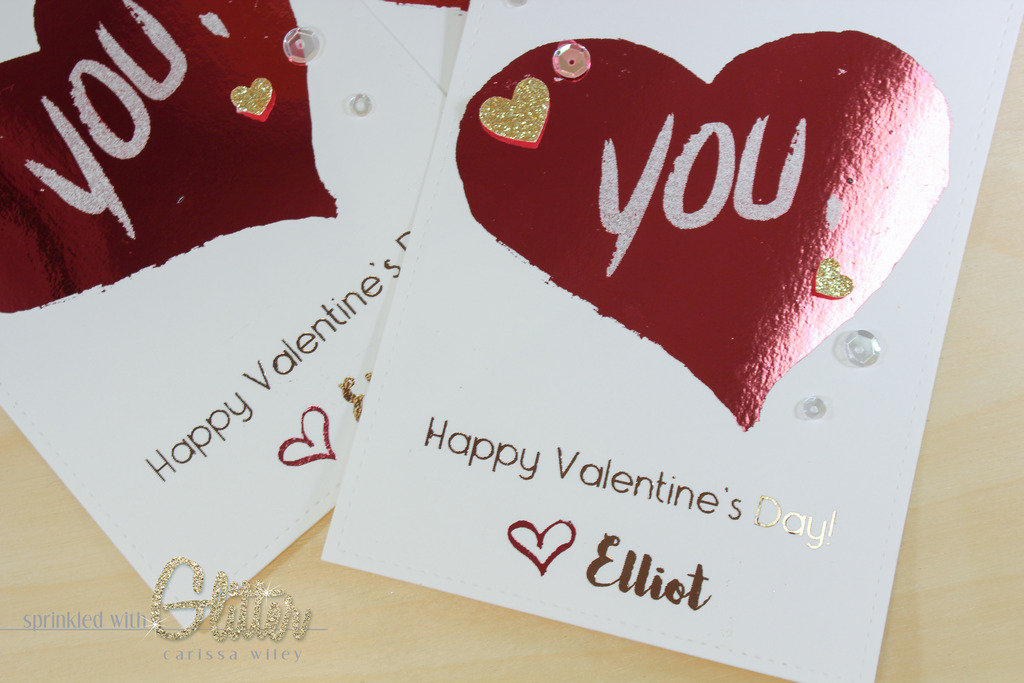
I started out by creating a digital file in Photoshop Elements. Elliot decided that she wanted something shiny, so we decided to use DecoFoil on our project. We searched Etsy together to find a focal image for her card. (Try searching Valentine printable.) In the end, she chose the hand-painted heart with the word you in the middle. I just added this jpg file to my 4.25 x 5.5 inch file, typed a sentiment along the bottom and then printed them out, four to a page, on our laser printer on some 80 pound Neenah solar white card stock. (I've linked all the fonts and files below.) If you don't have a laser printer, you can have your files printed out at a copy center.
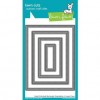
I gave Elli the option of a simple cut card or a die cut card. She decided to cut her cards out using a stitched rectangle die. She liked the detail that the stitching adds. Also, by cutting these down to a smaller size, it allowed her to put some of them on card bases for special friends that she wants to include a handwritten message.
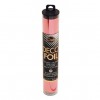
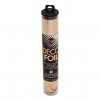
Once the cards were die cut, it was time to add the foil. Elliot chose to use multiple colors of foil on her project. If you want to make this project more simple, you can limit the number of colors that you use. She used Melon foil for the hearts on the project and Rose Gold foil for the sentiment and her name. Both of these foils are from the ThermoWeb DecoFoil line (my favorite foils). The multiple colors makes for more steps, but she's taking her time to make these over the next couple of weeks. And she really wanted the multi colored foils. And who am I to tell her no? I'd want all those different colors too!
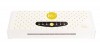
We used the Minc to apply to foils to the laser printed image. We experimented with several settings, and we found that a setting of 4 worked best for the type of card stock we were using. The Minc applies heat and pressure to the project, causing the toner from the laser printer to react with the foil and make it stick. You can also use a laminator for this step.
After her projects were all foiled, she added some additional embellishments. She raided my sequin stash for some sparkling clear sequins. Then she nabbed some of my favorite gold glitter card stock to punch some hearts to add to the cards as well. I helped her find an arrangement that worked well for her embellishments and she adhered them on the projects. Once she had one done, she copied the arrangement for the rest of the projects.
As I mentioned before, she has a few special friends that she wanted to include a handwritten message to. For these friends, she added the flat card she created to a folded card base. I gave her several options to choose from and in the end, she chose to use some Pale Rose card stock for her card bases. Good choice Ell.
As always, I've included a video tutorial below...but Elliot is the true star of this video tutorial. Be sure you check it out...and leave her a kind message in the comments at YouTube. She'd love that. I've also included links to all the products used in this project below.
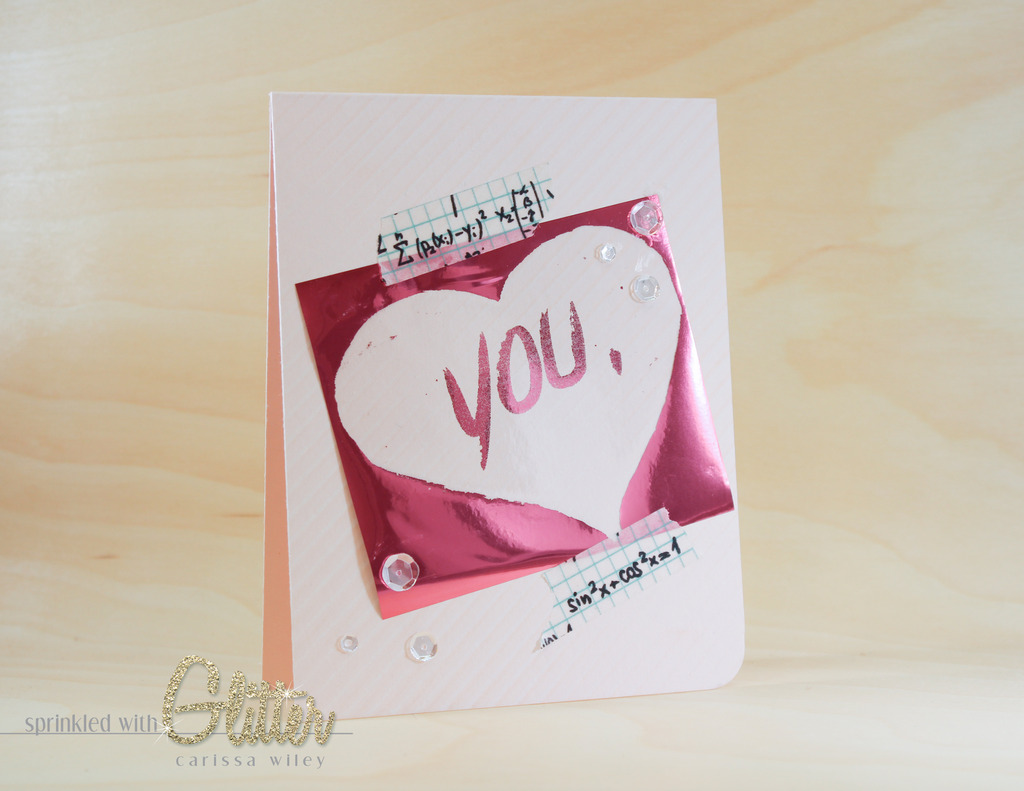
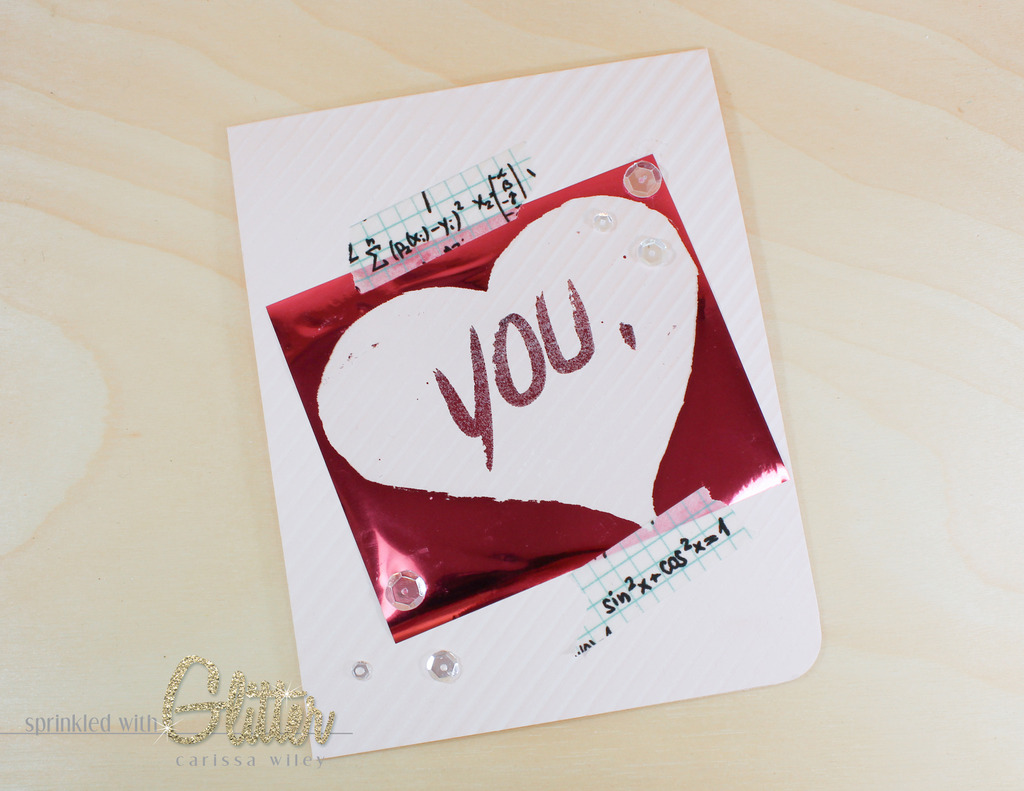
After her crafting session was complete, I noticed all the foil scraps laying on the desk. I decided to create a quick project using the leftovers.
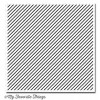
I added the foil scrap from the focal image to a card base. This is a fun way to use the negative part of the foils. I stamped the card base with a diagonal line stamp to add texture to the card base. To attach the foil to the card base, I used some washi tape. This card is for my husband for Valentine's Day, so I decided to use some math themed washi. He's a math teacher and I thought this would be the perfect touch!
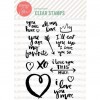
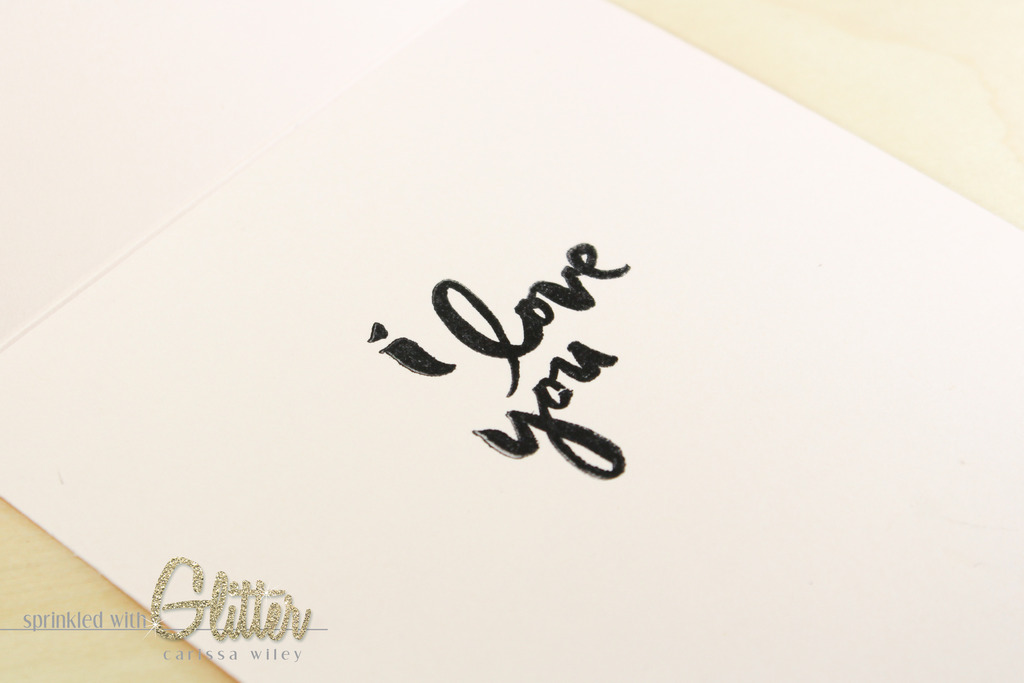
I also stamped "I love you" inside the card. This sentiment comes from a stamp set from the Essentials By Ellen line.
This "leftover" project was fast and easy...and I'll be able to make a ton of them if I need them...because there are tons of foil scraps!
In case you missed it...I uploaded a "My Story" video on YouTube...it's just a little channel trailer about myself...how I started crafting...why I do what I do. You can check that out HERE.
Thanks for stopping by today! Both Elliot and I really hope you enjoyed this project! We also hope you'll take some time to head in to the craft room with your littles. It's fun for everyone! Until next time, I hope you have a fabulous day!


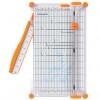
Supplies
*affiliate links used*