Shaker Tag Cards Featuring The We R Memory Keepers Fuse
Hi everyone! There's a whole lotta shakin going on here today! I've recently been inspired by some amazing projects by the one and only Julie Ebersole. She created a whole series of project using the We R Memory Keepers Fuse tool. You can see that video tutorial HERE. I wanted to try my hand at these fun ideas, so I made a card...and once I made one, I couldn't stop. So one project turned in to three projects. I'm warning you ahead of time....these projects are fun to create and may be addictive!
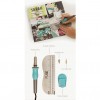
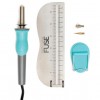
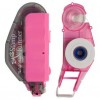
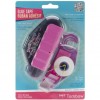
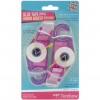
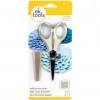
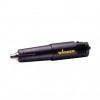
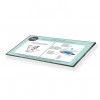
The Fuse tool from We R Memory Keepers is a tool that was originally designed for pocket scrapbookers, allowing them to add additional pockets to remade page protectors. But cardmakers an crafters are finding all kinds of fun ways to incorporate them in to other areas of paper crafting. This tool heats up and fuses edges of plastic page protectors together, allowing you to create custom pockets. When combined with dies, you can make these pockets in all kinds of fun shapes. Today I've used The Fuse tool, along with some Avery Elle Stamp Storage Pockets and Pretty Pink Posh dies, to create some fun tags and shaker cards.
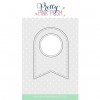
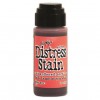
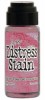
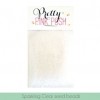
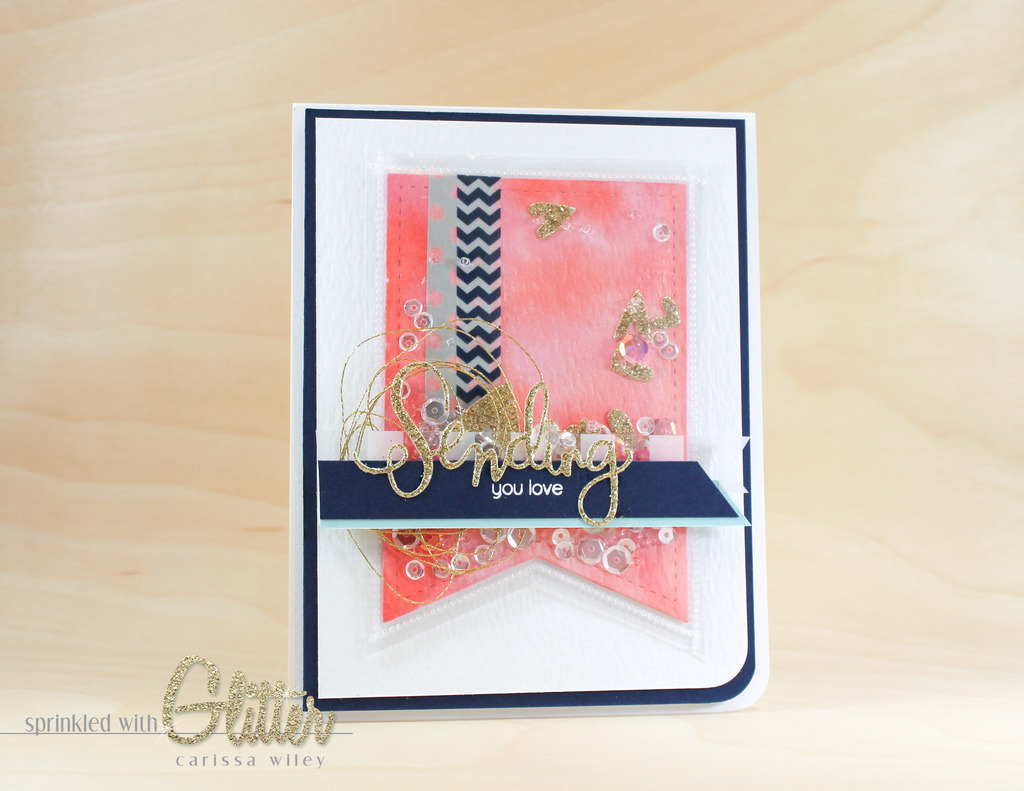
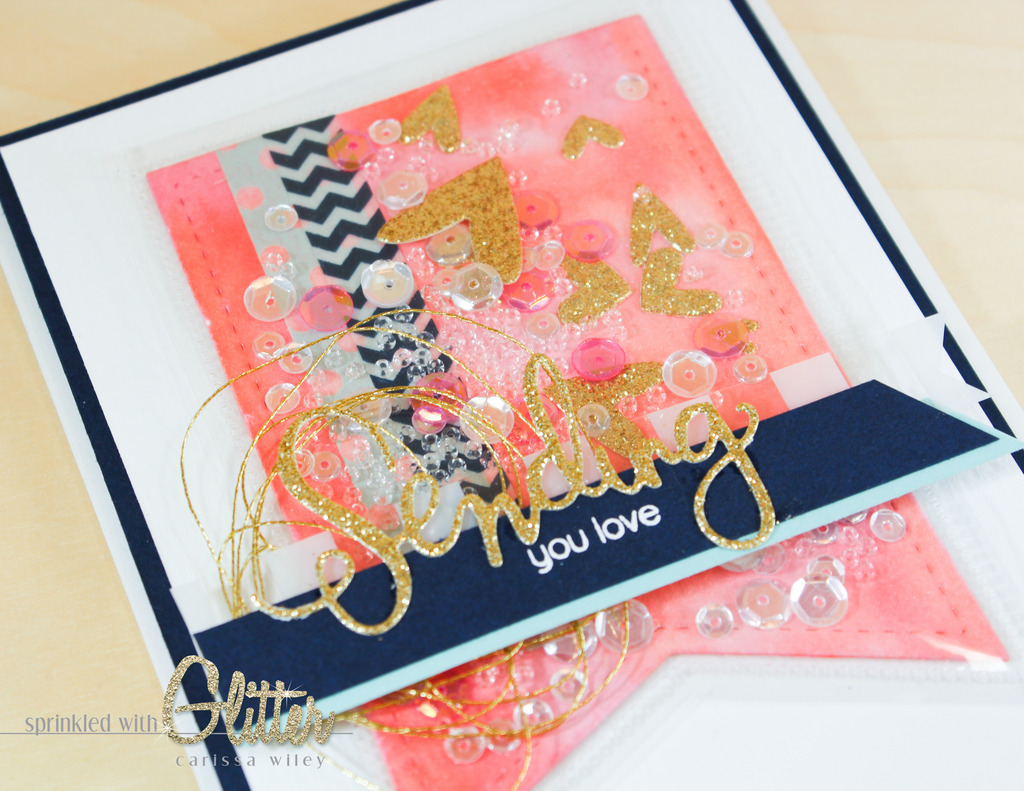
I started by creating this Sending You Love card. I used the Pretty Pink Posh Stitched Banner Duo 1 die for the outline of my shaker pocket. Because I used the outer edge of the die for my sealing, I was also able to cut a piece of paper using the die and slip that inside. I watercolored the paper using some Abandoned Coral and Worn Lipstick Distress Stains. This is a quick and easy way to add color to large areas. It gave a lot of color to the inside of the tag...and kept the sequins and other fillers from getting lost against the white background of my card.
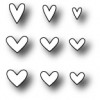
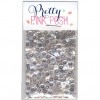
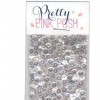
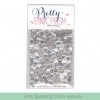
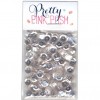
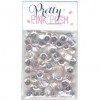
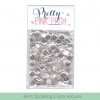
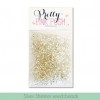
I love finding fun things to fill these shaker tags with. I used a combination of glitter die cut shapes, sequins and seed beads. The seed beads add a lot of movement and fun noise to the shaker tag. You can mix colors, die cut shapes, stamped images, wood veneer shapes and more to create fun "guts" for your shaker pockets.
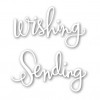
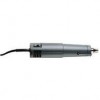
I attached the tag to the front of a card and added a fun sentiment cut from my favorite gold glitter card stock. I've been asked how I get such clean cuts when I cut my glitter card stock. The Precision Base Plate from Sizzix is my secret weapon. It allows me to cleanly cut intricate shapes, like this sending sentiment. It's a great tool to have on hand for cutting intricate shapes, even if you're not using glitter card stock.
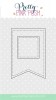
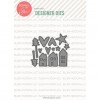
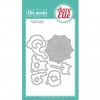
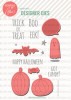
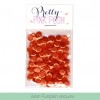
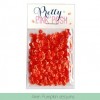
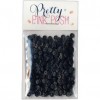
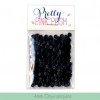
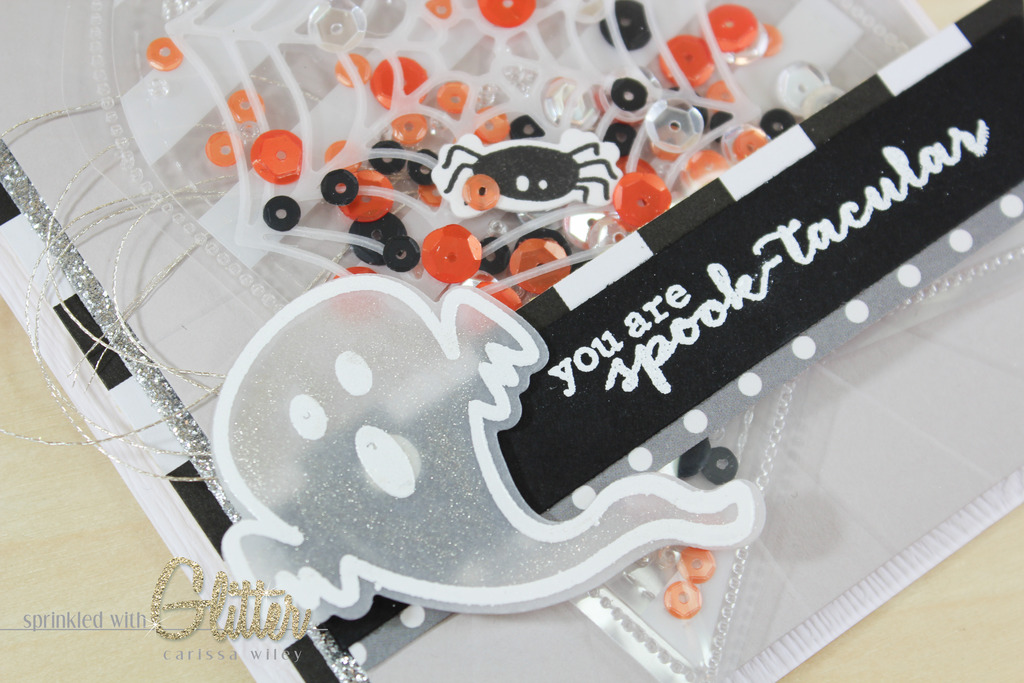
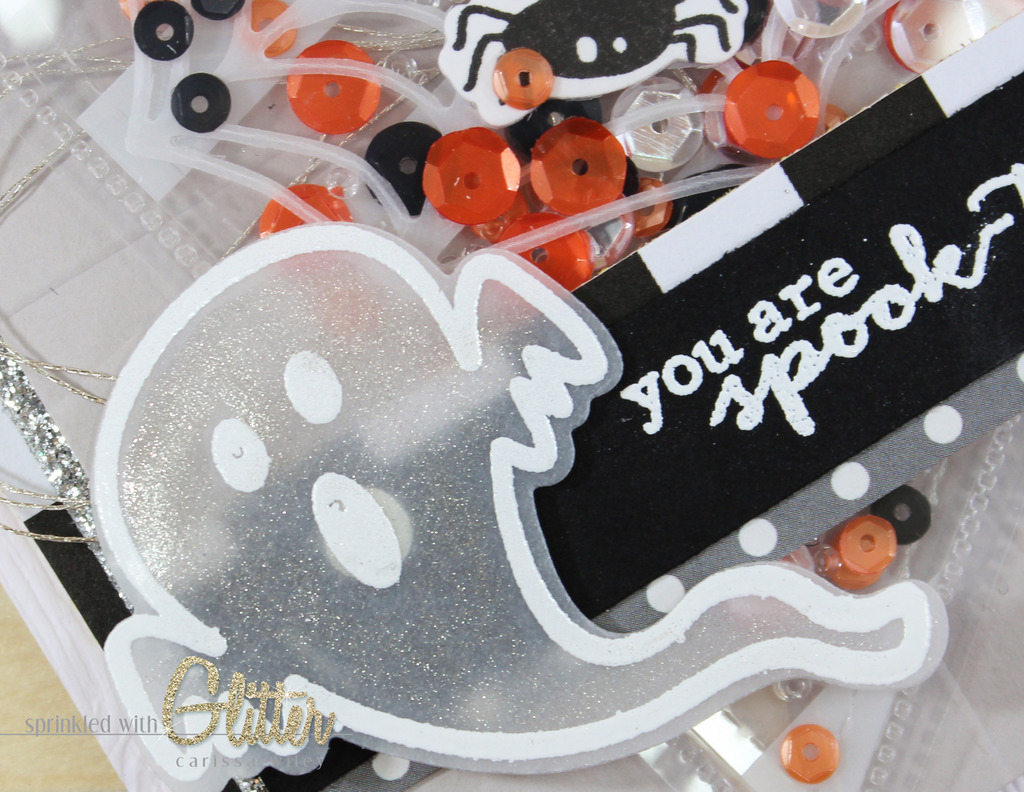
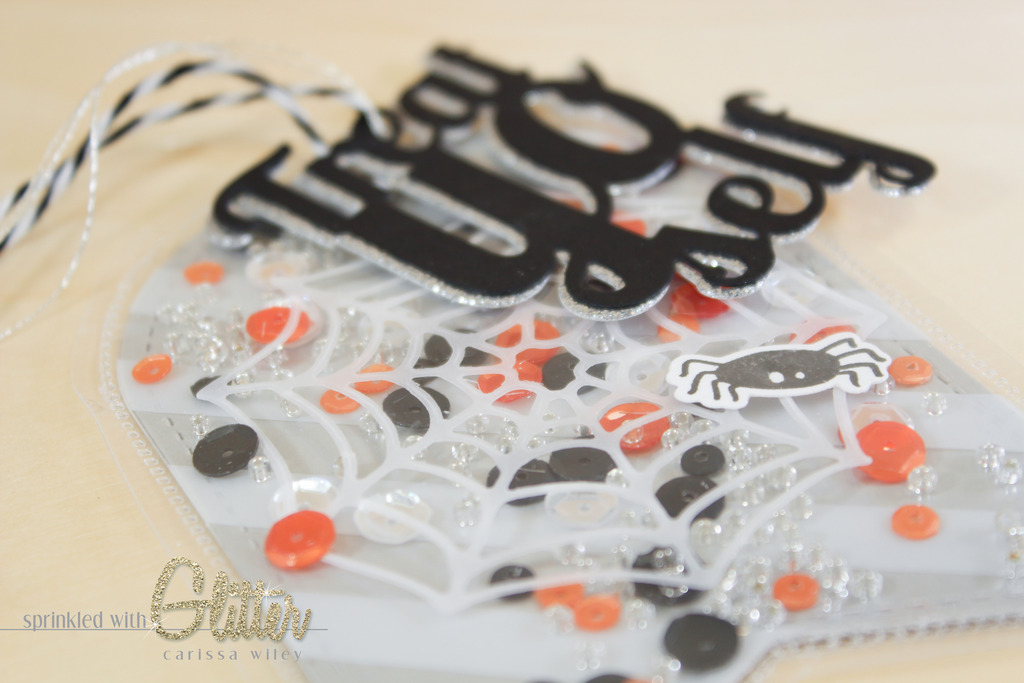
Once I finished with this card, I had to create another. I decided to create a Halloween themed card for my second card. I used the Pretty Pink Posh Stitched Banner Duo 2 die set to create a rounded shaker tag for the front of my card. I filled it with black and orange sequins, seed beads, and a die cut spider web and spider. The spider moves freely around the inside of the tag and makes for a fun feature.
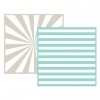
I cut some We R Memory Keepers Clearly Bold Acetate for the inside of the shaker tag. I thought the striped acetate would make for a fun background for the inside of this tag.
I embossed some Bazzill Card Shoppe Alpaca card stock with the We R Memory Keepers Stripe embossing folder. This kept the monochromatic look on the front of the card, but added some fun dimension and texture and kept the card front from looking too flat.
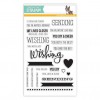
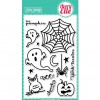
I finished this card off with a sentiment and die cut ghost from the Avery Elle Boo stamp set and coordinating die set. I embossed the ghost on vellum and added some clear Wink Of Stella to give it some shimmer. I also added some patterned paper to accent the embossed sentiment strip.
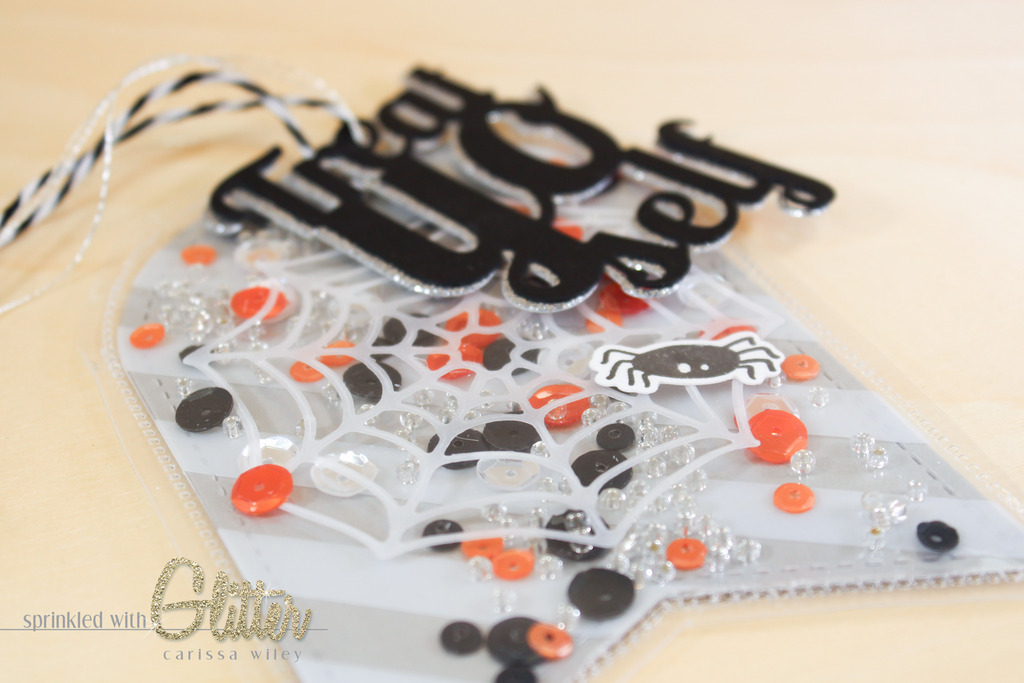
By now you would think I had had enough...but I decided to create one more project. This shaker tag was created very similarly to the Halloween card. Instead of using clear acetate on the inside of the tag, I added a piece of striped gray paper from the Avery Elle Neutrals patterned paper pack. I thought the added opacity would keep it from getting lost when I attached it to a package.
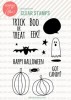
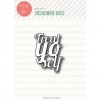
I also added the Treat Yo Self die cut from Essentials By Ellen. I thought this would make for a fun sentiment for Halloween. I just let it hang freely from the twine I attached to the top of the tag.
Once my tag was completed, I added it to the top of an orange striped pillow box. I found these in the gift wrap section at Target. They are the Spiritz brand and come in a multiple colored pack. This orange one is perfect for Halloween. I added some fun chevron twine. I can't wait to give this to someone...filled with treats and maybe a gift card.
Every time I pull out this tool, I have the best time creating projects. You can check out the planner dashboard I created with The Fuse by clicking HERE. It's always fun to find new things to fill my shaker creations with. And I found that the addition of the beads really makes for a fun sound.
I had so much fun making these, I am considering making twenty-five school colored themed tags to attach to the front of some goody bags for my daughters cheer team. I think these would make a fun surprise for the girls. I'll probably enlist the help of my 11 year old daughter to help with the cutting and fusing. I think I'll create my own mix of blue, gold and sparkling clear sequins.
I've included a video tutorial walking you through the creation of these projects below. I've also included a complete project supply list below. Just click the link to go directly to the product page. For most items, I've included multiple sources.
Thanks for stopping by today. I hope you've been inspired by these projects. And I hope you'll find a way to get your shake on. I know I had a great time getting mine on. Until next time, SHAKE SHAKE SHAKE, SHAKE SHAKE SHAKE and have a fabulous day!


Supplies
*affiliate links used*