Foiled Vellum Overlay Stationery - Foiling With The Minc Mini
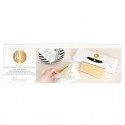
It's no secret that I love gold. And I've been loving adding the midas touch to my projects with ThermOWeb's Deco Foil. I'm sharing a video tutorial on The CLASSroom blog today featuring a personalized note card set with foil accents that I made for a very special teacher. As I was making them, I decided I wanted my very own personalized notecard set, so I got out my Minc Mini machine and got to foiling....with a design that was a little more "Carissa". Be sure to check out the video tutorial on The CLASSroom blog for tips on mass producing, as well as making foiled die cuts.
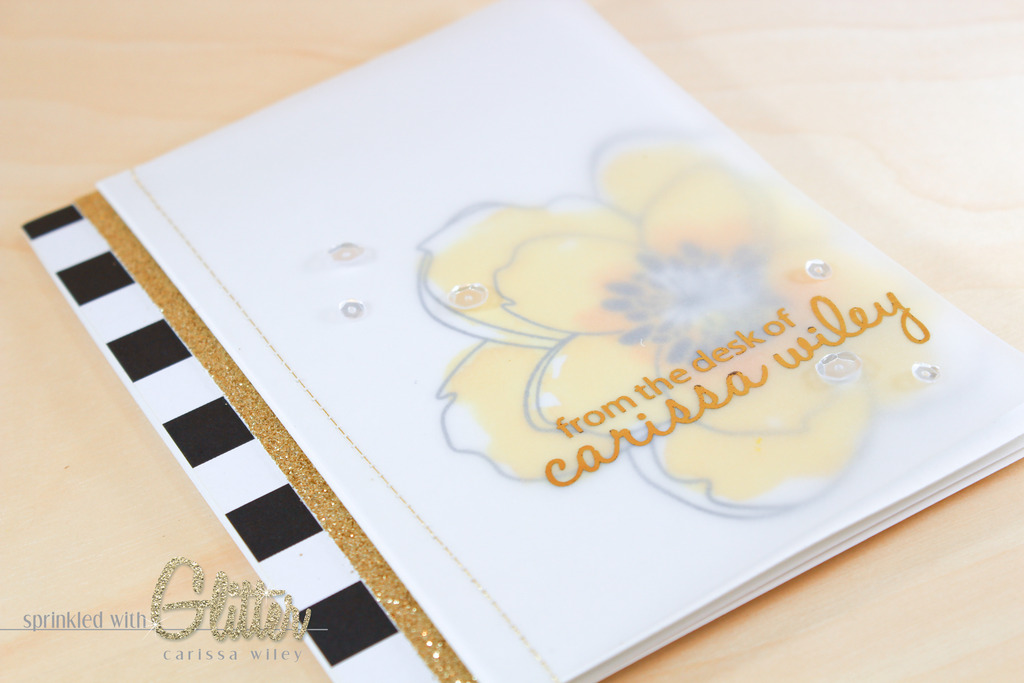
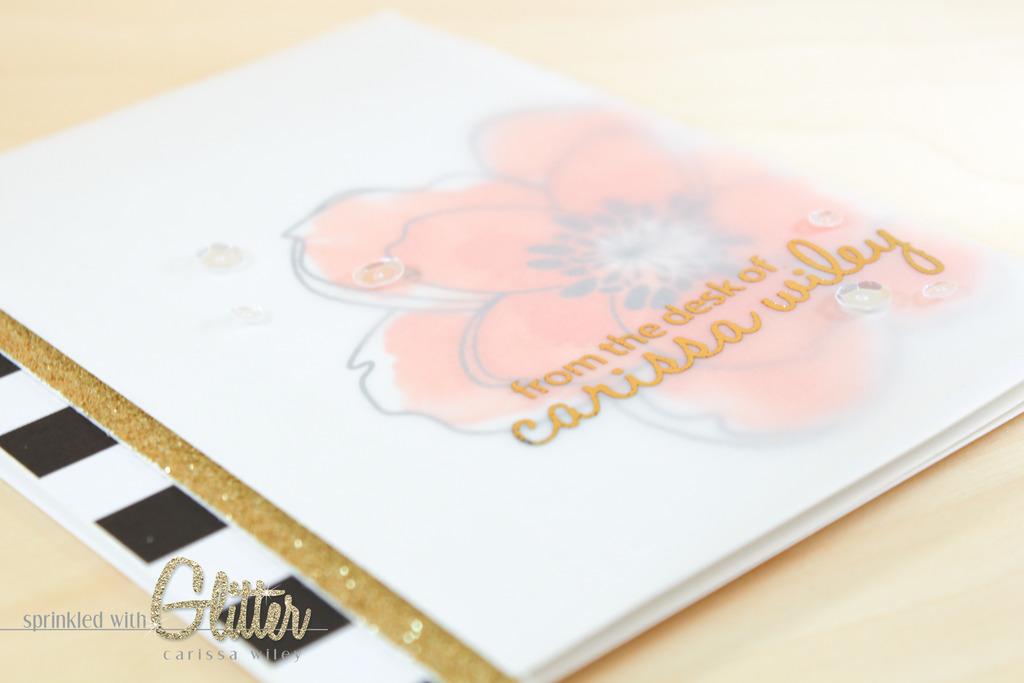
I knew that when I added the foil to my own personal note card set that I wanted it to be on a vellum overlay. I started by created a "card front" in Adobe Photoshop Elements. If you don't have that particular program, you can use Word. I used two free fonts for my card front, Nike Total 90 and Halo Handletter. You can click the font names to download them for free. Once I had my card front created, I printed four on one page on my Brother laser printer on some Essentials By Ellen Vellum.
It is important that you use a laser printer when doing this technique. The toner on the paper will heat up and cause the foil to bond to the areas that are printed. This cannot be done with an inkjet printer. I have an inexpensive Brother laser printer. If you don't have a laser printer, you can always have your file printed at an office supply or copy center. Since the images are black and white, they're pretty inexpensive to have printed.
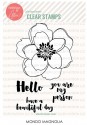
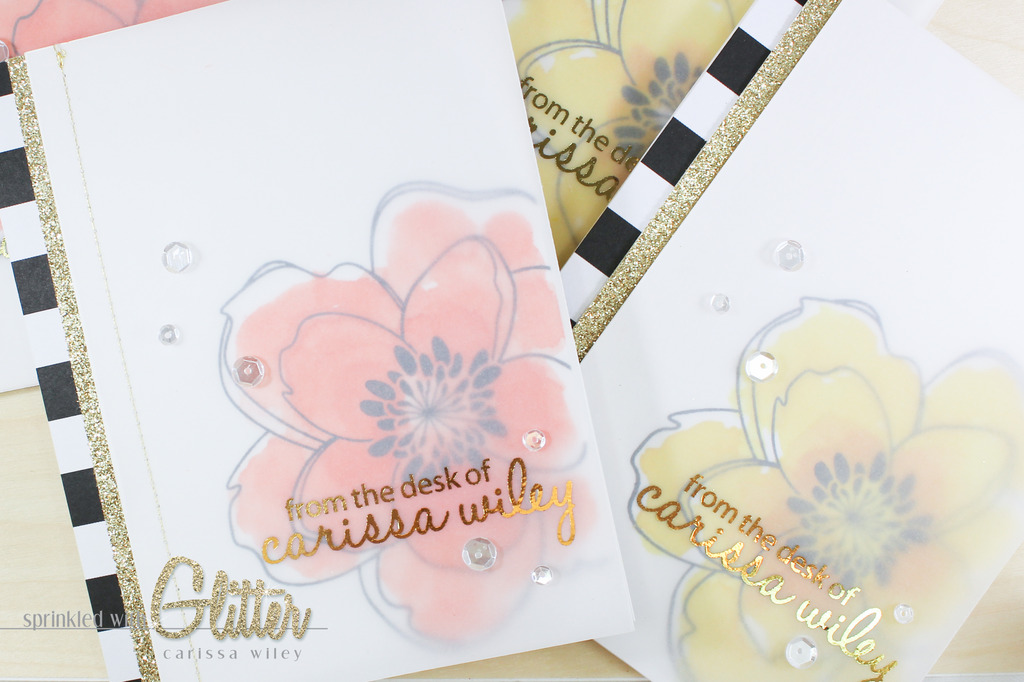
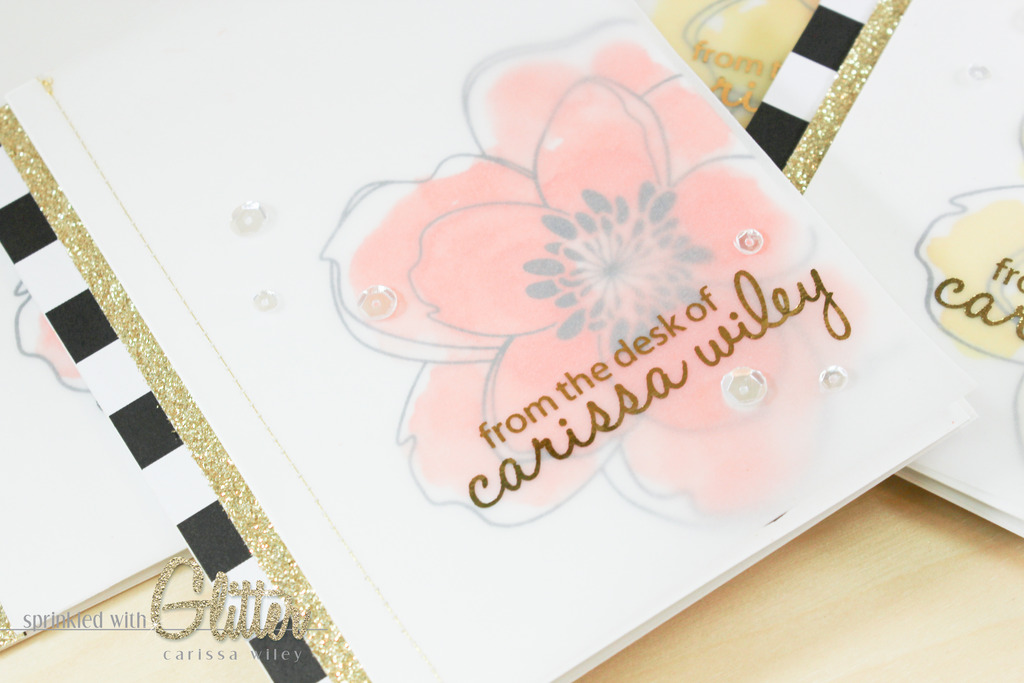
I also knew that for my own personal cards I wanted to use what may be my favorite stamp set of all time. The gorgeous Mondo Magnolia has won my heart. I decided it would be the perfect backdrop image for my vellum overlay. This image is just gorgeous and so versatile. I've used it on wedding cards, thinking of you cards, hello cards and now on "just because cards".
After seeing all of the fun things Julie Ebersole has been doing with Distress Stains, I decided to give watercoloring with Distress Stains a whirl. I wanted a really loose, imperfect feel to my watercolor. I started by adding water to my image, but I didn't fill the image in completely. After I added water to the paper, I dabbed my Distress Stain directly on to the wet areas. As you dab the stain on to the wet areas, the stain spreads out and created a beautiful watercolor effect with very little effort. You can also layer the colors to create variation and intensity. I'll show you exactly how to do that in the video below.

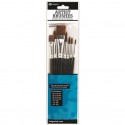
Supplies
*affiliate links used*