Ampersand Greetings - Dimensional Foam Embellishments With DecoFoil
I love creating cards in multiples, especially ones that can quickly be changed to fit any occasion. Today's card is EXACTLY that. It's so easy to mass produce, that I've actually created three different versions in today's video.
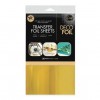
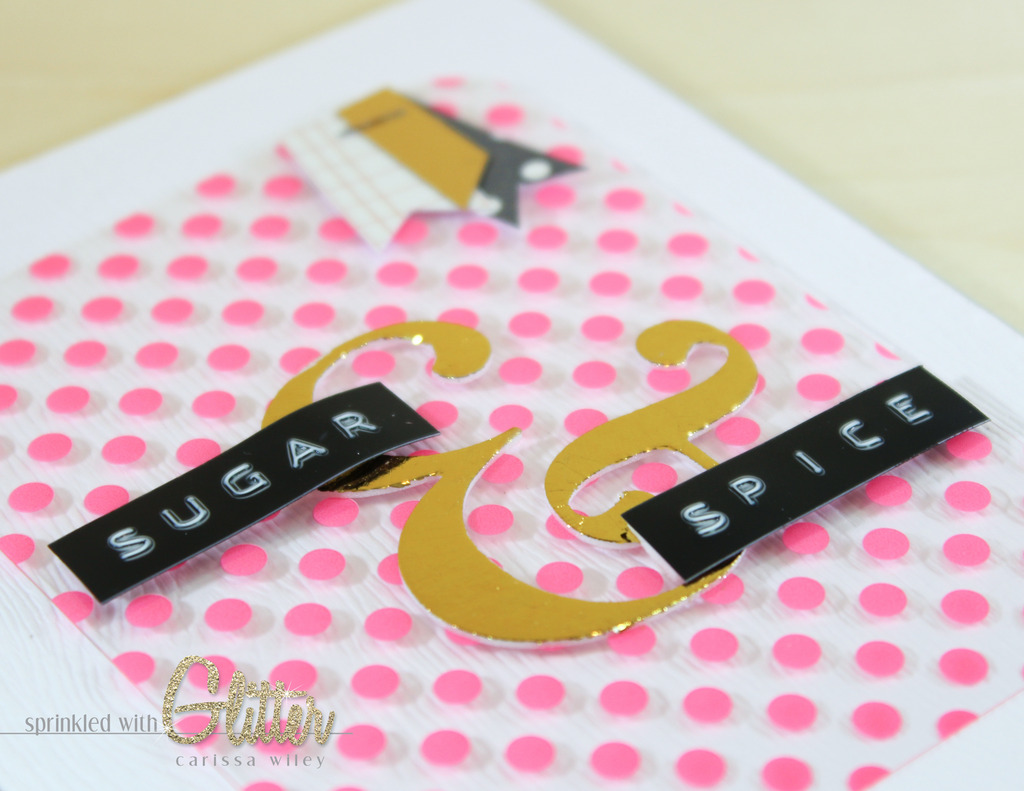
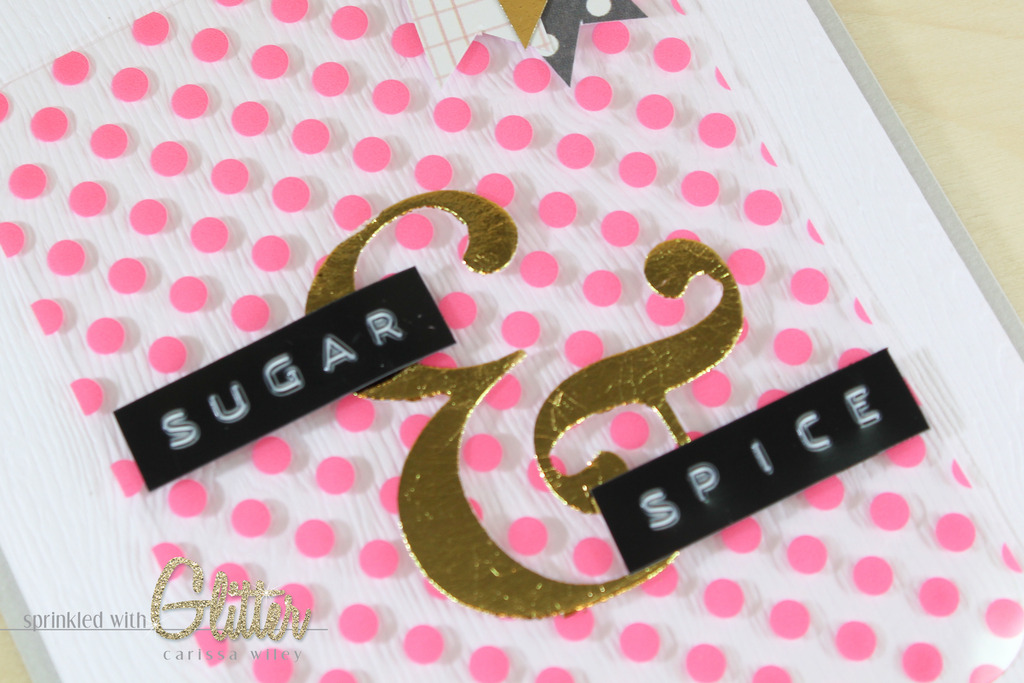
I started out by creating the dimensional foam embellishments for the center of the card. The Ampersand Die from Savvy Stamps is so versatile and perfectly sized for an A2 card. I used this die to cut the Deco Foil Foam Adhesive. This is the same adhesive I used to add dimension to the tiny hearts on the front of the #together card. This double sided foam adhesive has so many applications, but it was designed for foiling and that's what I'm doing with it today.
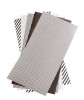
Once I cut the foam adhesive, I applied them to the front of my card. I used 3x4 pieces of acetate and vellum in the center of these cards, but you could also used patterned paper or card stock. I removed the backer from the back side of the die cut foam and applied it to the 3x4 pieces. I cut these all at once from varying pieces of acetate, vellum and patterned paper so they were all ready to go.
Once the foam die cut was positioned on the patterned piece, I then removed the protective layer from the front side and applied the DecoFoil. Make sure you put the foil pretty or shiny side up when applying it to the foam. The part that you want to see on the card front should be the part that you see while applying it. Give it a good rub with your finger, and then it's time for the magic. Remove the foil and voila! You have a gorgeous, dimensional, foil embellishment. And you could do this with any die you have. And I have to tell you, that while this look kind of "wrinkly" in the photos, they don't really look that wrinkly in real life. The photos just don't do them justice.
I actually designed this card weeks ago. And my family and I had a great time coming up with different sayings to put on the front of these cards. I asked them "give me two things that go together...for instance, hugs and kisses." Here are all the greetings we came up with.
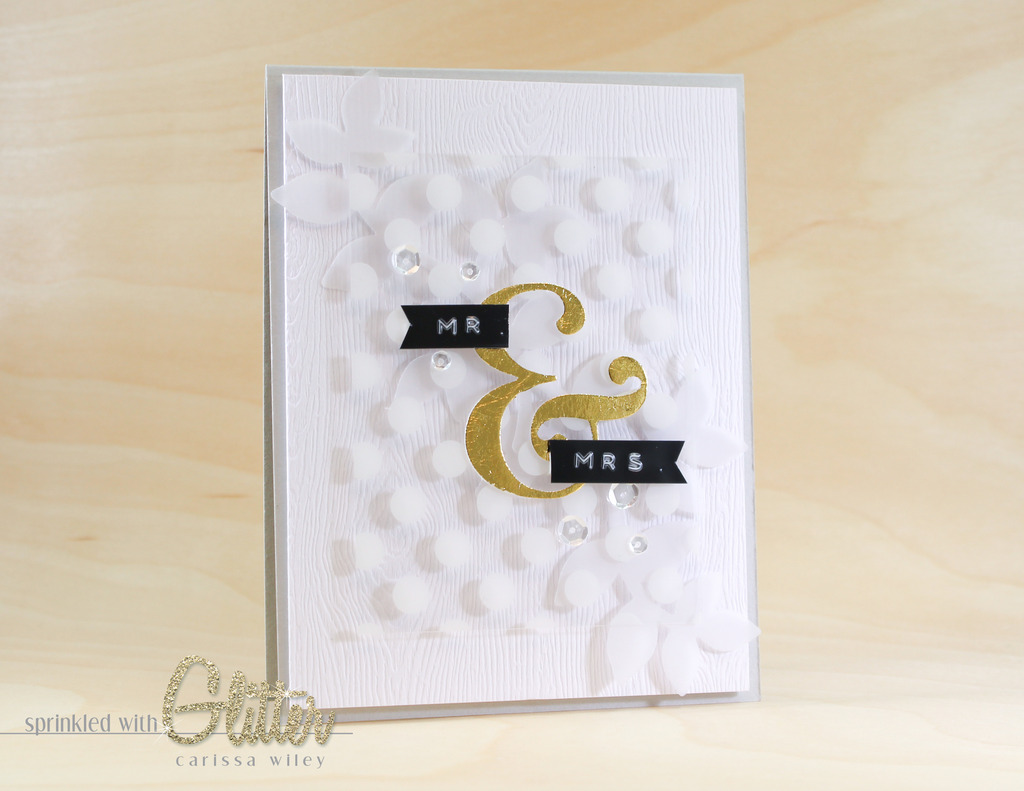
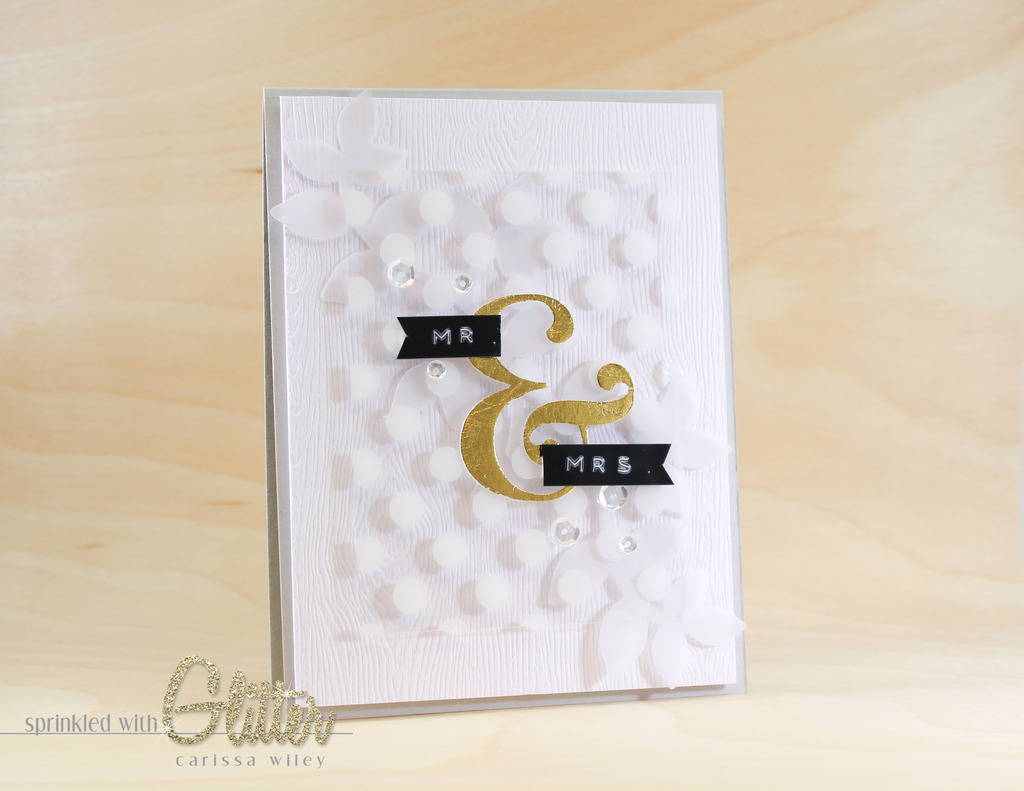
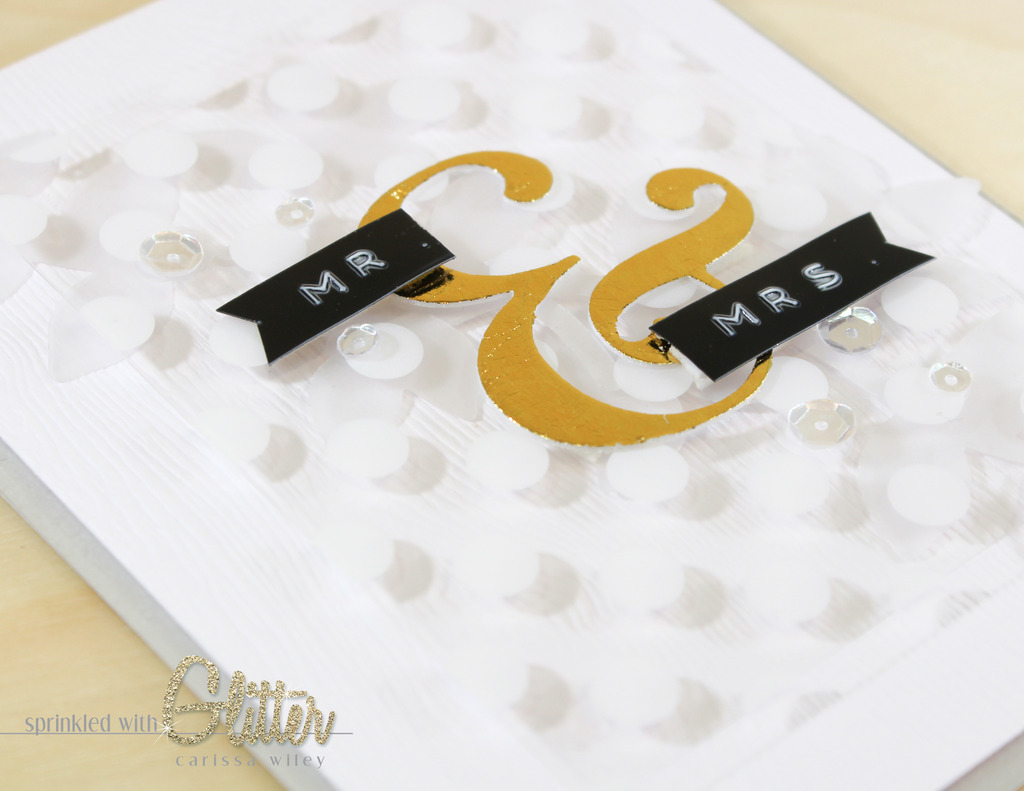
- Mr. & Mrs.
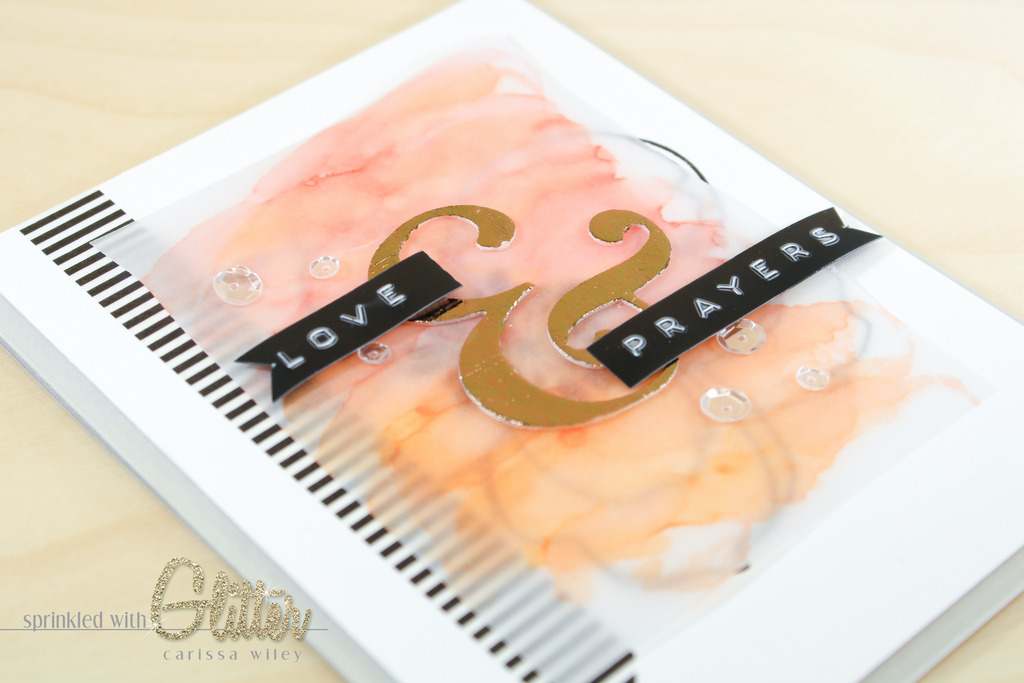
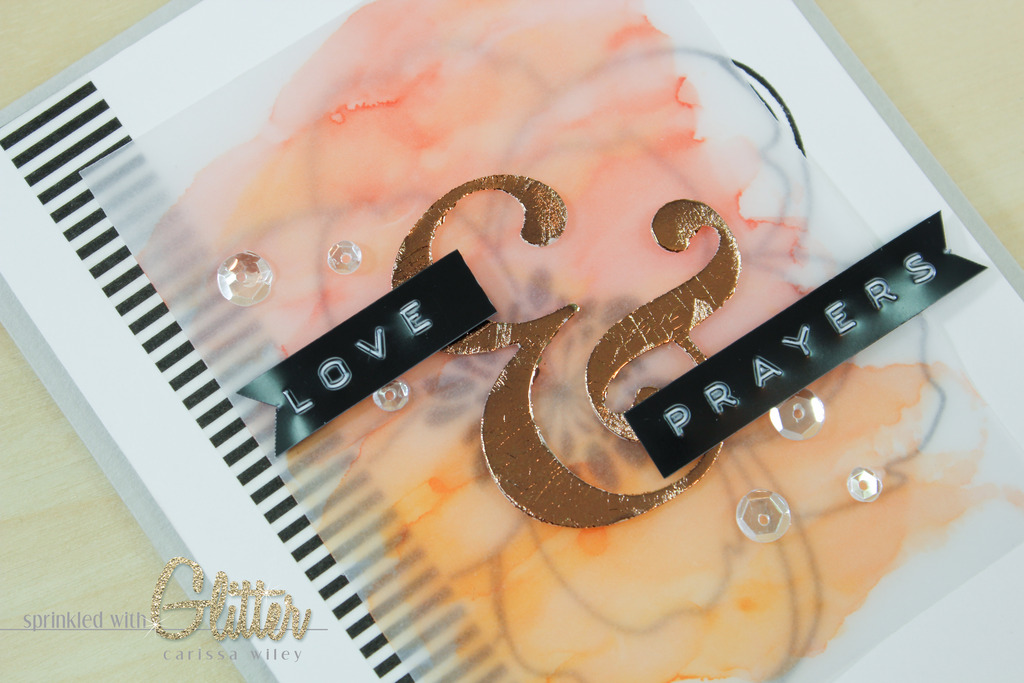
- Love & Prayers
- You & Me
- Hugs & Kisses
- Always & Forever
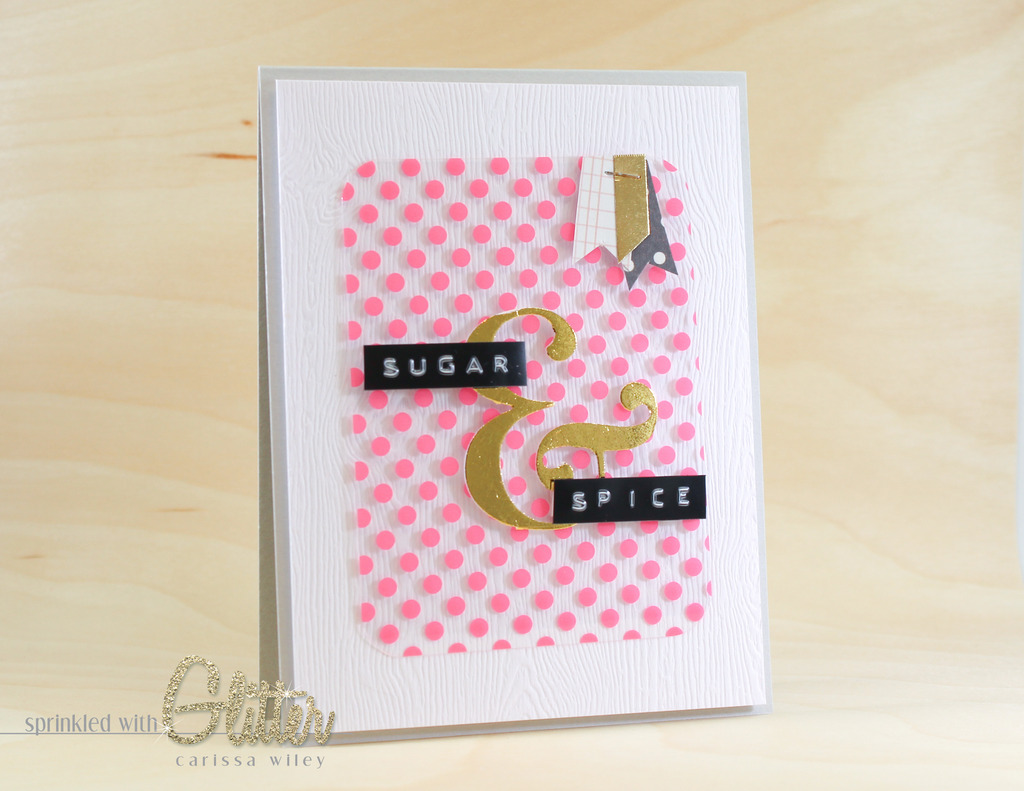
- Sugar & Spice
- Chips & Salsa
- Dog & Pony
- Merry & Bright
- Cake & Candles
Now tell me what we've missed. What would you put on the front of this ampersand card? I'm sure there's at least 100 more options. :)
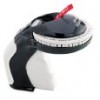
I used my handy dandy Dymo Embossing Label Maker to add the sentiments to the front of the card. I find lots of uses for this little machine. However, if you don't have one, you could always print the words that you want to use on some card stock and cut them in to strips to add to the front of your card. This would also allow you to use a variety of fonts. Or look in your stamp stash. You may have some small greetings that would work for this type of card as well.
The Sugar & Spice card was made with baby showers in mind. You could also "boy" this up and make it Snakes & Snails. But it seems that everyone I know if having little girls right now. AND I tend to be fond of colors that would normally be considered more "boy" colors. ;) I added a few little banners cut from patterned paper to the top right of the acetate piece and attached them with my favorite little stapler, the Tiny Attacher.
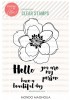
For the love & prayers card, I used the watercolor vellum technique that I showed on Jennifer McGuire's blog a couple weeks ago. Click HERE to see that specific post. I love this technique! To add even more interest, I stamped one of my favorite stamps behind it...the Mondo Magnolia stamp from Ellen Hutson and Julie Ebersole. Adore this stamp!
I also opted for the Rose Gold foil for this card. It's a little softer.
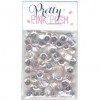
The Mr. and Mrs. card is perfect for a wedding. You could also make this even more personal by adding the couples names. For example, use James & Carissa instead of Mr. & Mrs. I wanted to keep this card soft and elegant, so I used a lot of white. I layered the acetate on top of some vellum leaves cut from the Clearly Besotted Leafy Accents dies. To add more texture, the card front is made from the Essentials By Ellen White Woodgrain Embossed card stock. And a few sequins from Pretty Pink Posh makes this sparkle while keeping the card front mostly white.
I have, of course, created a video tutorial walking you through the creation of these cards. You can watch that below. I've also linked all of the supplies used in this video below.
Thanks for stopping by today! I hope you've enjoyed these projects! And don't forget to leave a comment to tell me what YOU would put for greetings on this ampersand card. I can't wait to see what you all come up with! Until next time, have a fabulous day!

Supplies
*affiliate links used*