Create Your Own Custom Planner Stickers - Silhouette Cameo Tutorial
Hi everyone! With the 2016 right around the corner, I've been doing a little organizing and planner planning. You may have seen some of my posts on Instagram where I've been making my own custom planner stickers. I've had multiple requests to share this, so that's what I'm here to do today. I have a ton of information to share with you, including the design process, the print and cut process, as well as a comparison of a couple of the sticker papers that I have used. Maybe this will get you all geared up and ready to get your planner in order for the New Year! Grab a cuppa somethin' because you're going to need it for this video!
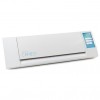
I'm using my Silhouette Cameo and the Silhouette Studio software to design these stickers.
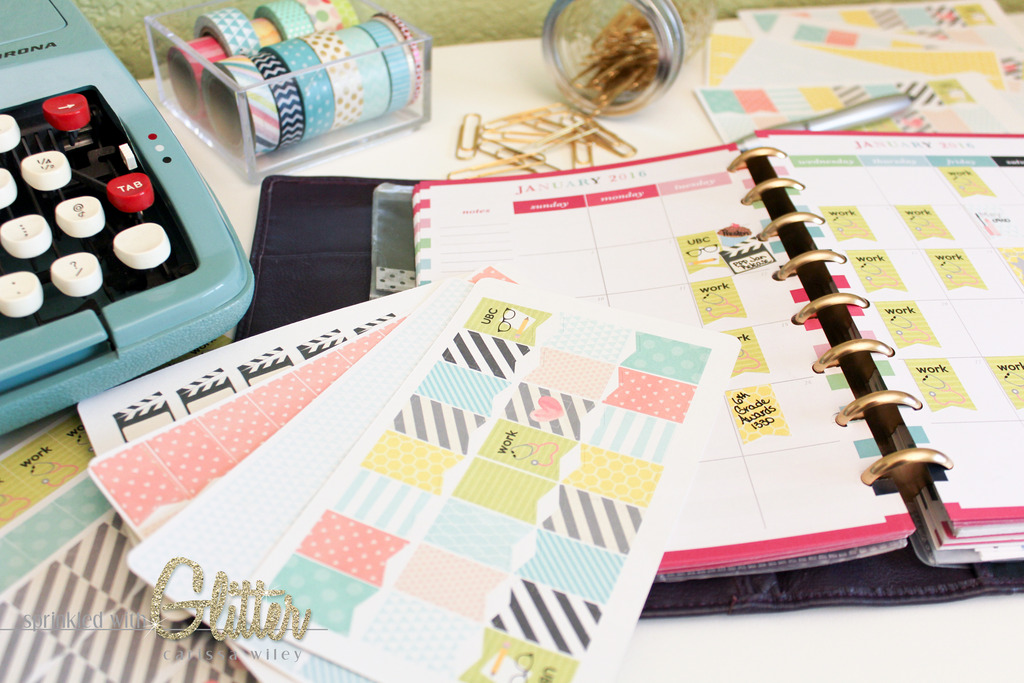
While the Avery labels that I was previously using were fine, I wanted a little change in the sticker department. I had been purchasing some on Etsy, but I really wanted to be able to customize the stickers to suit my needs and my color coding system. I like for my stickers to be fun shapes and have plenty of color and pattern, so I decided to dive in and start creating my own stickers...and quickly became OBSESSED!
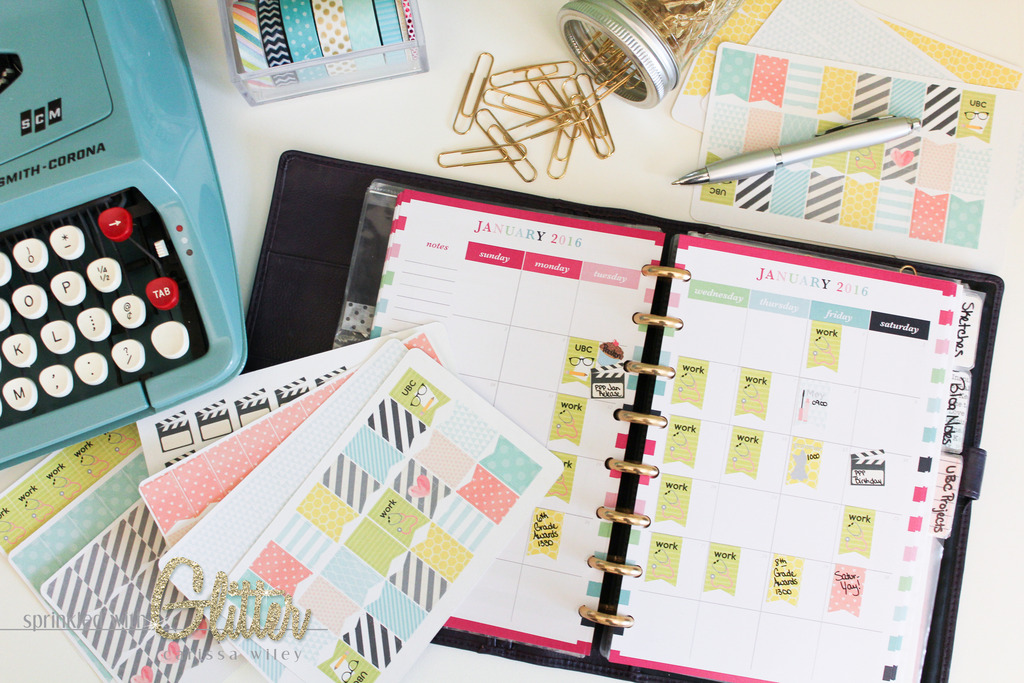
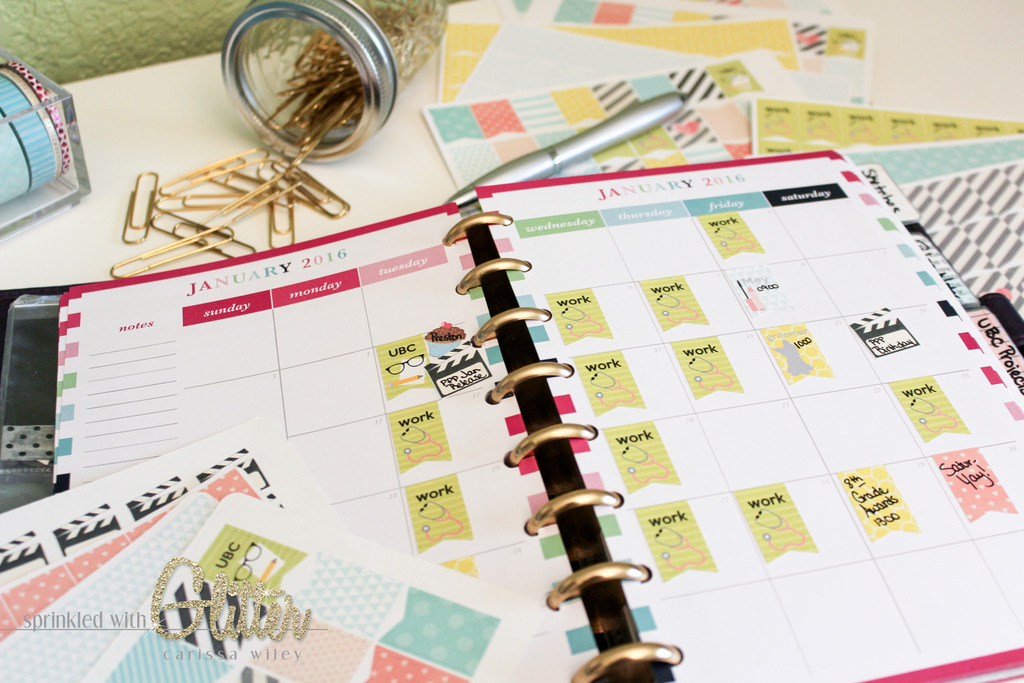
In order to design stickers that were just the right size for my planner, I started by measuring the boxes on the monthly calendar. This gave me a jumping off point, but it did take little bit of trial and error to figure out the exact size that worked for me. When I first started, I found that the stickers I created were too narrow to allow for me to write in events. It only took a couple of tries, but now I've got the perfect formula that works for me. In the end, I found that a height of 1 inch works best for me. Your planner may be a little different or your needs may be a little different, so you can customize your stickers as you see fit.
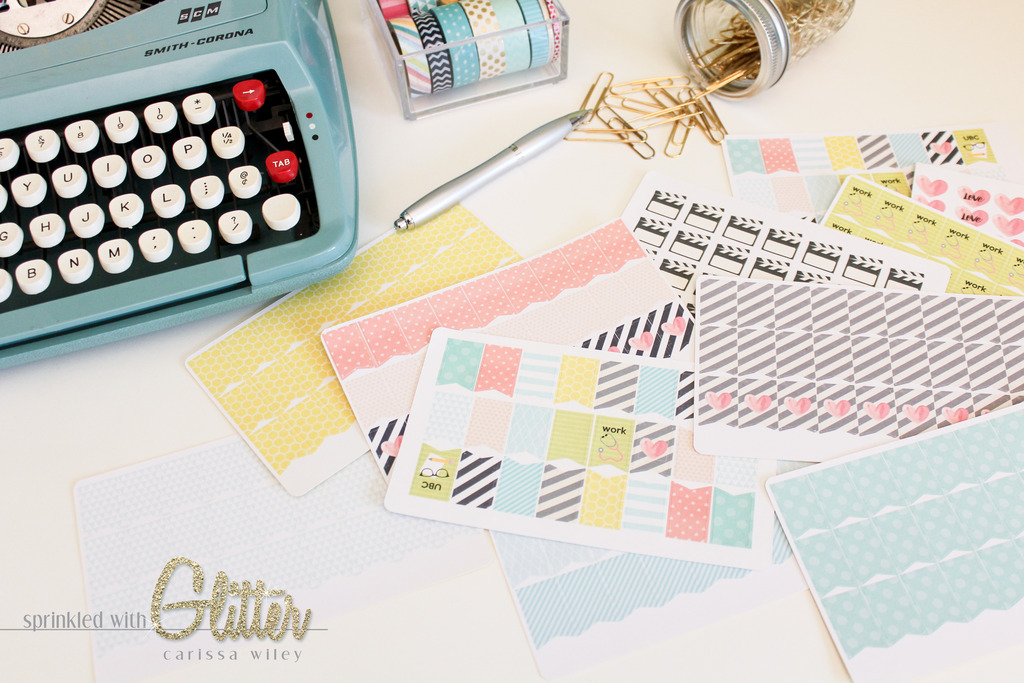
In order to create a kiss cut and a full cut, I had to create my design with different colored lines. I'll walk you through this process in the video below. All of my kiss cut lines will be in red, all of my no cut lines will be white and all of my full cut lines will be blue. By creating my designs with different colored lines, I can cut different blade depths at separate times by using the advanced settings in the cut settings window. You may want to come up with a color system that works well for you. Stick with this line color system as you create all of your files so that you'll know exactly what blade depth you'll need for each line color.
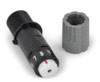
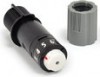
I'll be using a technique called a kiss cut. A kiss cut is a cut that will cut only through the top layer of the sticker paper. The sticker or label paper has two layers, the top layer which is the sticky portion and will be printed on and the bottom layer, which is the non-stick backer sheet. When kiss cutting with your Silhouette, your blade depth will be very shallow. I've found that as long as I have a nice fresh blade, a depth of one is perfect for kiss cutting on both types of sticker paper that I've experimented with.
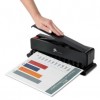
I also like to create full cut lines on my designs as well. These full cut lines allow me to cut the full sheet of sticker paper down in to more manageable sizes that I can carry with me in my planner. You can absolutely trim these with a paper trimmer, but it's fun to have a nice finished edge to your mini sticker sheets, which is why I use the Cameo for the full cut lines as well. I found that a blade depth of 6, with the double cut feature turned on, works well for my full cut lines.
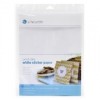
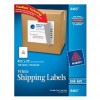
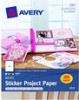
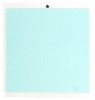
I'm using a couple of different label or sticker papers today. I've only had the time to experiment with a couple of options. I'm using some full sheet shipping labels from Avery and also the printable white sticker paper from Silhouette. I'll show you a brief comparison in the video tutorial below. The Silhouette paper definitely has some advantages, but it's also a tad more expensive. I'll be experimenting with the Avery Sticker Paper in the future (I've linked all three of these options below).
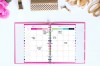
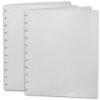
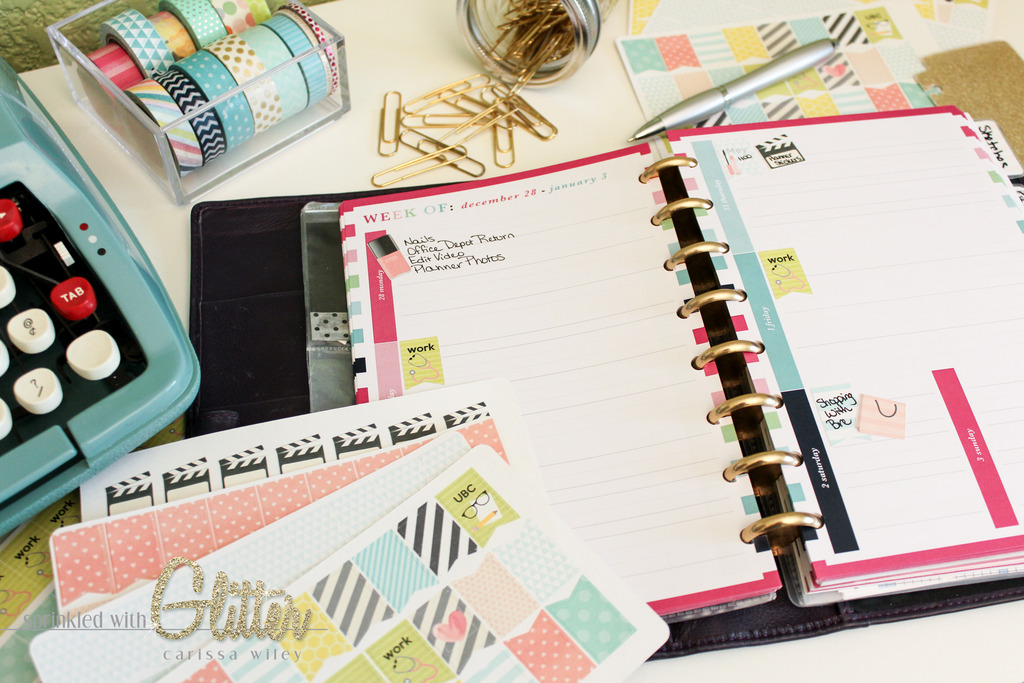
Once my stickers are printed and cut with my Cameo, they're ready for use in my planner. I have a video walking you through my planner that you can check out HERE. I have changed the inserts that I used in my planner for 2016. I'm currently using some very colorful planner pages from The Preppy Geek. I've linked to those planner pages over at her Etsy shop below. These are a horizontal layout and seem to be working well for me.
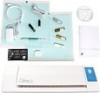
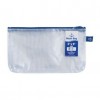
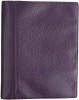
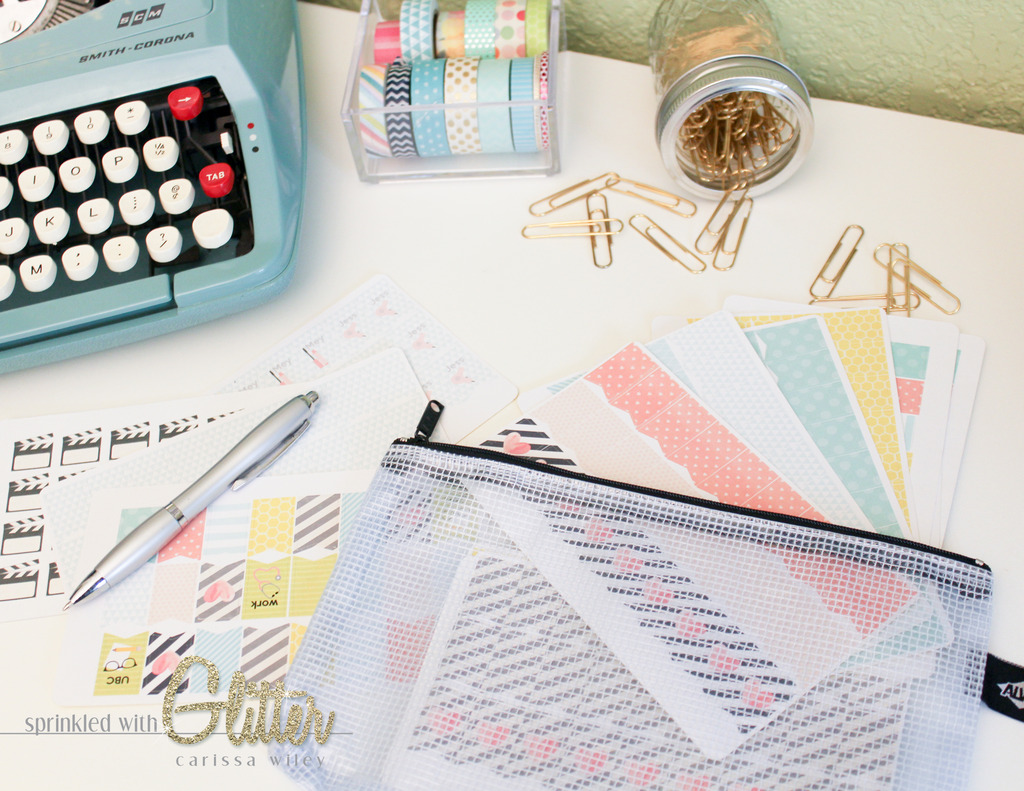
I print and cut a bunch of these planner stickers at once so I'm always ready. I like to store them in this vinyl pouch. It's the perfect size to grab to take with me, or to slide in the back of my planner. It's also large enough to store a pen or a couple of planner accessories as well. These 5x9 zipper pouches are durable...and I love that the cute designs show through the clear pouch.
I hope you'll check out the video tutorial below. I'll give you lots of information and helpful tips for creating your own custom planner stickers using your Silhouette Cameo.
Thanks for stopping by. I hope you've enjoyed this tutorial, which is a little different from my norm. I hope this gets you ready to plan for 2016. Happy new year! And until next time, I hope you have a fabulous day!
Supplies
*affiliate links used*