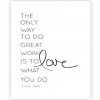
Foiled Watercolor Planner Dashboard - Dr. Ph. Martins Hydrus Water Colors
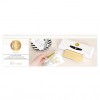
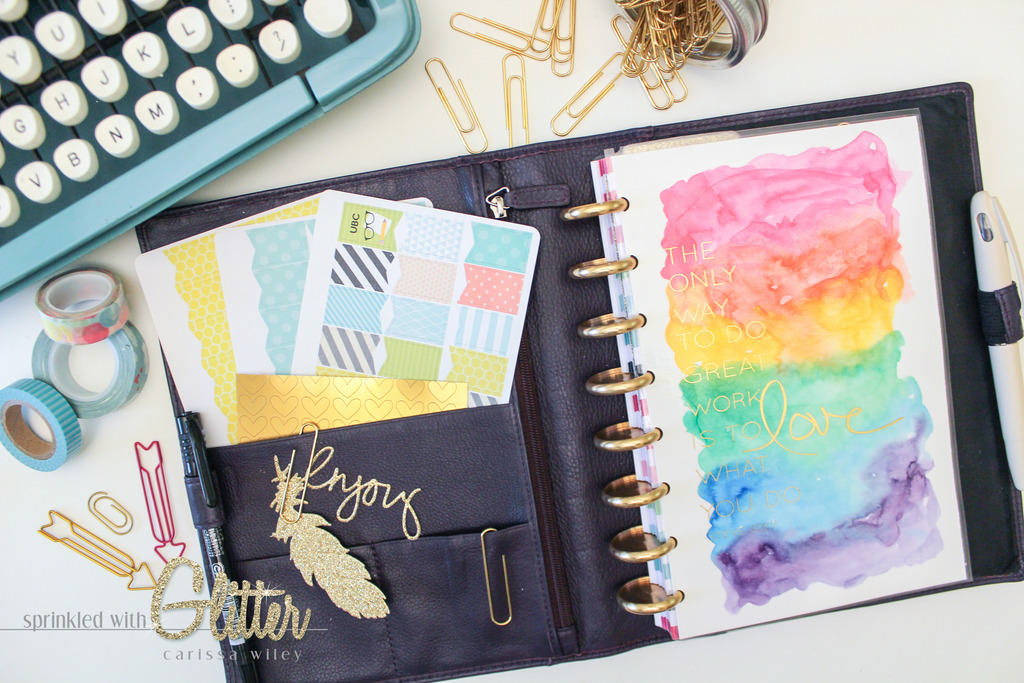
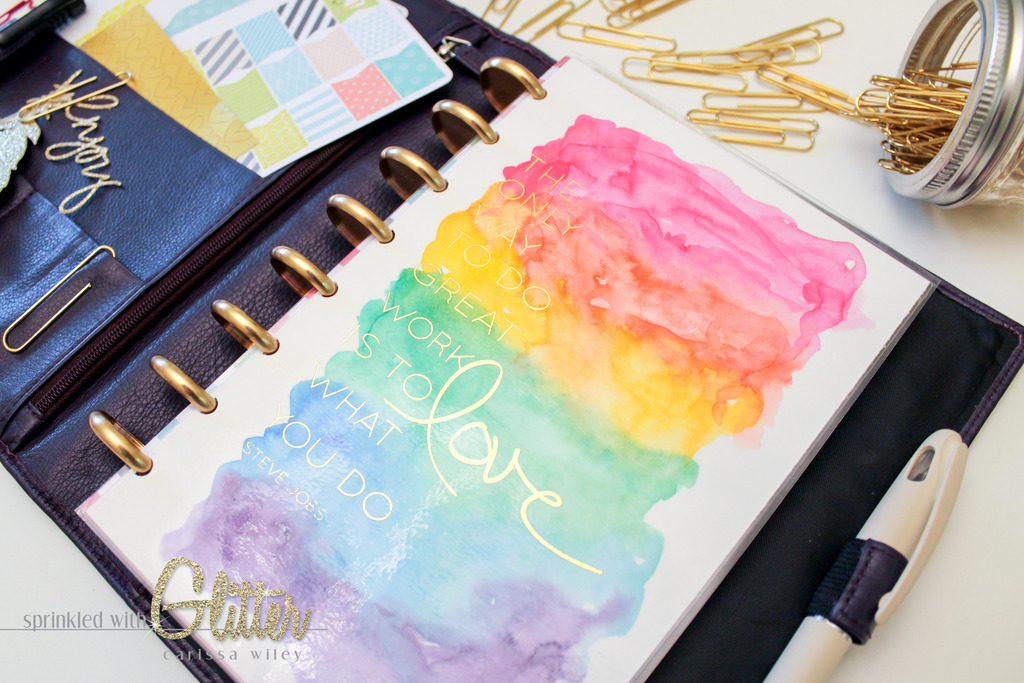
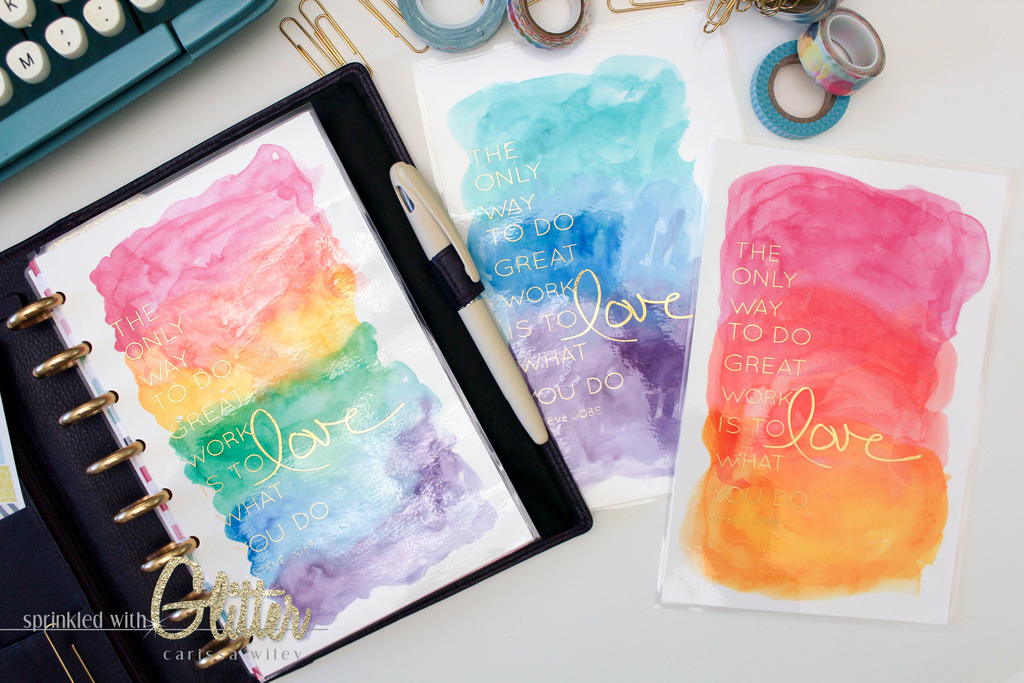
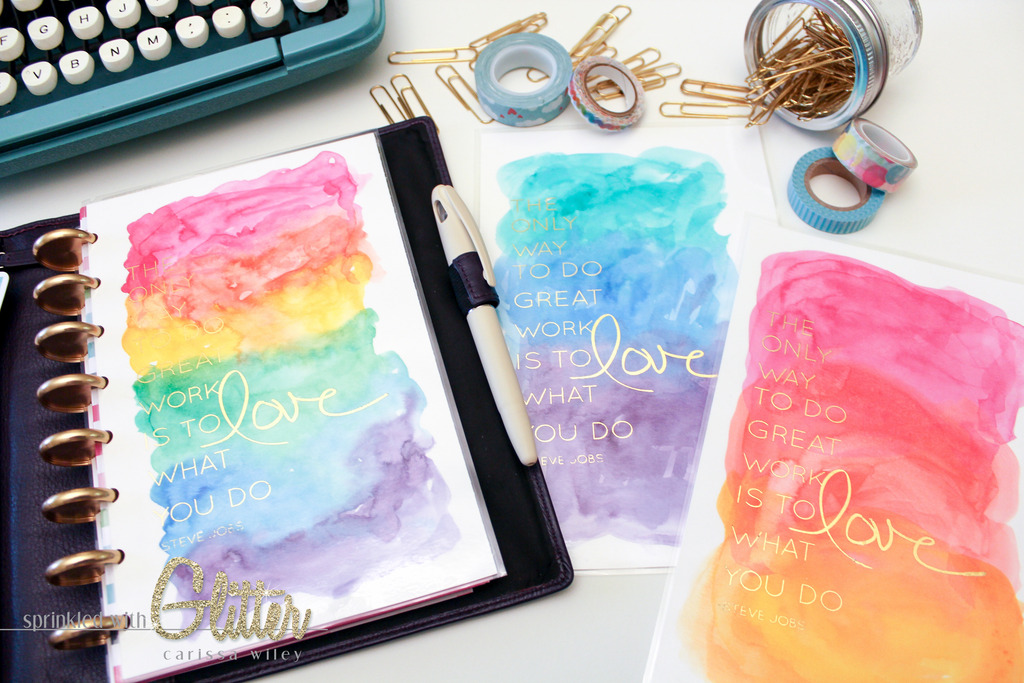
Hi everyone! I hope you're having a great day! I'm here with a fun project. A couple weeks ago, I shared some experimentation I was doing with foil over watercolor on my Instagram feed. Lots of you mentioned that you would love to see a video tutorial. I've done a lot of experimenting with this and am here to share my trial and error process with you. I made my little pieces of art in to dashboards for my planner...but these would be beautiful on a card front, as a bookmark or framed. The sky is the limit.
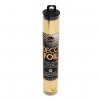
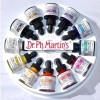
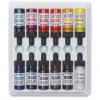
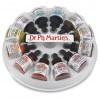
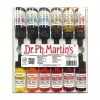
I'm using my new Dr. Ph. Martins Hydrus Watercolors today. You could use whatever watercolors you may have. I love the vibrancy of the Dr. Ph. Martins. They are a liquid watercolor...a hydrated pigment. The colors are rich and bold. But if you like more soft and muted, you can add more water to soften them up. I have set 1 and set 3, but today I'm using set 1.
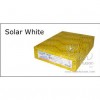
I tried this technique on watercolor paper as well as my standby Neenah Solar White. In the end, I found the Neenah worked best because of its smooth texture. I only experimented with a cold press water color paper from Canson. I may have had different results with a hot press water color paper, which tends to be smoother...but I'll have to experiment with that another day.
One thing you'll want to remember...the Neenah Solar White card stock is not designed to handle a lot of water. You'll want to be careful with the amount of water you're using to watercolor on top of this card stock. Too much water will cause the card stock to pill...and that's not pretty.
You'll see me go through several different processes in the video. I tried some where I printed first and watercolored over the foil. I tried some where I printed first, then watercolored and then applied the foil. In the end, I found I got the best results by watercoloring my card stock first, then printing on top of the watercolor and adding my foil. You'll see all of the results from each of the different trials in the video tutorial below.
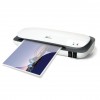
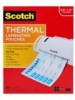
To make these little pieces of art more durable, I finished them off by laminating them. These make the perfect dashboard for my planner. They're colorful and inspiring. (If you want to learn more about my planner, I've linked some previous posts below.) However, as I mentioned before, they'd make great framed art, card fronts, bookmarks, or whatever else you can think of. I mean, you can't go wrong when you combine foil and watercolor. Right?
I've linked all the products used in these projects below. I've even included a link to the printable file that I used below as well. Go give JessicaElleShop some love. ;) And don't forget to watch the video tutorial below. I think you'll pick up a lot of tips and tricks to make your results FABULOUS!
Thanks for stopping by! I hope you enjoy this project! Until next time, I hope you have a fabulous day!
Supplies
*affiliate links used*