With All My Love - Rainbow Ombre Stamping
Hi everyone! I hope you're having a fantastical day! And if not, I hope this bright, colorful and happy project brings a little sunshine to your day! Today I'm sharing a card with some rainbow ombre stamping. If you love rainbow...and you love ombre...there's nothing better than combining the two!
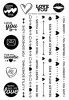
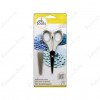
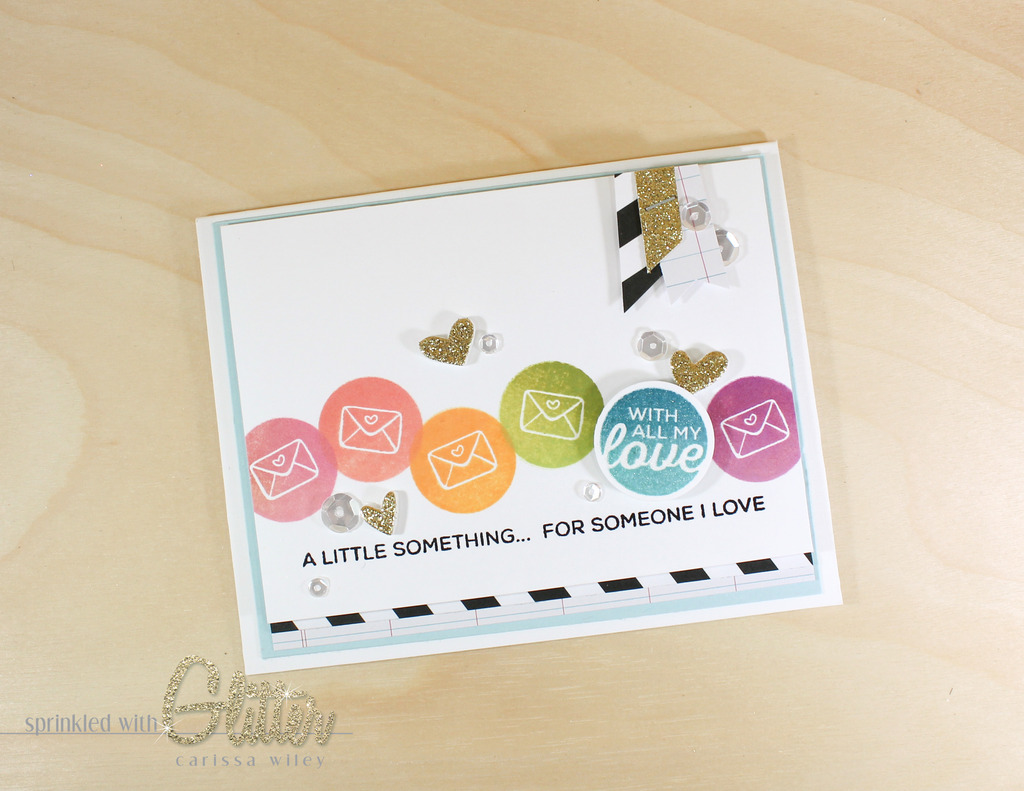
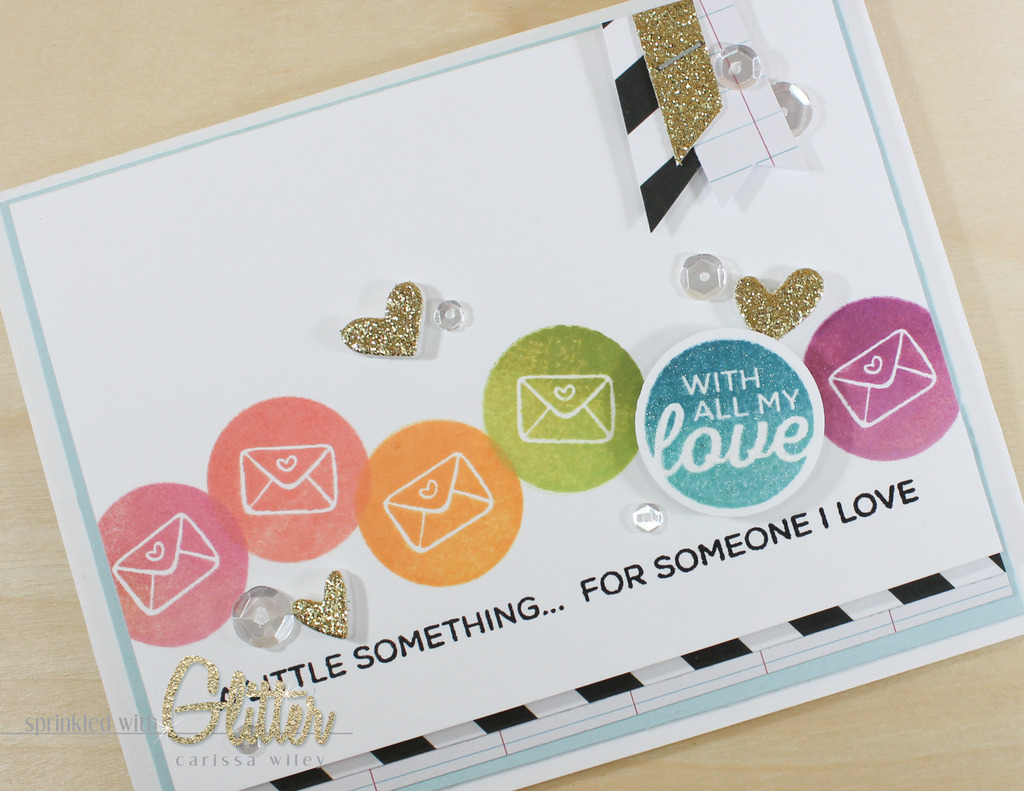
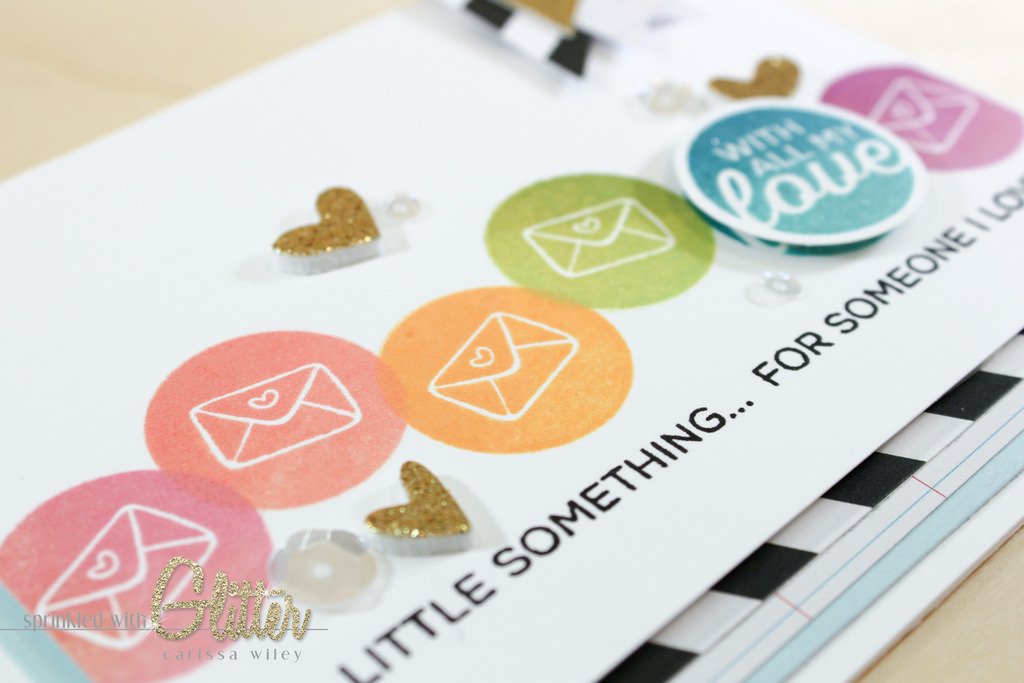
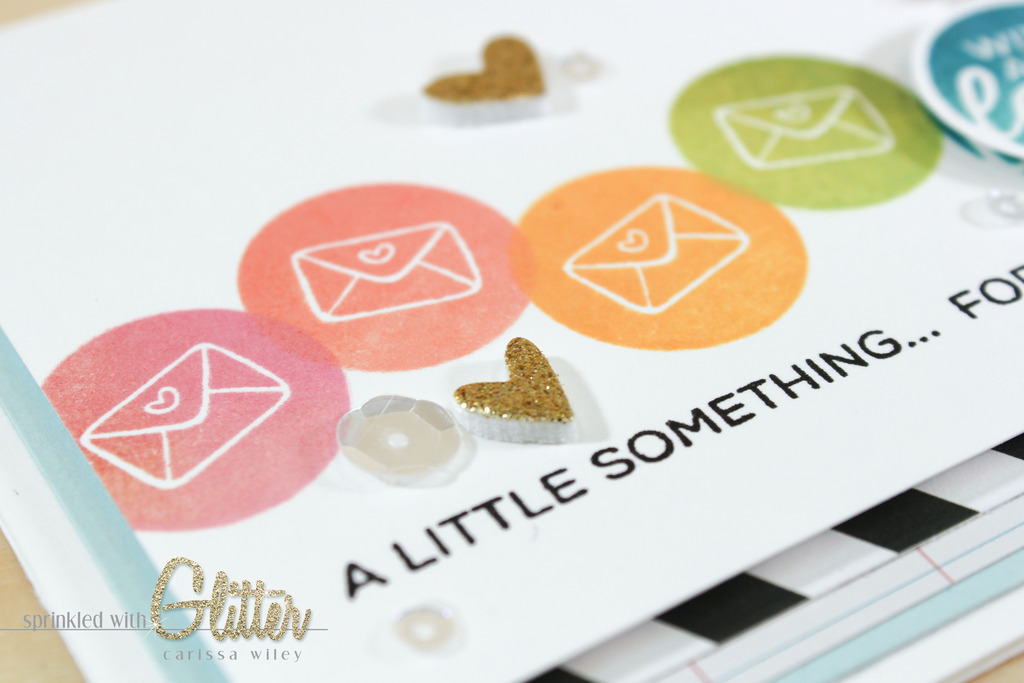
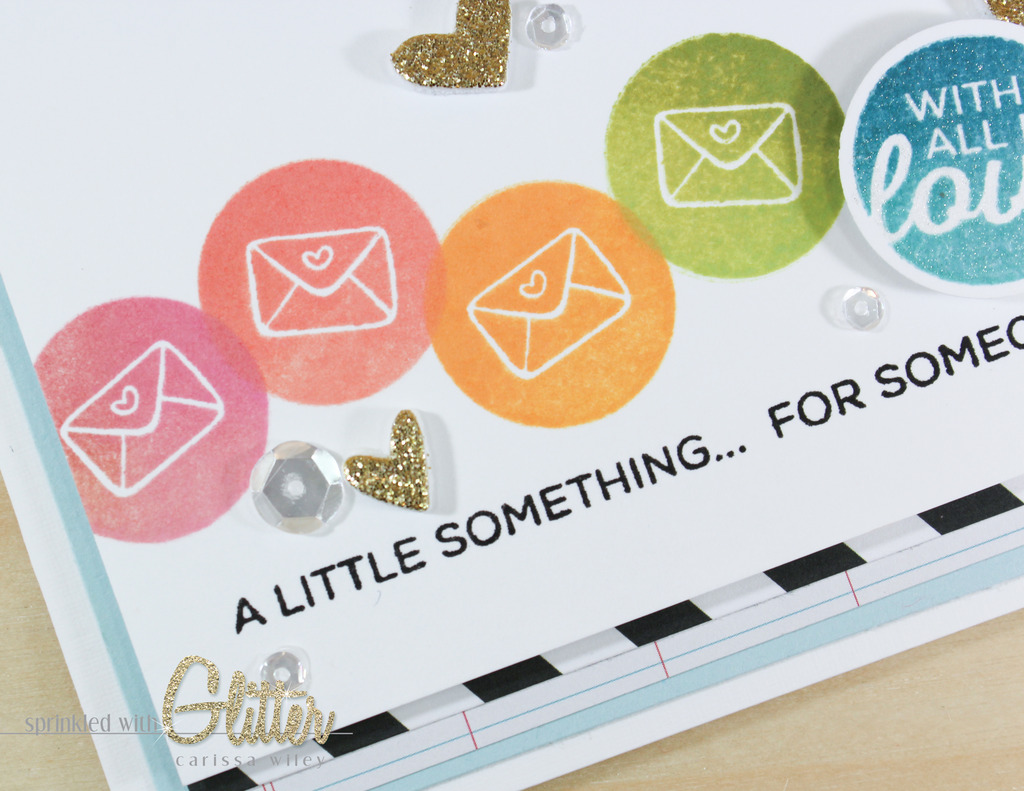
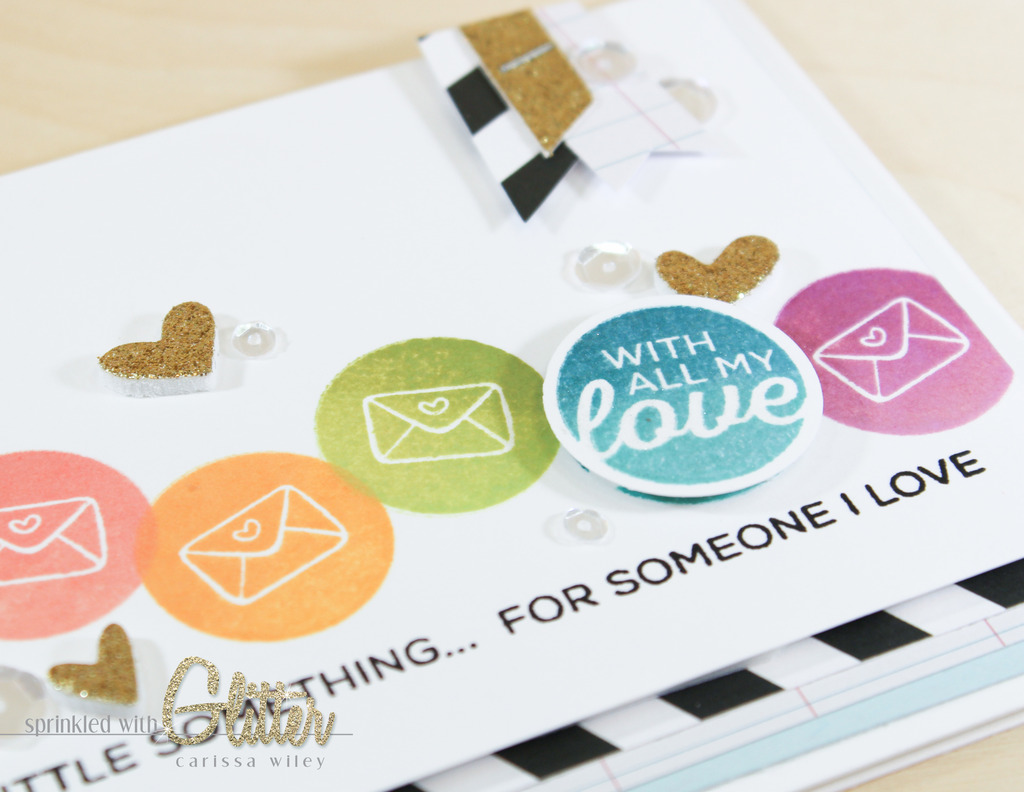
Today I'll be using the Love Borders stamp set from Technique Tuesday. I love the little circle stamps and thought it would be fun to stamp them all the way across my card in rainbow order. ROYGBIV makes me happy. If you don't believe me, just check out my craft room some time.
I've created a project similar to this before, so I wanted to change it up slightly to make it feel fresh. In order to do that, I decided to add a little ombre to the color pattern. In order to achieve this, I pulled out my Hero Arts Ombre Ink Pads. I used the two lightest colors of each ink pad to achieve the ombre look. The stamp isn't large enough to cover the span of all three colors, so I just used part of the ink pad.
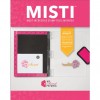
I realize that not everyone has a whole slew of ombre ink pads. If you want to achieve this look you could ink your stamp in a lighter color first and then apply darker ink on part of the stamp. If you're going to apply two inks at once, it's important that you ink in the lighter color first. Or you could use a "rock and roll" technique to achieve multiple colors on one stamp. If you have a MISTI, you could also stamp first in a lighter color. Leave the stamp and paper in place and then partially ink with a darker color and stamp.
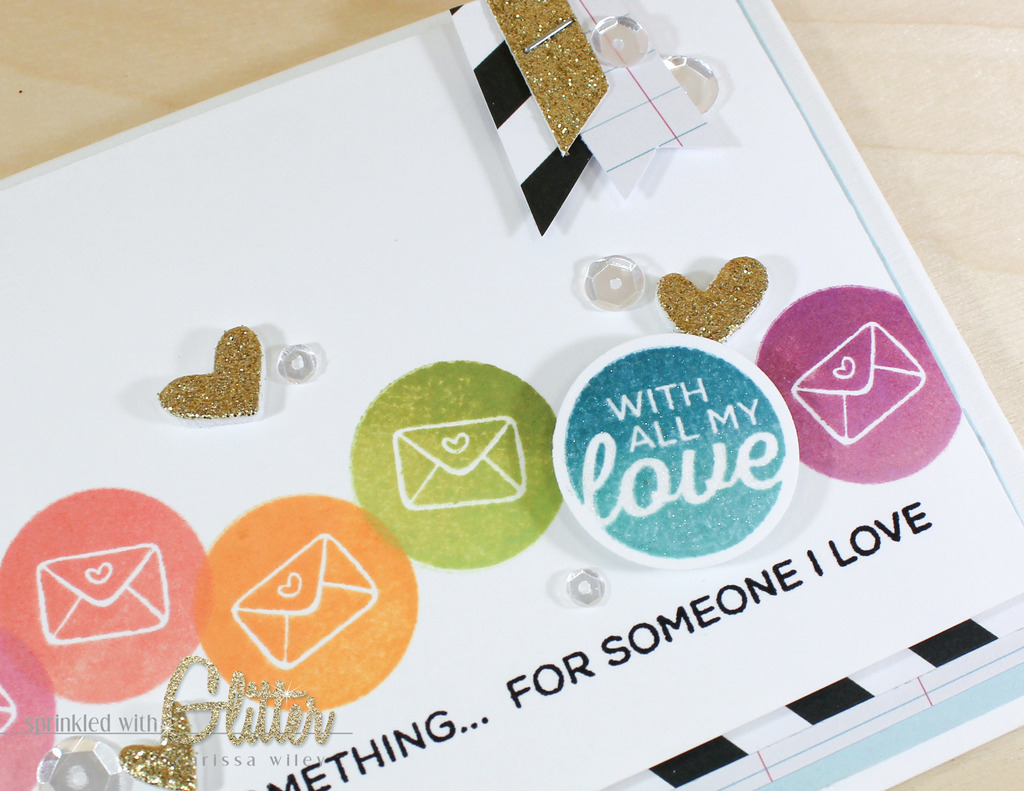
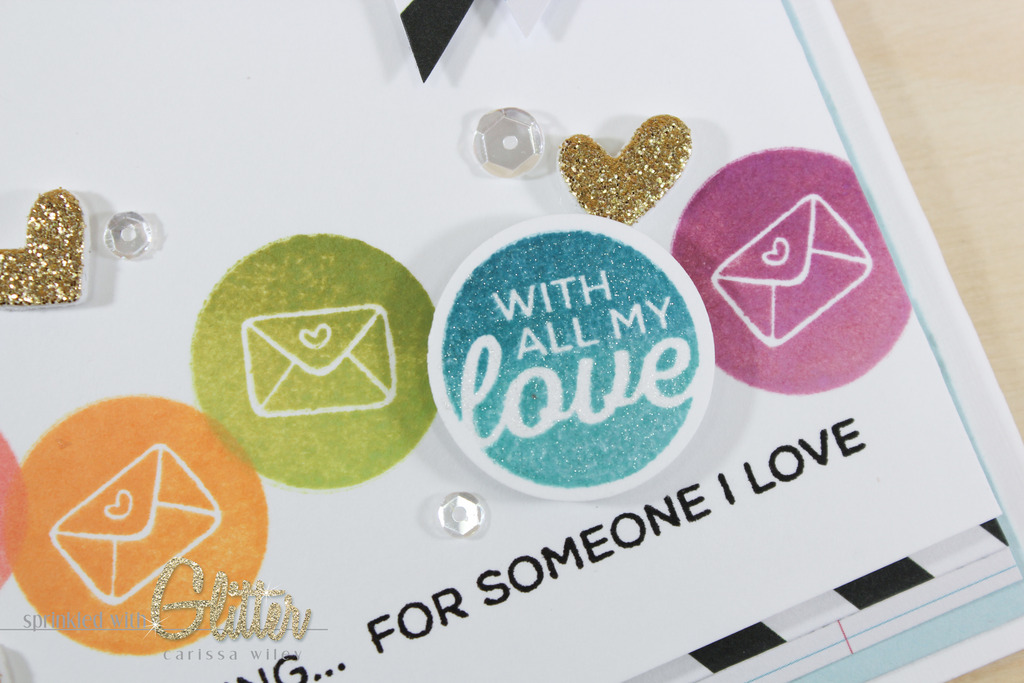
I decided to make the blue circle image my focal point. I switched up the stamp I used for this one. I chose to use the With All My Love circle stamp. I stamped this on the card front and also on a scrap piece of white card stock. I used a 1 inch circle punch to punch out the additional stamped image and added a double layer of foam adhesive to the back. The added dimension really draws the eye to it. To draw even more attention to it, I added a layer of clear Wink Of Stella over the top as well.
I used the "a little something for someone I love" border stamp below my grouping. I stamped it in some Versafine Onyx Black pigment ink. I love the way that a splash of black on a colorful card really adds lots of contrast and helps the color to pop even more. This stamp is actually designed with an arrow at either end of the sentiment. I chose to surgically remove those from my stamp. I can always mount them back together at a later time if I want.
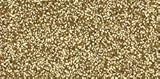
I added a grouping of some patterned papers along the top of the card as well. I repeated a couple of these patterns in strips below the card front. I also repeated the gold glitter card stock in the heart elements on the card front.
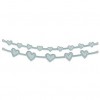
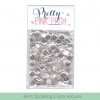
I cut the heart embellishments using the Technique Tuesday Heart Strings die. I used a piece of gold glitter card stock that already had some fun foam attached to the back. It was a scrap left over from a previous card. (You can see that video tutorial HERE.) The fun foam applied to the back kept me from having to cut down tiny pieces of foam adhesive to adhere behind the hearts. And since they sit slightly lower than the blue "with all my love" circle, it adds another layer of dimension to the card.
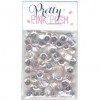
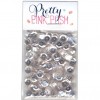
I finished off the card by adding the card front to a piece of blue card stock. I mounted the entire card front to a white linen card stock base. Then I added some sparkling clear sequins for a finishing touch.
I've included a video tutorial below walking you through the entire creation of this card. This one's pretty simple. But I'll give you some other tips and tricks along the way....as well as explain why ombre is such a hard word for me to say. ;) Hint...it has to do with a foreign language. I've also included links to all the products used in this project below.
This card is fun and colorful. And even though the stamp set I used feels very "Valentine's", it proves that it really can be used year round. This is a great card to send to a friend to brighten their day. In fact, I think I know just the friend who needs this right now.
Thanks for stopping by! I hope this colorful project brightened your day. If rainbow and ombre together don't make you smile...then I don't know what will. Until next time, I hope you have a fabulous day!

Supplies
*affiliate links used*